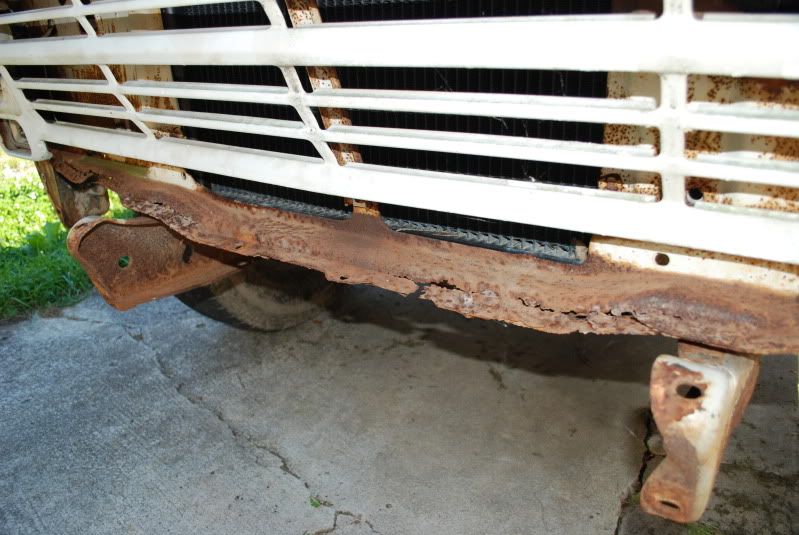
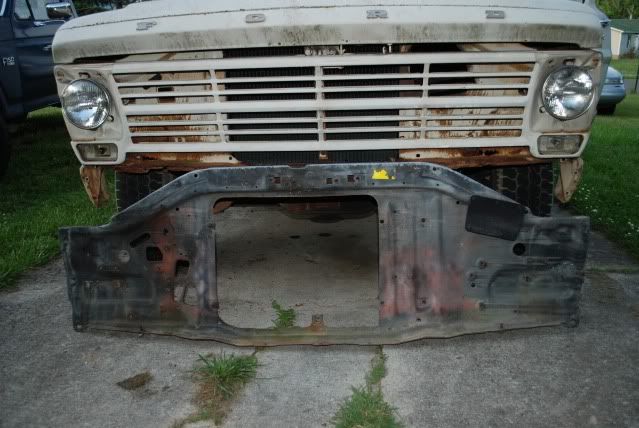
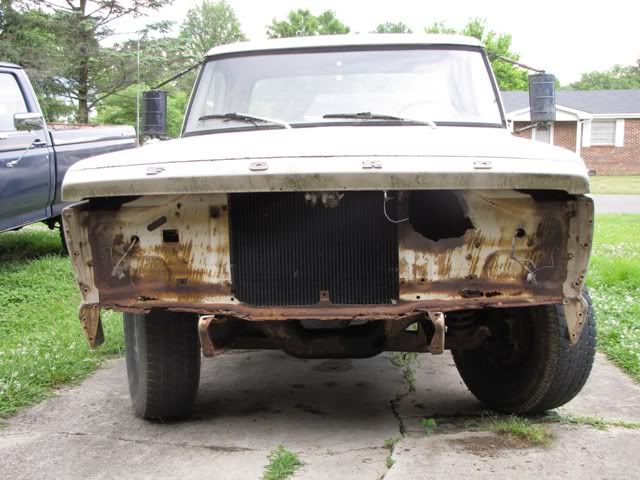
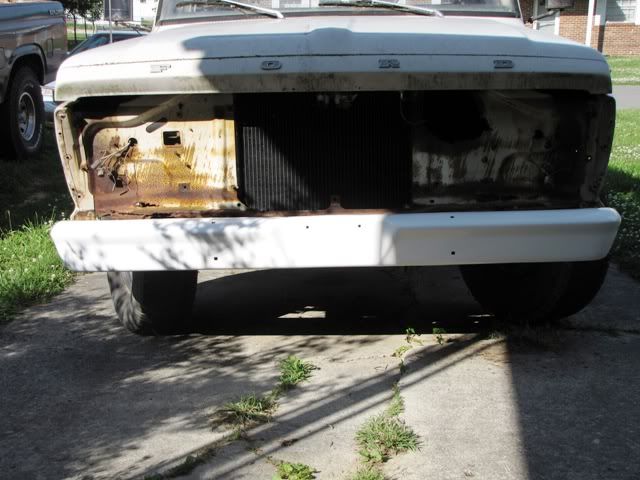
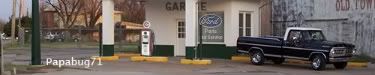
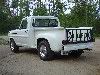
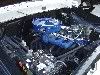
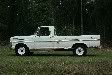
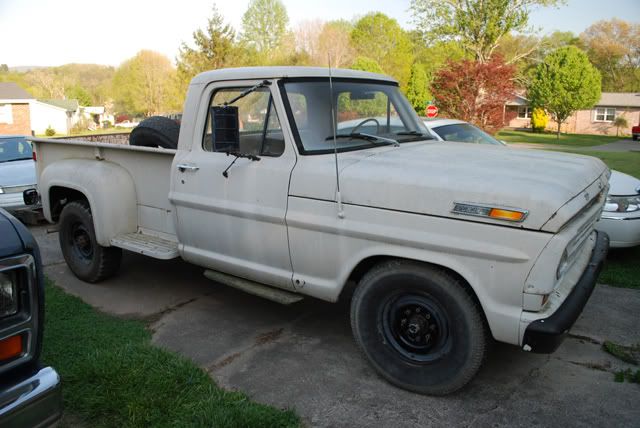
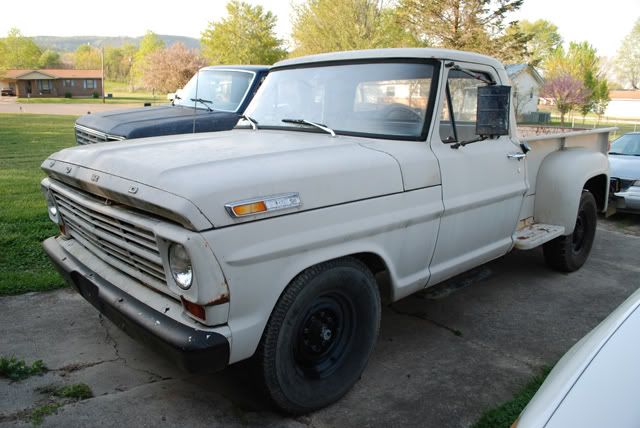
Here are some before pictures.
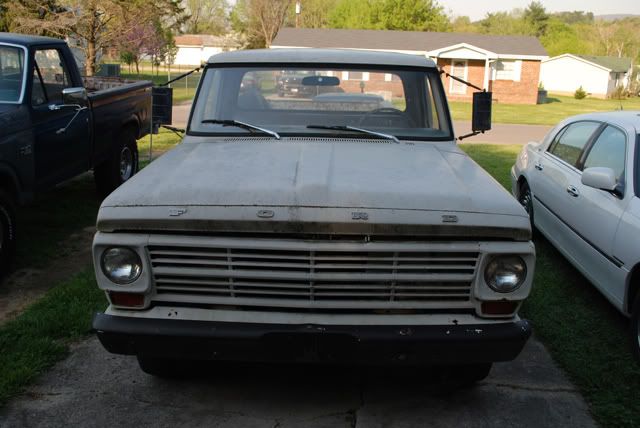
Those mirrors will have to go.
That antenna just don't get it either.
Those steps under the doors were the first thing's to go.
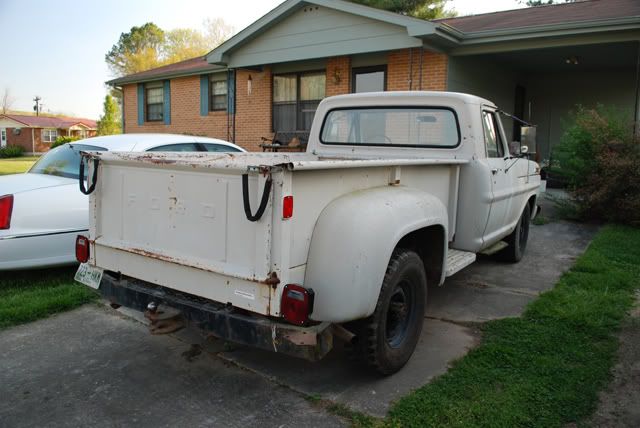
That rear bumper is history.
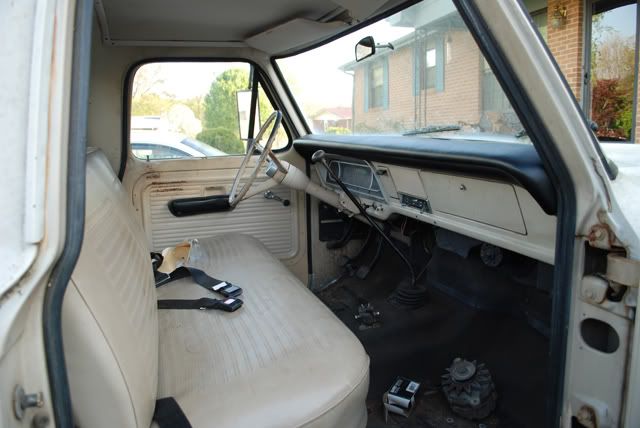
To bad the seat has that big tear in it.
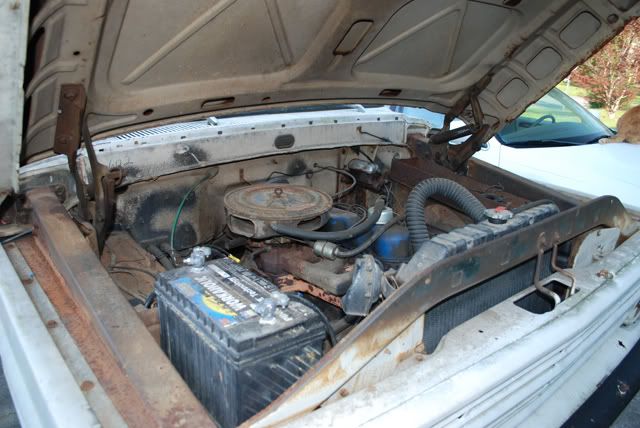
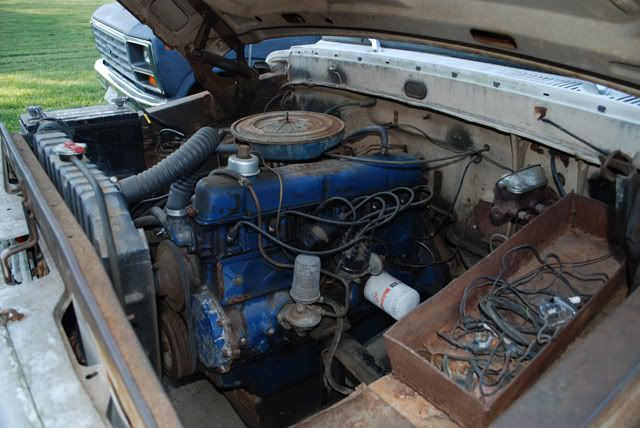
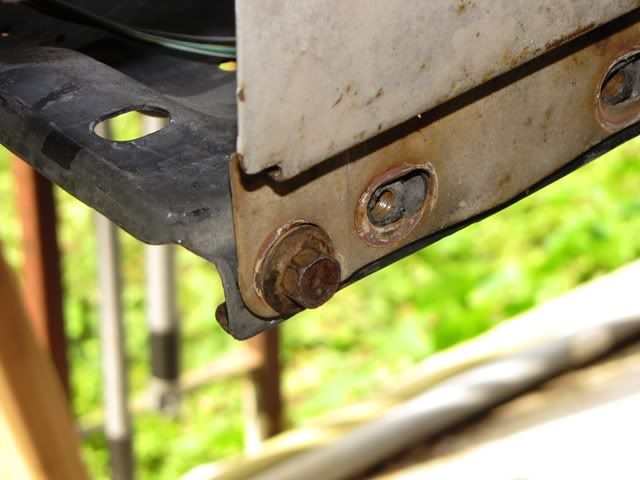
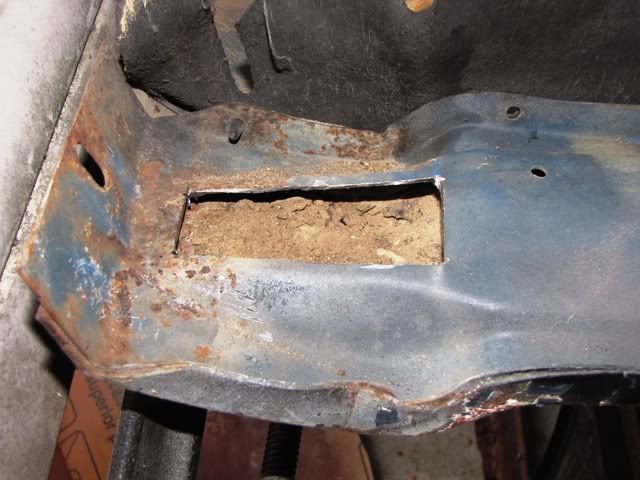
That metal box on the inner fender is gone.
This was a farm truck. reciepts in the glove box show about 66,500 miles on it in 1996. the odometer reads about 70,000.
There is documentation of 3 different owners from the original owner in 68, another owner from 96 to 2004, then another from 2005 to 2006,
and there were 2 more that owned it from 06 to when I bought it in 2010.
I think the milage is accurate. The interior doesn't show to much wear and tear in the normal areas,
Floor mat, clutch and break pedals, other than the split in the seat the rest of it look's new.
No big deal I guess. When I get it done it will be like new or better.
I have more to post, just not tonight. Should be in bed by now. Morning gets here to early. 1:30 A.M.