I remember this coming up in the past but searched and didn't turn up any of the old message threads I was looking for. I know there have been lots of questions and solutions to cleaning out the bed seam above the bump. I had asked once what process folks had used and someone had suggested part of an old hacksaw blade and I thought that sounded promising. It will depend on the condition of the originals caulk or sealer and the number of previous repaints... Mine was brittle and somewhat shrunken back or away from the pane in some spots. Even so, Just picking at it with a small screwdriver blade or dental style picks wasn't showing much success. It was still just too hard and stuck. I also tried hitting it with the sandblaster when I was working on other sections but that did no good.
I got to thinking a while back about the hacksaw blade idea and thought about my oscillating multi-tool. I got around to trying that this morning and 15 minutes later had one side done and nearly perfectly clean and stripped. Just used one of the old dull blades and a medium speed. Now I'm thinking a little self-adhesive abrasive paper attached to both sides of the blade should work just as well to clean up any remaining residue and surface rust.
Just thought I would throw this out there as a trick that might work as well for you as it did for me.
Bed Seam Clean-out
Moderator: FORDification
-
MAK

- Blue Oval Fan

- Posts: 529
- Joined: Tue Dec 21, 2004 9:35 am
- Location: Georgia, Blairsville - Florida, Flagler Beach
- Contact:
-
jimmy828

- 100% FORDified!

- Posts: 1611
- Joined: Thu Dec 23, 2010 6:47 pm
- Location: asheville,NC
Re: Bed Seam Clean-out
Glad you posted this subject. Can you post pic of your seam. I would like to know how wide that seam is. I just started on mine and used a angle grinder with a wire brush attached to it just to get something started. There was bondo all the down the seam. Don't know if it was put there from factory or some PO. Behind the bondo was the seam sealer. Just wondering when i go back to repair the sealer how tight should i make the seam. As of now the seam with nothing in it looks like it's about 1/4 in. wide. That's a good idea about the multi tool . I have one and will give it a try to get into the tighter spaces.
-
sargentrs

- 100% FORDified!
- Posts: 9866
- Joined: Fri Jun 22, 2007 9:30 am
- Location: Georgia, Jasper
Re: Bed Seam Clean-out
Thanks for posting that, MAK! I've got one of those tools too and the thought never crossed my mind. 
Randy
1970 F100 Sport Custom Limited LWB, 302cid, 3 on the tree. NO A/C, NO P/S, NO P/B. Currently in 1000 pcs while rebuilding. Project thread: http://www.fordification.com/forum/view ... 22&t=59995 Plan: 351w, C4, LSD, pwr front disc, p/s, a/c, bucket seats, new interior and paint.
1987 F-150 XLT Lariat, 5.0/C6 auto.
-
MAK
- Blue Oval Fan
- Posts: 529
- Joined: Tue Dec 21, 2004 9:35 am
- Location: Georgia, Blairsville - Florida, Flagler Beach
- Contact:
Re: Bed Seam Clean-out
It's the last thing I did today before coming home and I didn't get a pic. I'll take some shots next weekend when I get back to it.jimmy828 wrote:Glad you posted this subject. Can you post pic of your seam. I would like to know how wide that seam is. I just started on mine and used a angle grinder with a wire brush attached to it just to get something started. There was bondo all the down the seam. Don't know if it was put there from factory or some PO. Behind the bondo was the seam sealer. Just wondering when i go back to repair the sealer how tight should i make the seam. As of now the seam with nothing in it looks like it's about 1/4 in. wide. That's a good idea about the multi tool . I have one and will give it a try to get into the tighter spaces.
Bondo would definitely be a huge PITA compared to the factory sealer. I would say there was probably about 1/6" or slightly more separation between the panels toward the outside.
-
jimmy828
- 100% FORDified!
- Posts: 1611
- Joined: Thu Dec 23, 2010 6:47 pm
- Location: asheville,NC
Re: Bed Seam Clean-out
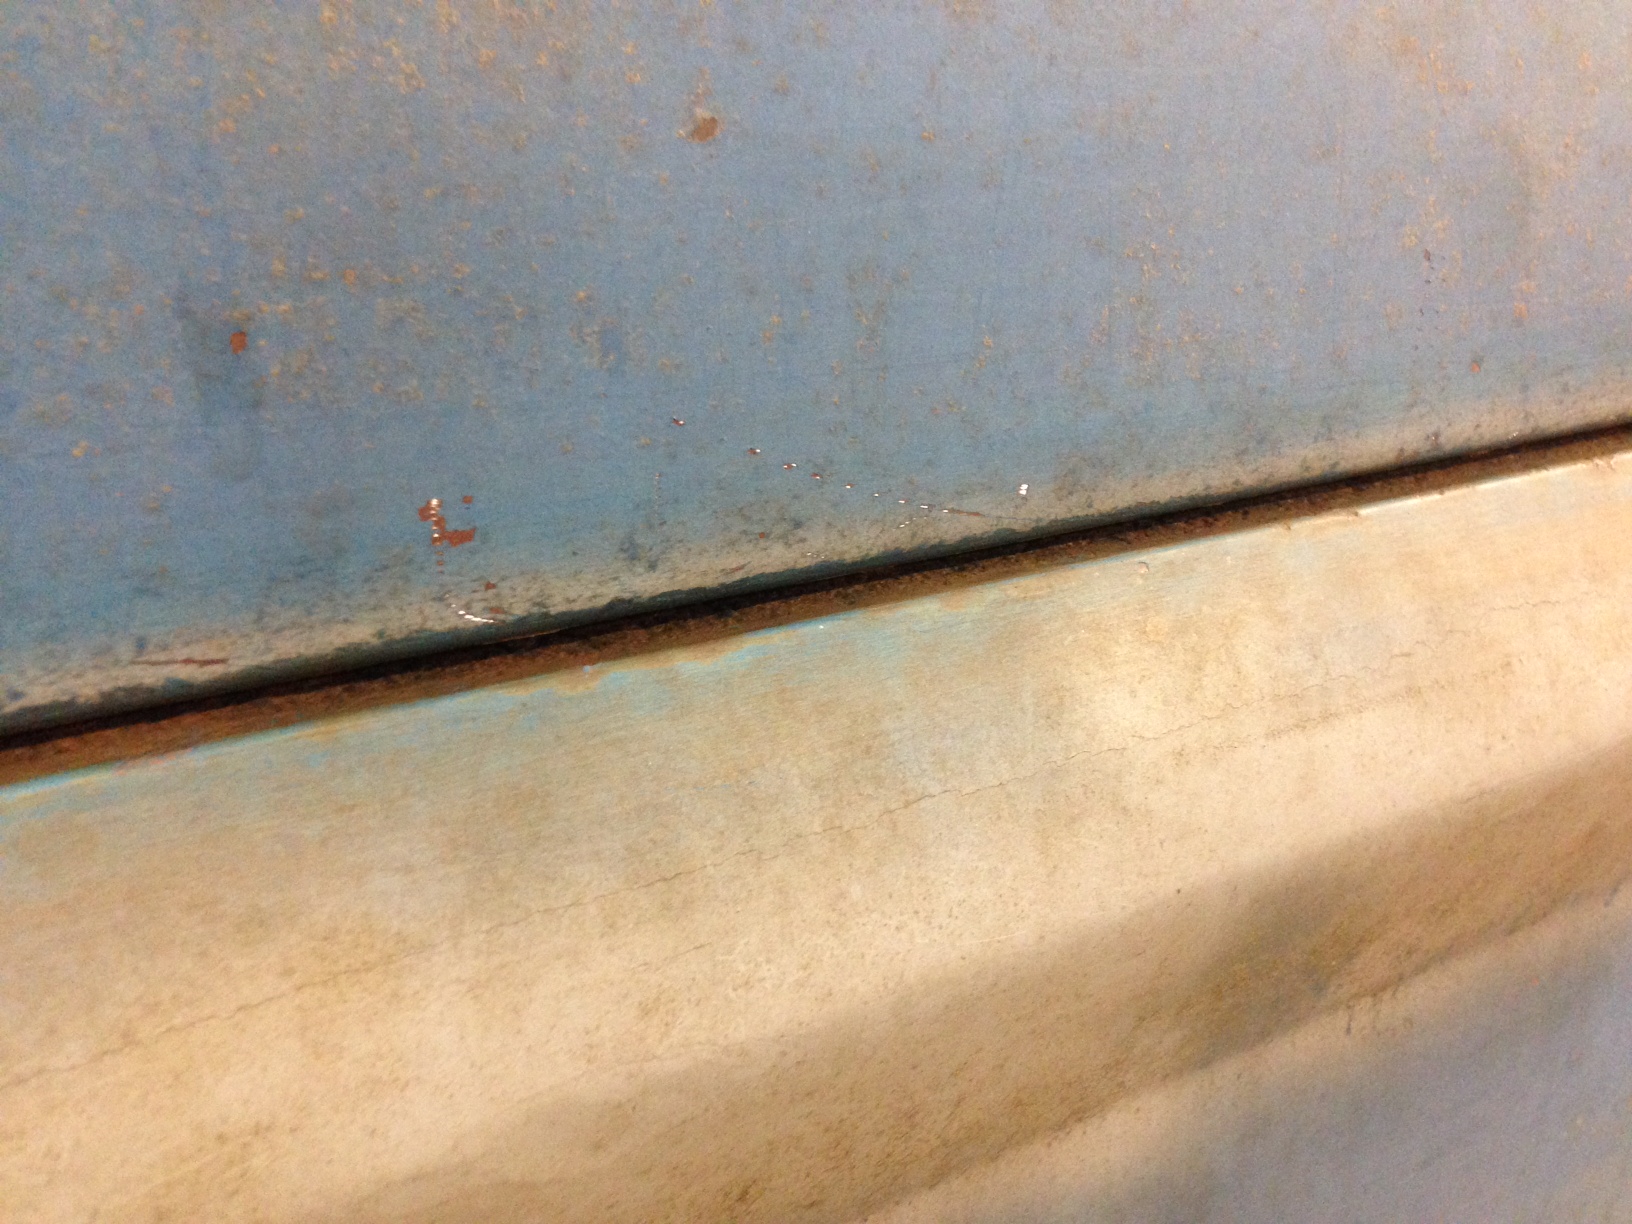
Sorry but I don't mean to hijack your thread. Anyway, here is what i'm working with. The seam is like that all the way down the bed (drivers side). I did a test run about a 6in. on the passenger side and it is the same way. I'm beginning to think that it is from factory. Maybe some kind of screw up on their end. Sure going to be a pain to repair. Might just look for another bed 
You do not have the required permissions to view the files attached to this post.
-
MAK
- Blue Oval Fan
- Posts: 529
- Joined: Tue Dec 21, 2004 9:35 am
- Location: Georgia, Blairsville - Florida, Flagler Beach
- Contact:
Re: Bed Seam Clean-out
Hard to say just by looking at pics with no scale but appears similar to other bed seams I have seen. Except for Bondo that you mentioned. Do you have any pics of the seam before you cleaned it out?
-
jimmy828
- 100% FORDified!
- Posts: 1611
- Joined: Thu Dec 23, 2010 6:47 pm
- Location: asheville,NC
Re: Bed Seam Clean-out
I'll post a pic tomorrow. I can take pic of other side.MAK wrote:Hard to say just by looking at pics with no scale but appears similar to other bed seams I have seen. Except for Bondo that you mentioned. Do you have any pics of the seam before you cleaned it out?
-
HIO Silver

- 100% FORDified!
- Posts: 1970
- Joined: Sat Jul 23, 2011 11:31 pm
- Location: Devil's Mountain, CA
Re: Bed Seam Clean-out

70 F100 LB 2WD, 360FE, E-Street EFI, TKO-500, 76K original miles.. follow my rebuild: The Lo-Buck Bumpside
71 F250 LB, 2WD, 360FE, T18, PS, PB, D60 with 4.11s
73 F100 SB 4WD, 390FE, NP435, +4 on 35s
01 Ferrari 360 Spider F1
01 F150 SuperCrew Lariat 4WD
01 PT Cruiser Limited (DD)
68 Mustang
65 Mustang
71 F250 LB, 2WD, 360FE, T18, PS, PB, D60 with 4.11s
73 F100 SB 4WD, 390FE, NP435, +4 on 35s
01 Ferrari 360 Spider F1
01 F150 SuperCrew Lariat 4WD
01 PT Cruiser Limited (DD)
68 Mustang
65 Mustang
-
jzjames

- 100% FORDified!
- Posts: 1785
- Joined: Sun Jan 09, 2005 2:59 pm
- Location: Washington, Windy Point
Re: Bed Seam Clean-out
Well, thanks 
Mighta been me that suggested the hacksaw blade. Dont over-think it I always say.
The broken hacksaw blade has the offset teeth that can really "rip out" that loose rust and scale. Once you get out all the loose rust you can then scrub it well with one of those small wire brushes.
My eyes being not as good as they once were, I use some good magnifying glasses to see exactly what Ive got.
Once Ive gotten it as clean as I can, Ive had luck brushing in Rustoleum Rusty Metal Primer into the seams (several thick coats- be patient and let it dry well,) and then final sanding and painting.
-
MAK
- Blue Oval Fan
- Posts: 529
- Joined: Tue Dec 21, 2004 9:35 am
- Location: Georgia, Blairsville - Florida, Flagler Beach
- Contact:
Re: Bed Seam Clean-out
Jimmy, Here are a couple pics as promised. Not sure if it's what you were looking for or not but hope it helps.

-
jimmy828
- 100% FORDified!
- Posts: 1611
- Joined: Thu Dec 23, 2010 6:47 pm
- Location: asheville,NC
Re: Bed Seam Clean-out
Mak, you ask for a pic of other side. Sorry i'm late getting posted. The good seam is about 1/8 in. or less. I tested about a 6 in. with a drill/ brush on the good seam and also has bondo. Looks like i got my work cut out for me!! 
You do not have the required permissions to view the files attached to this post.
-
cmoore

- New Member

- Posts: 53
- Joined: Fri Apr 17, 2009 9:46 pm
- Location: SoCal
Re: Bed Seam Clean-out
My seams on the '70 are bad too. I had taken a stainless wire wheel (3" dia.) in a drill and went to town. Removed the rust, then taped it off and sprayed Rustoleum over it for now.
cmoore...
out...
1970 F250 SC, 360ci, C6, rattle-can black, 17" MB chrome wheels
out...
1970 F250 SC, 360ci, C6, rattle-can black, 17" MB chrome wheels
-
67nukeford

- Blue Oval Fan
- Posts: 589
- Joined: Tue Aug 19, 2008 3:20 pm
- Location: Nebraska, Omaha/Elkhorn
Re: Bed Seam Clean-out
I have the same rust issues on my box. So, I'm going to remove the lower bedsides all together, blast the entire box and bedside, and then weld them back on. I plan on welding the seam closed with some steel rod as filler, and then sealing the backside seam tight.
-
Busboy
- Blue Oval Fanatic

- Posts: 943
- Joined: Sat Jan 24, 2015 9:51 am
- Location: Nampa Idaho
Re: Bed Seam Clean-out
I would think that a small sandblaster or soda blaster with fine grade media is the only way to get every speck of rust out.
1967 F-100 4x4 custom cab.
Another 67 F-100 4x4 custom cab.
2016 F-150 Eco-Boost 2.7 liter. (It will smoke the tires!)
1972 F-350 Sport Custom cab & chassis.
1972 F-250 Explorer Special, Camper Special.
1971 F-100 custom. 302, C-4, p.s. p.b. factory 65 amp alternator with transistorized voltage regulator.
Another 67 F-100 4x4 custom cab.
2016 F-150 Eco-Boost 2.7 liter. (It will smoke the tires!)
1972 F-350 Sport Custom cab & chassis.
1972 F-250 Explorer Special, Camper Special.
1971 F-100 custom. 302, C-4, p.s. p.b. factory 65 amp alternator with transistorized voltage regulator.
-
PetesPonies
- New Member
- Posts: 144
- Joined: Wed Jan 23, 2008 10:37 am
Re: Bed Seam Clean-out
Once the seam is clean from scale and such, use a rough scotch pad and phosphoric acid.Keep the acid wet and dry it out with a paper towel ( no water ) when it is done. YOu can use it as long as you keep it wet.
Pete's Ponies
Mustang RUSToration & Performance
Mustang RUSToration & Performance