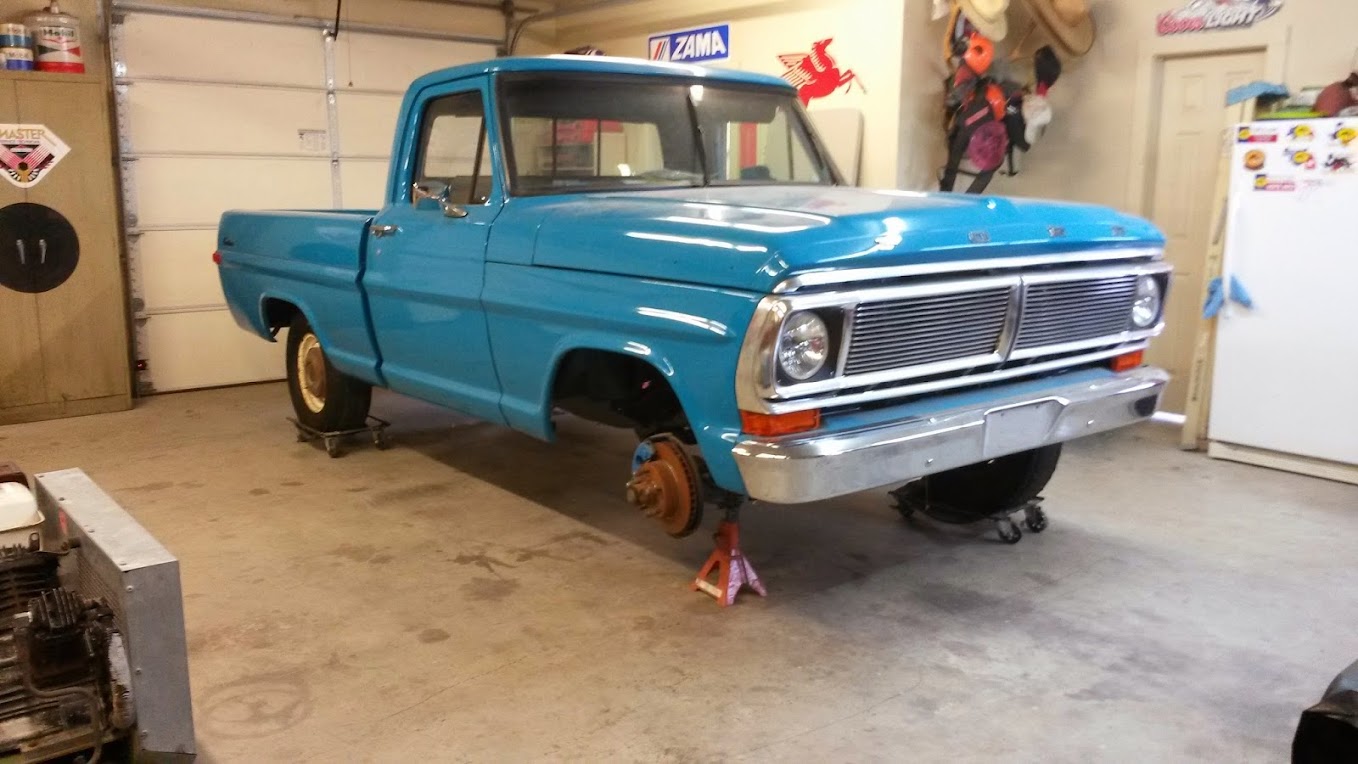
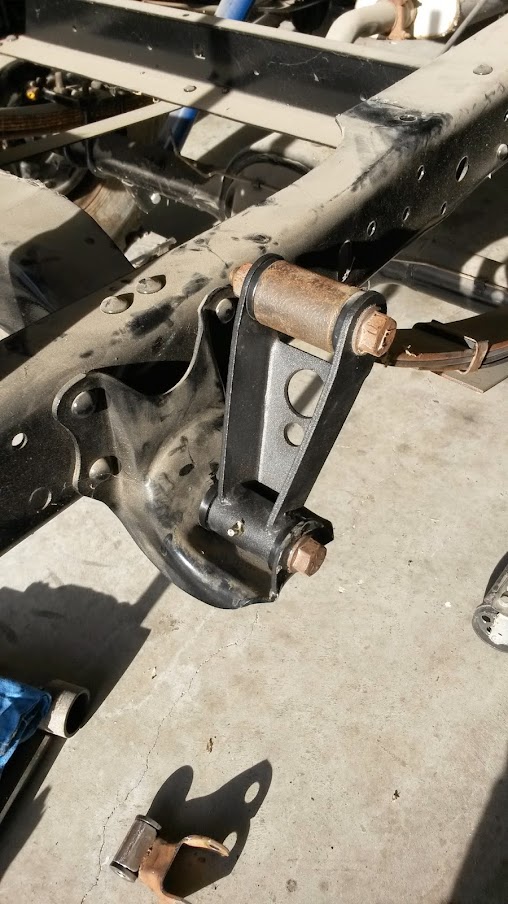
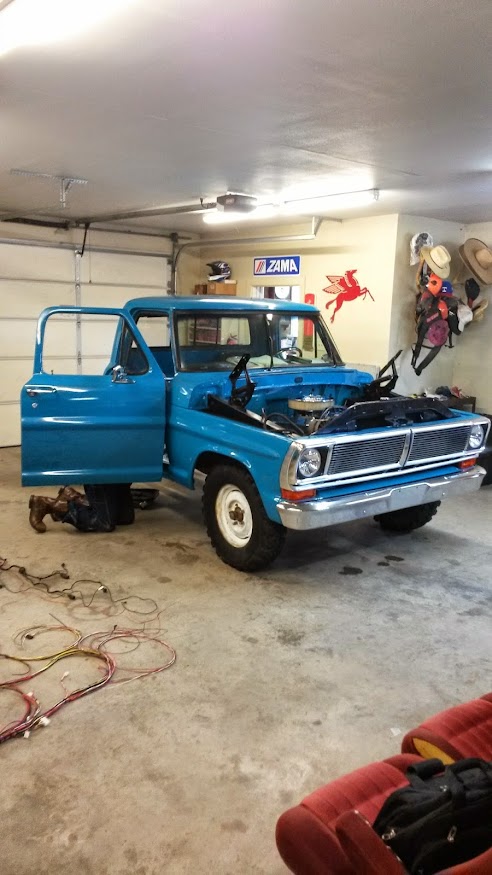
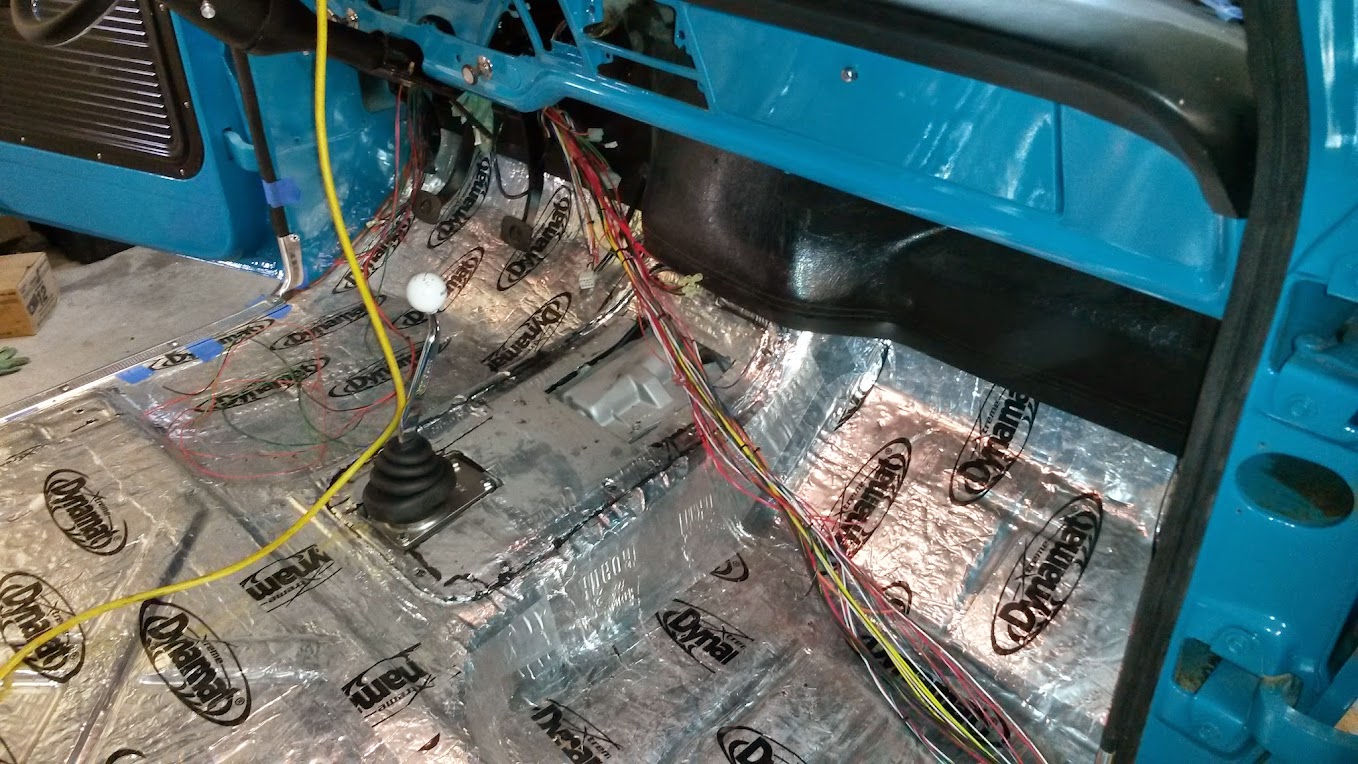
I got quite a bit accomplished this weekend. Won't bore you with all the details, since every picture is worth a thousand...
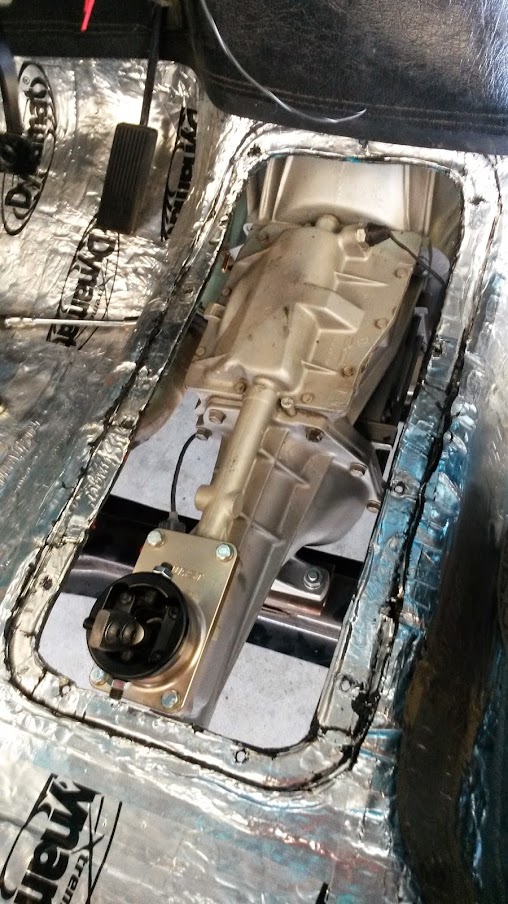
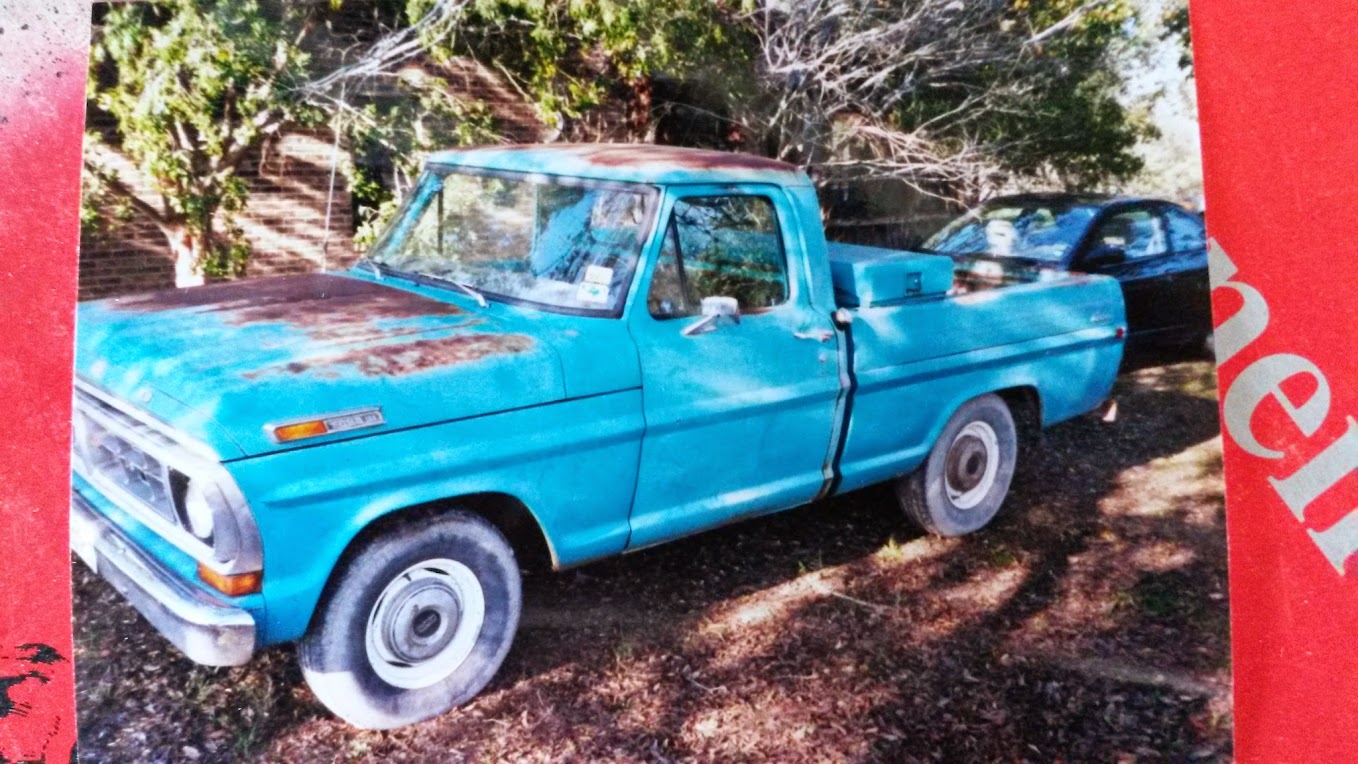
Dad was looking through a book we had compiled with all the receipts and info about the truck. This was around the time we received the truck back in 98. The nut that held the shifter linkage onto the trans was loose and it wouldn't come out of 2nd gear. Other than that, it was ready to drive.
Onto the updates...
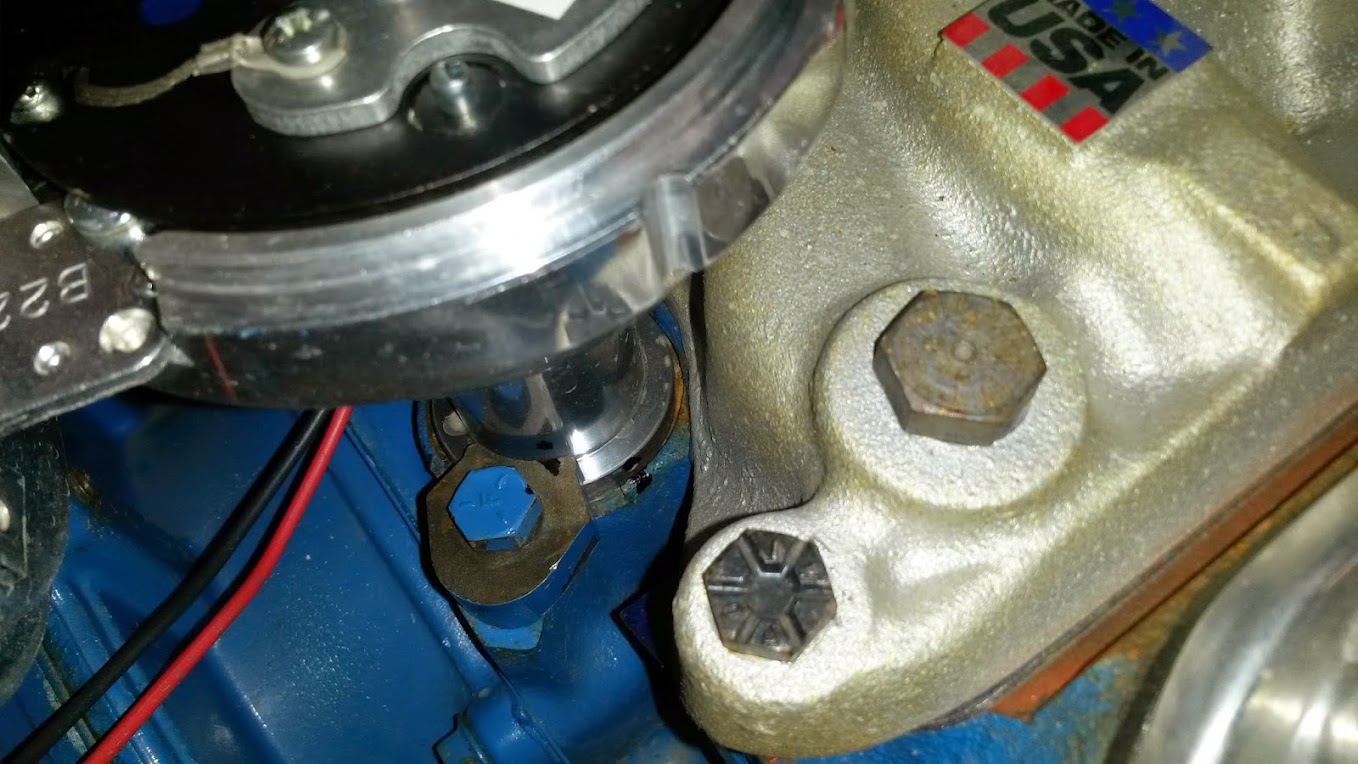
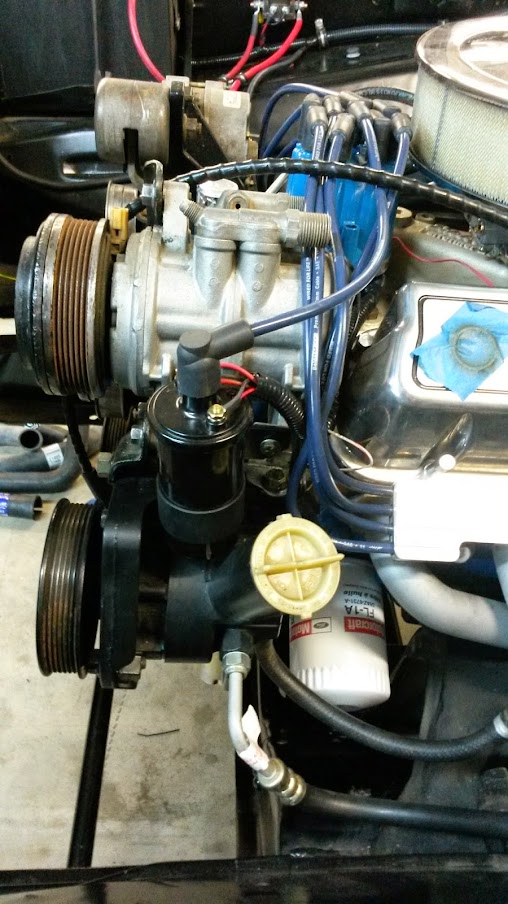
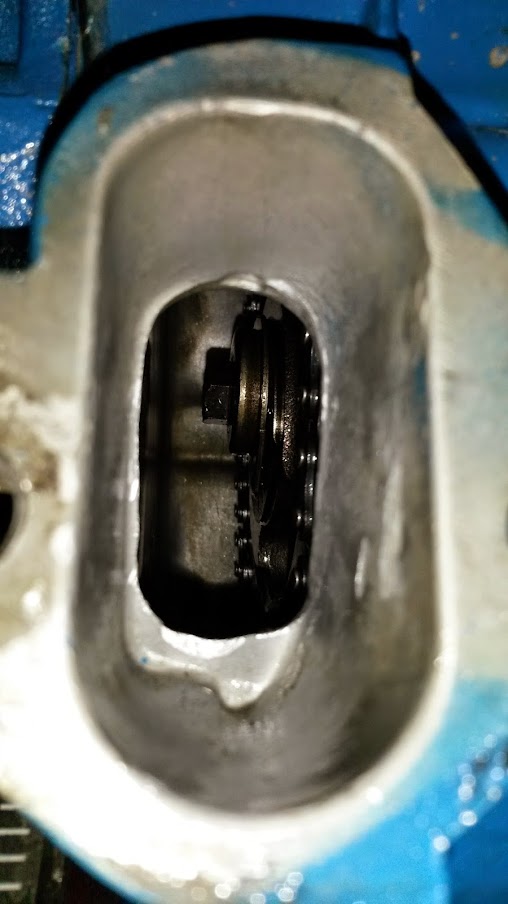
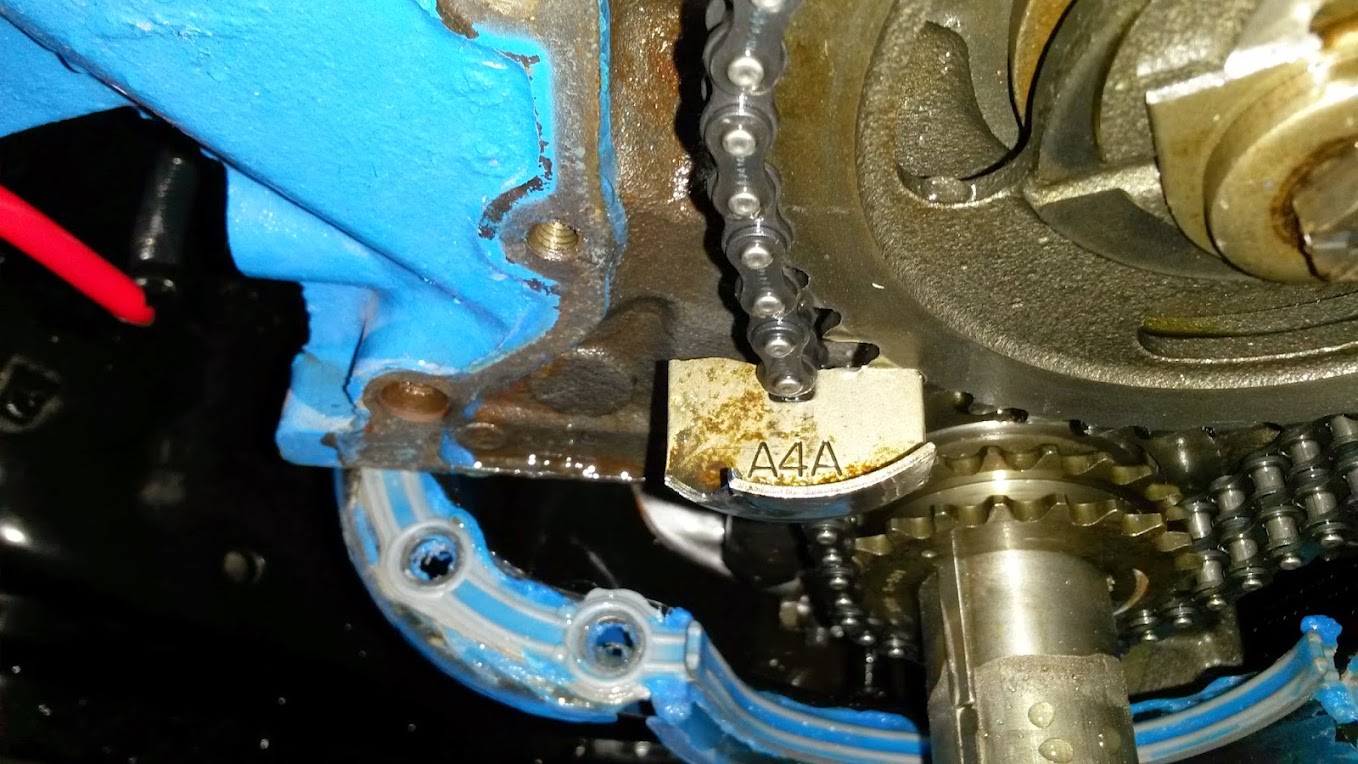
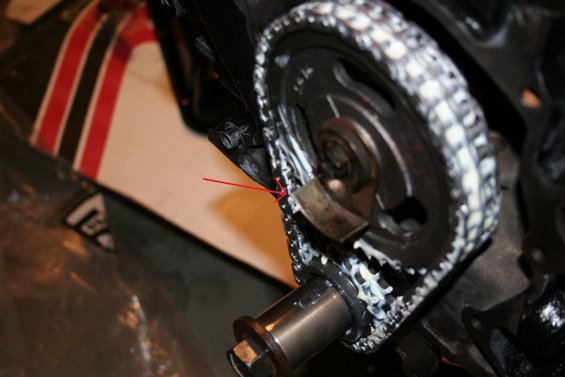
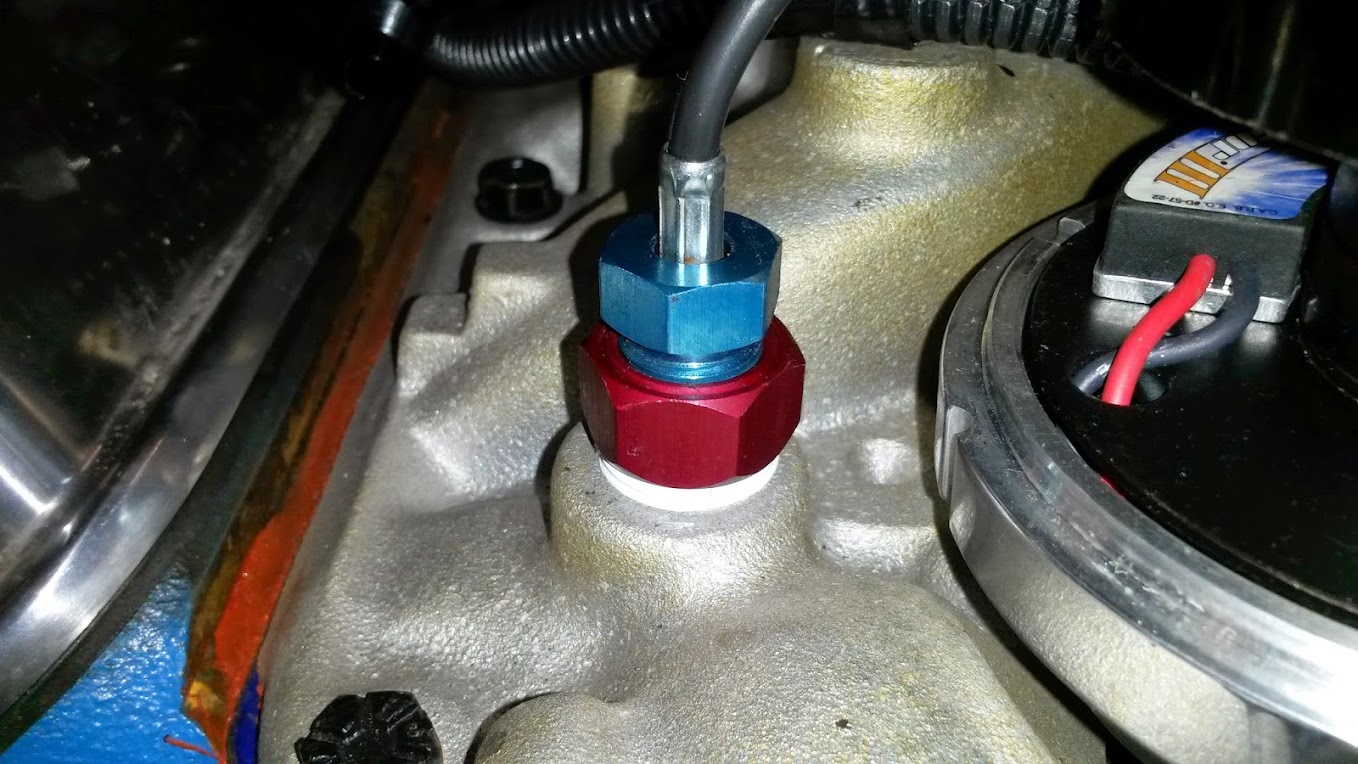
I got the front of the engine reassembled and installed my fuel pump blockoff plate.

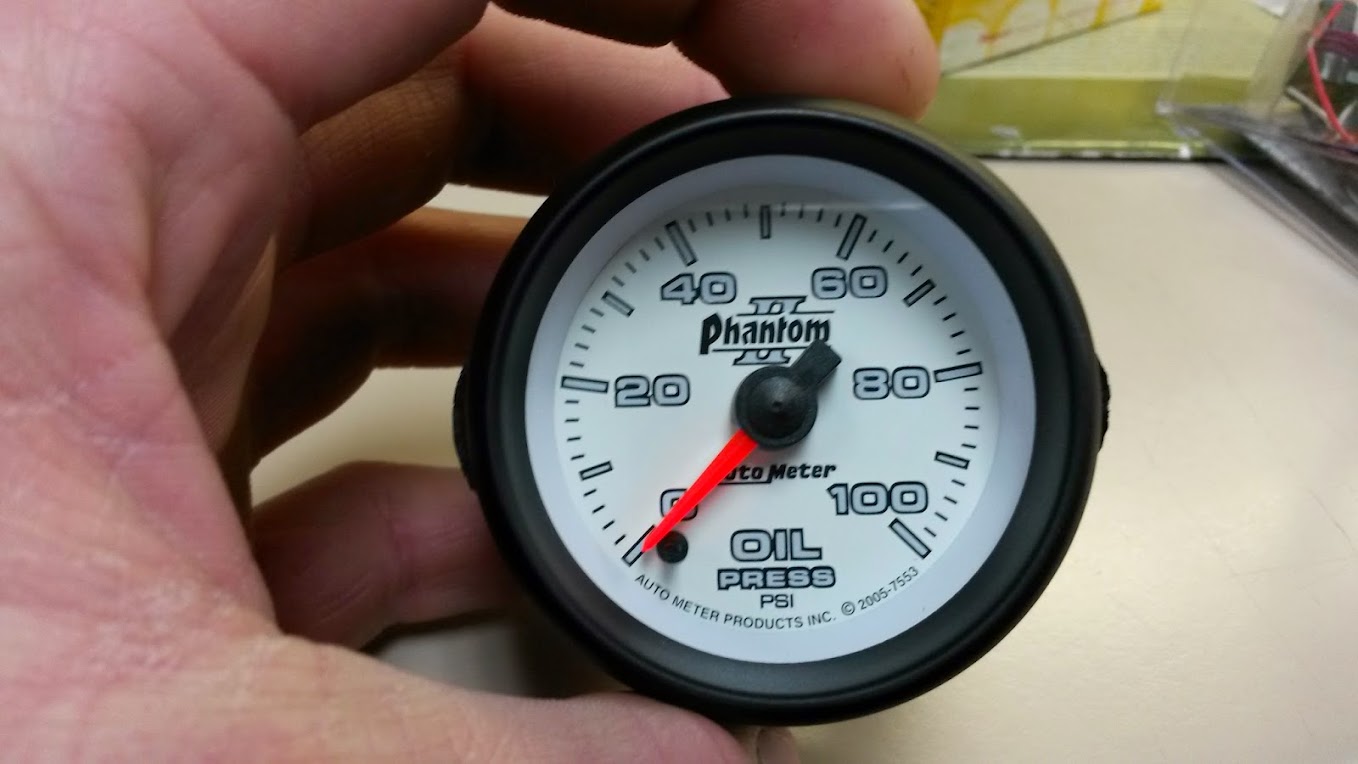
You can also see the sending unit for the oil pressure gauge.

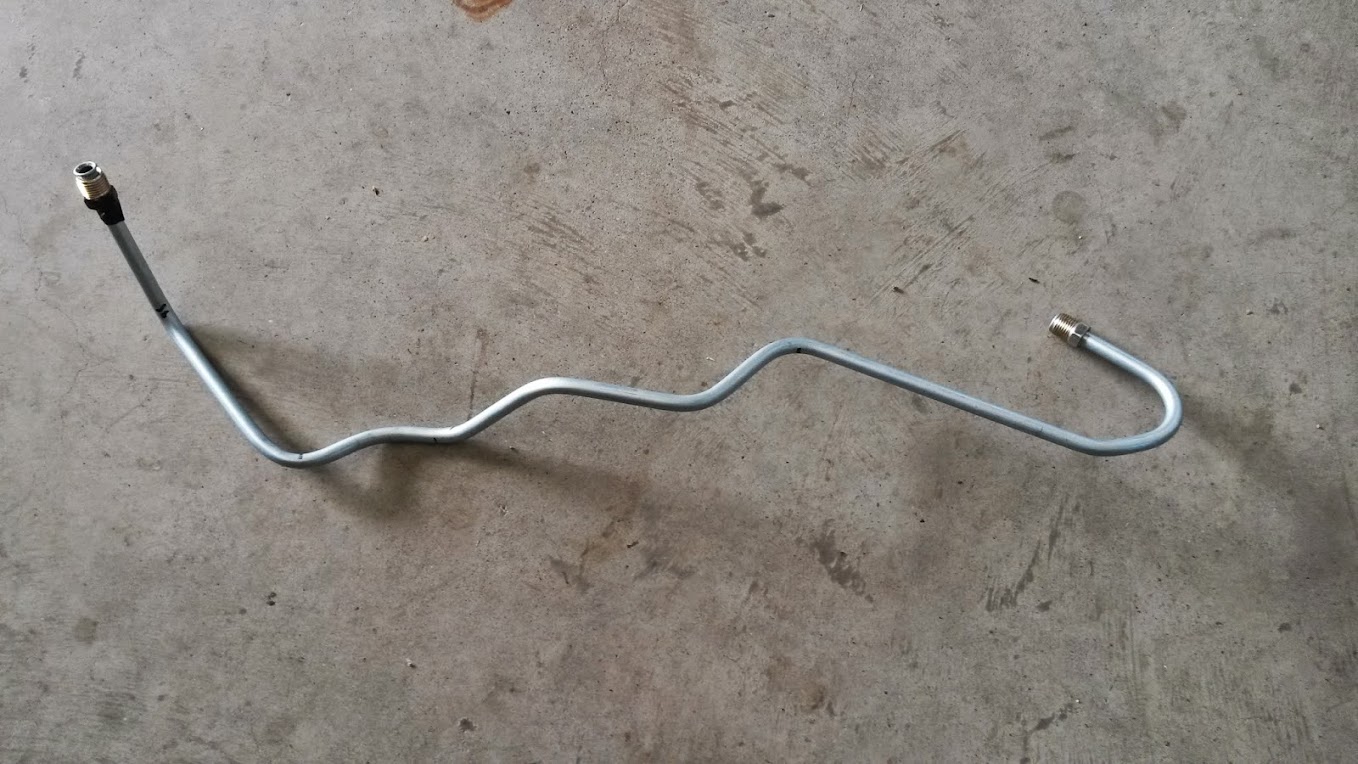
I installed the -6AN fuel inlet and line I ordered. The Swivel fit Earl's connections were surprisingly easy to install, and I didn't have any leaks.

This fuel line was expensive ($50 for 6 ft) but I really like the look and fit.

I have some fittings to go from -6AN male to 3/8" hose barb. The plan is to eventually run -6AN line all the way to the tank, but this was just so I could hear the engine run and make sure everything sounded alright.
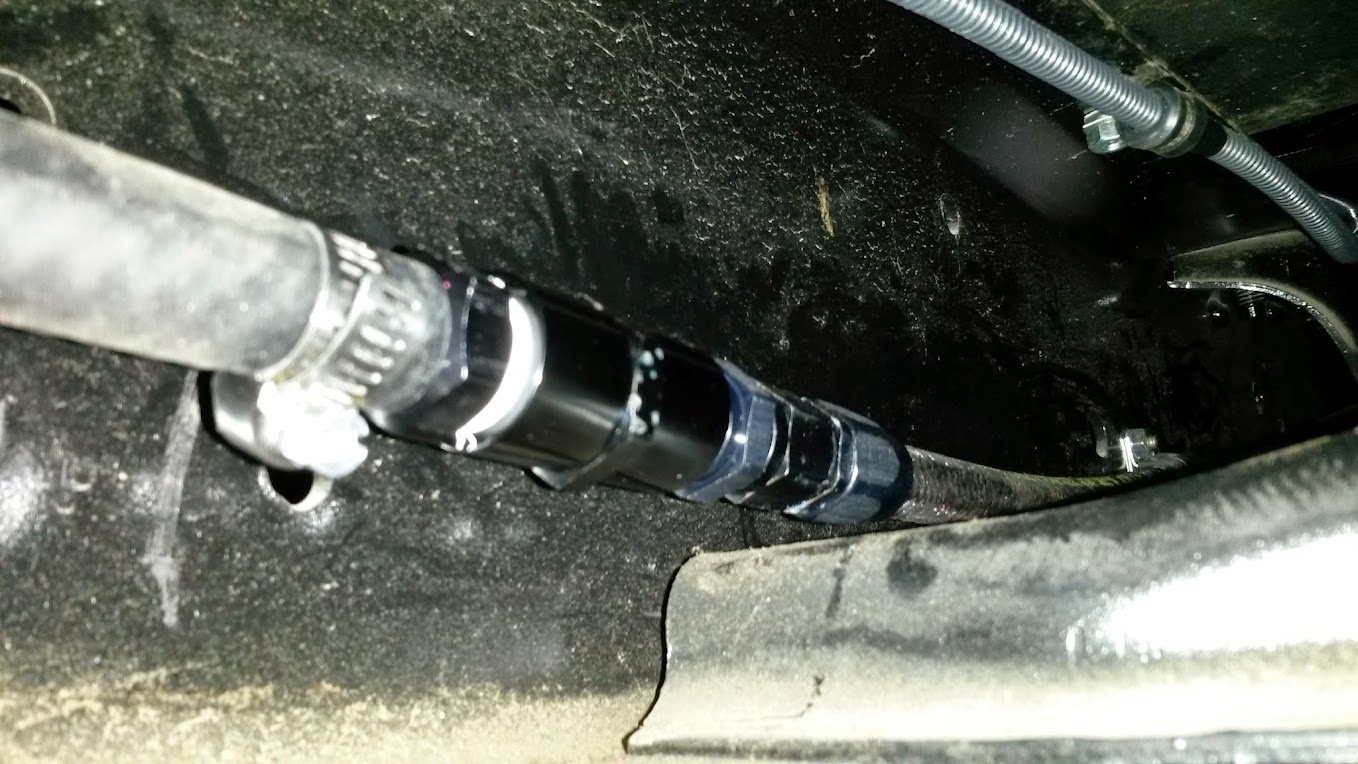
This is the sending unit for my speedometer. I didn't have it hooked up yet, but for some reason the speedometer was reading between 40 and 60 MPH while I was test running the engine.

I cranked the engine up and there was a massive exhaust leak somewhere. I had previously just installed the old exhaust, and never really adjusted it. Here, I have adjusted the passenger side, and had to bend the header collector slightly so it was not interfering with a crossmember.
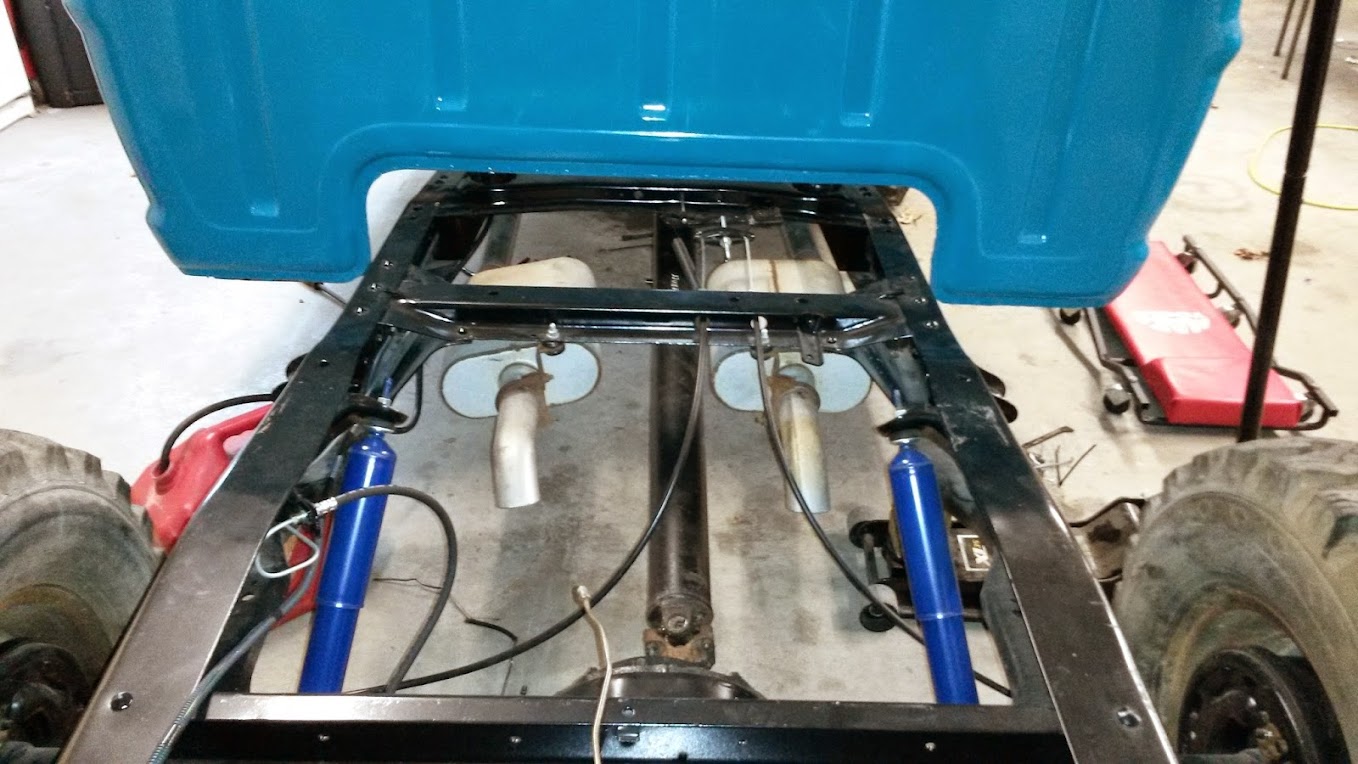
After adjusting the exhaust, there was still a leak. I could feel it coming out of the #4 port and thought it was the gasket. After removing it, all looked well. I used a mirror and found an open threaded hole in the back of the head. I assume it was for some sort of emission component that the Mustang utilized. I found a 7/8" bolt, shortened and threaded it into the hole.

All exhaust leaks fixed, and adjusted the idle mixture to 1 3/4 turns out, it runs like a top.
I may have added a little too much water to the cooling system, and when the thermostat opened the first time I had a geyser.

The fan helped with cooling until I can get a new e-fan installation kit and wire the fan.
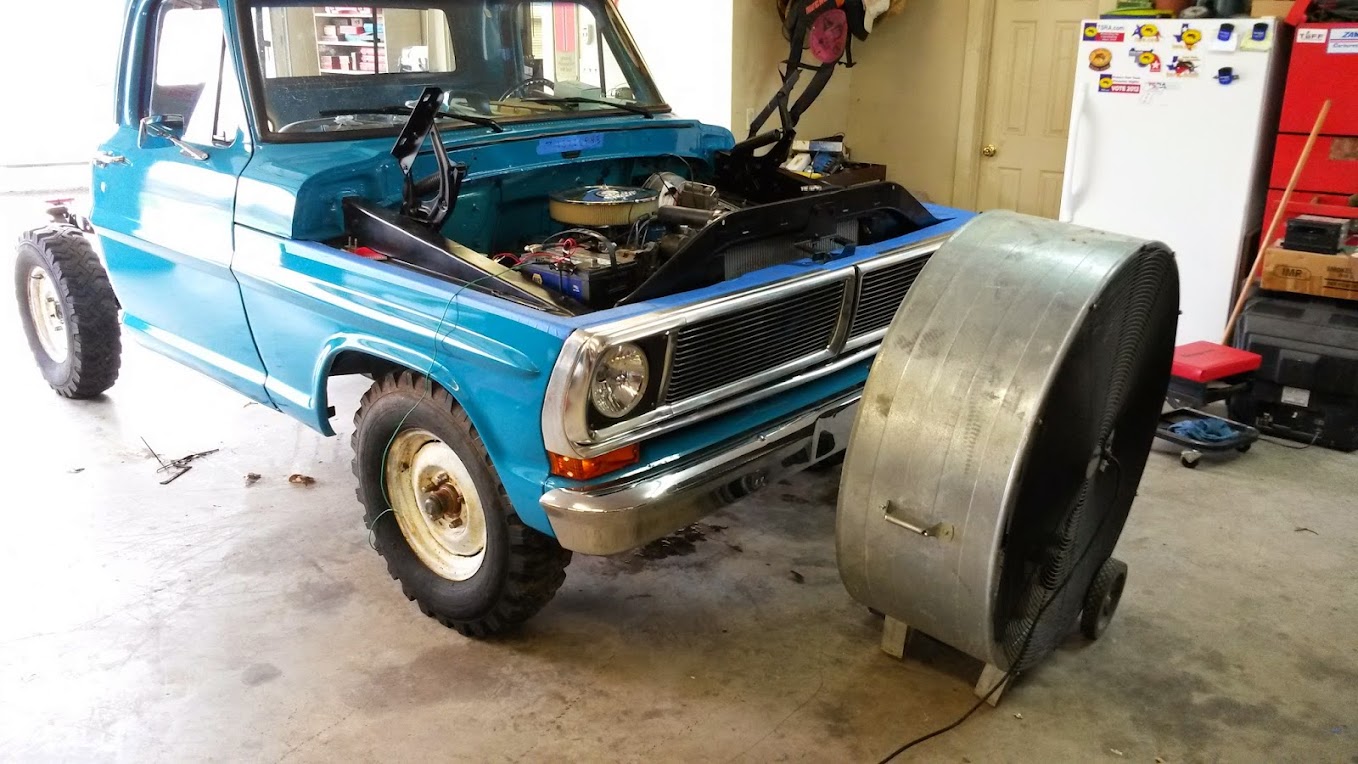
This is where one of the return lines from the heater is supposed to go, but I didn't have the correct fittings when I was testing. I had the return heater hose just pinched off, and my temperature probe installed here.
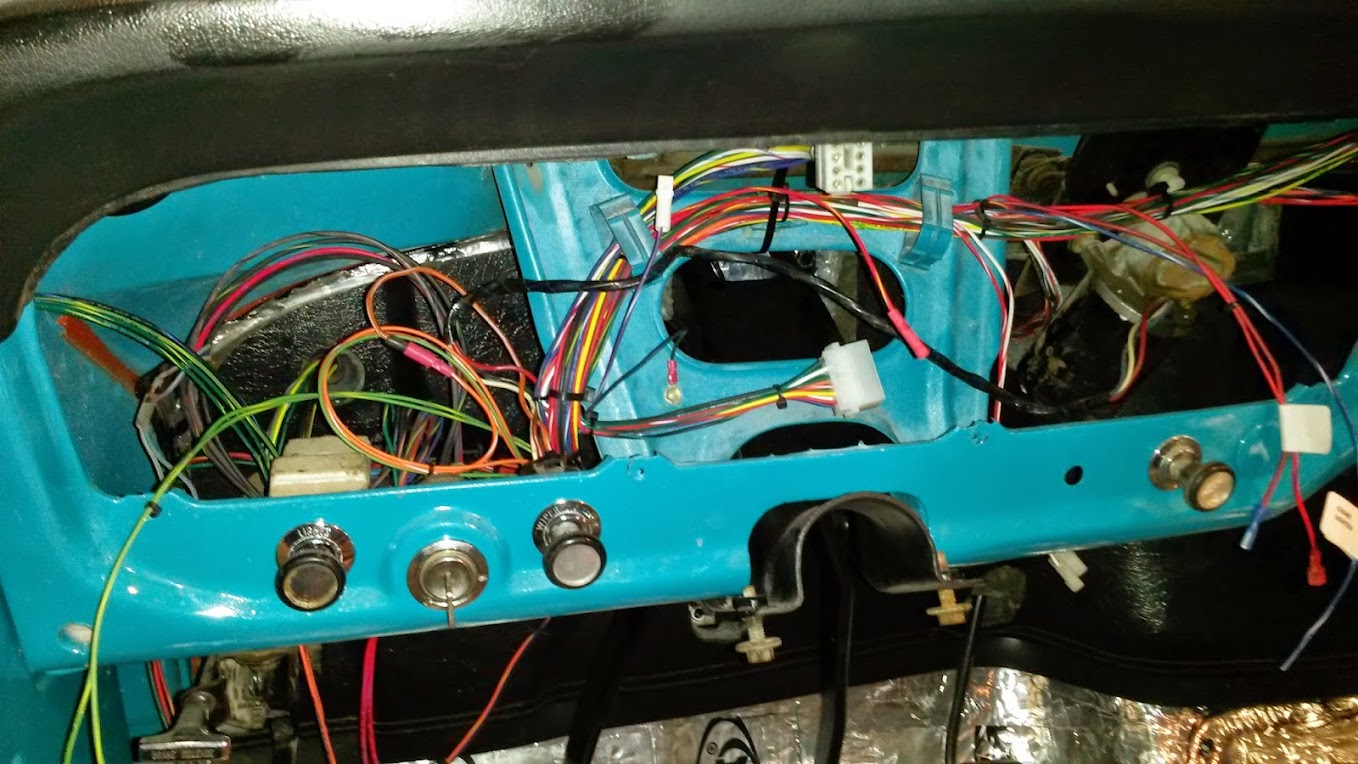
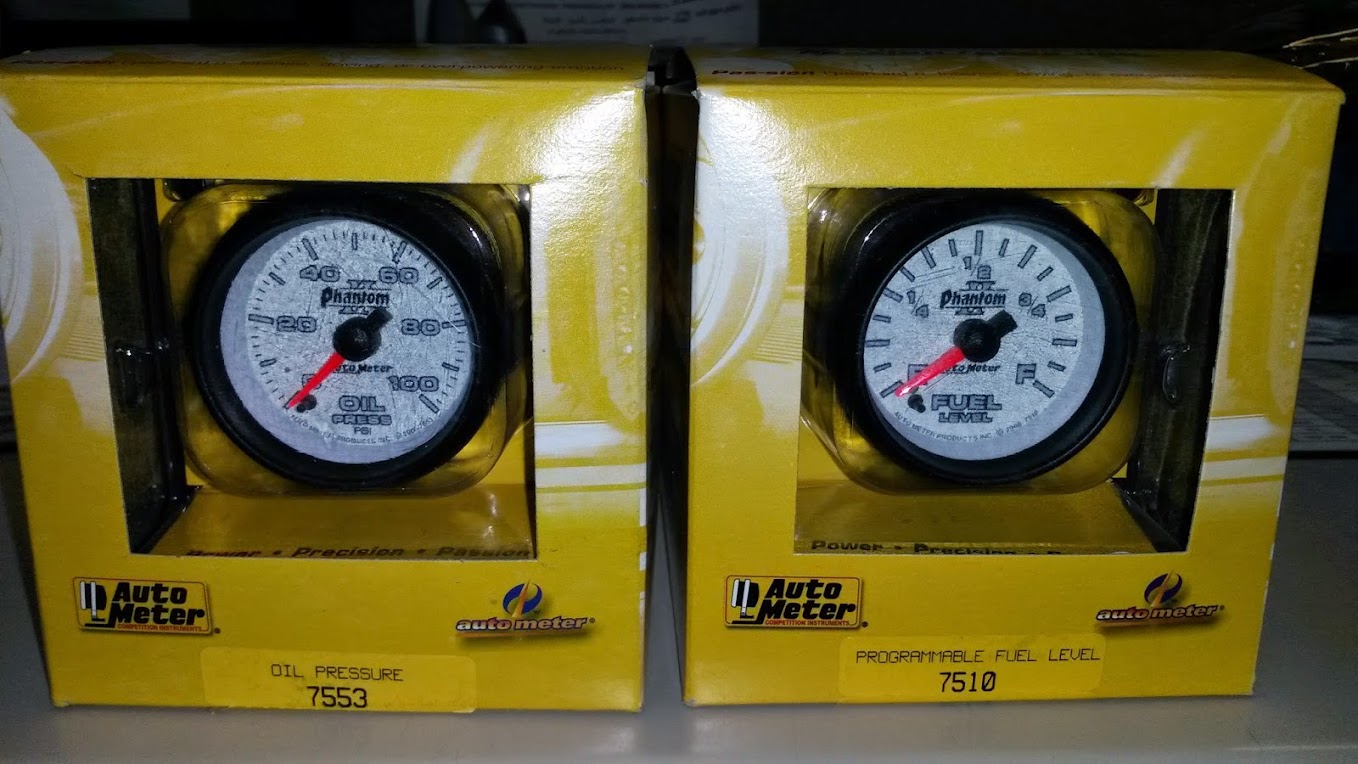
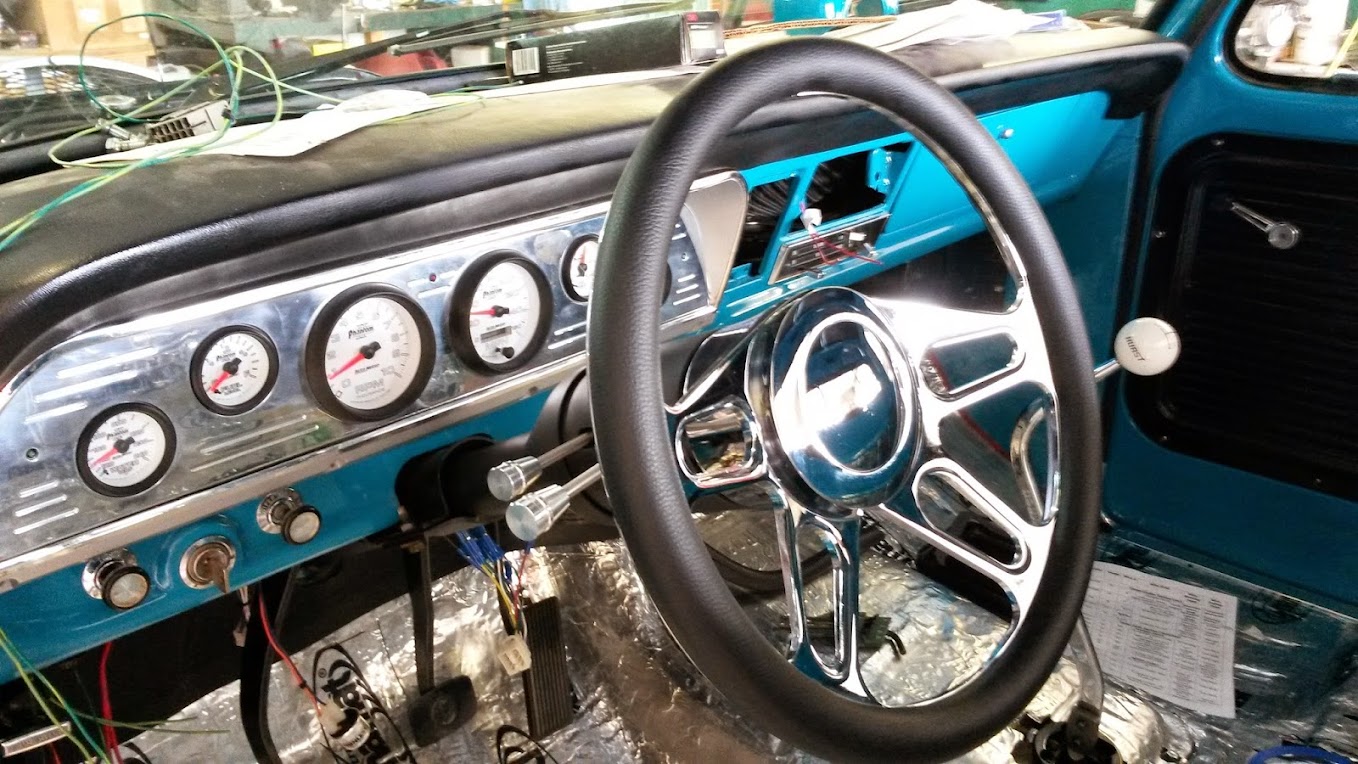
Finally got all the gauges installed into the cluster, wired up, and installed. We will need to go back and put loom on all the wires, but this worked for testing.


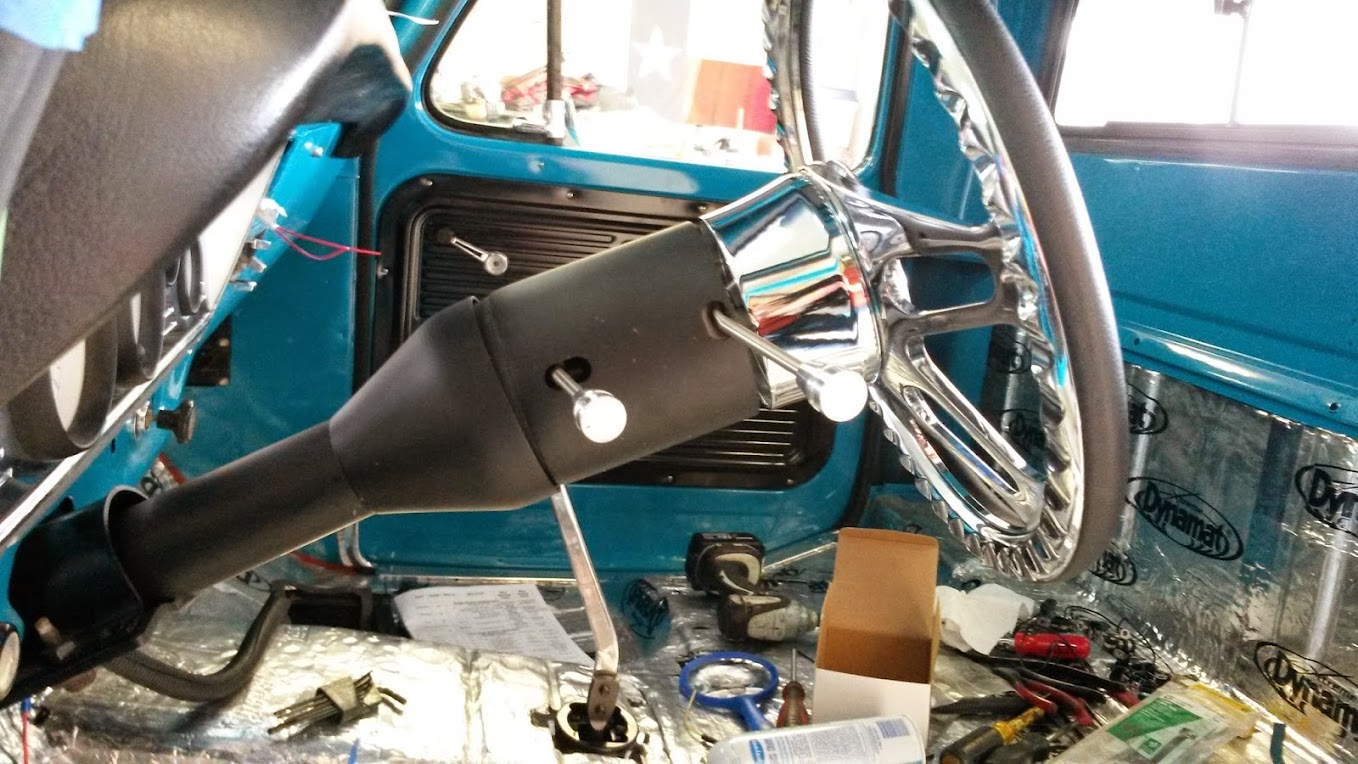
The bezel is filthy, but I couldn't help but install it with the column to see what it would look like.

Onto the brakes...
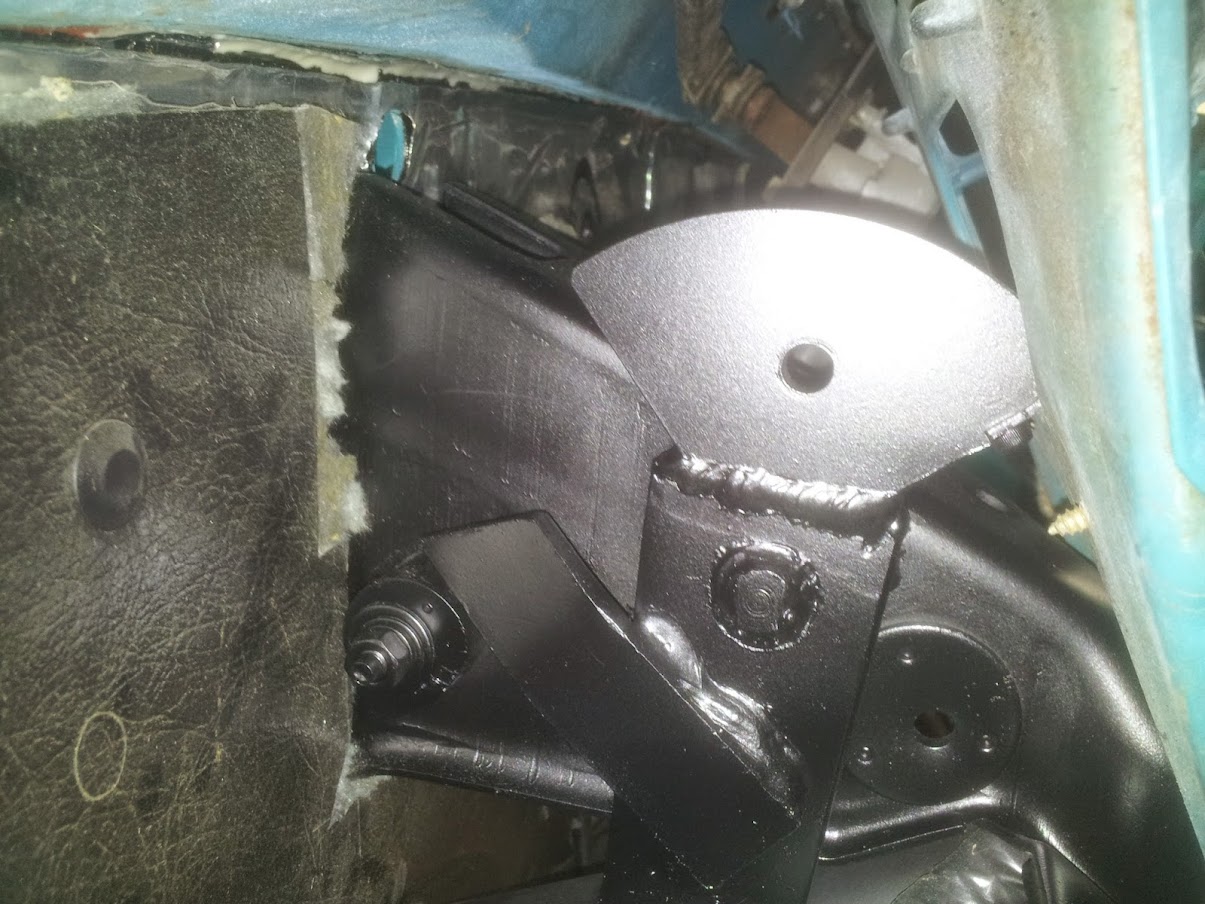
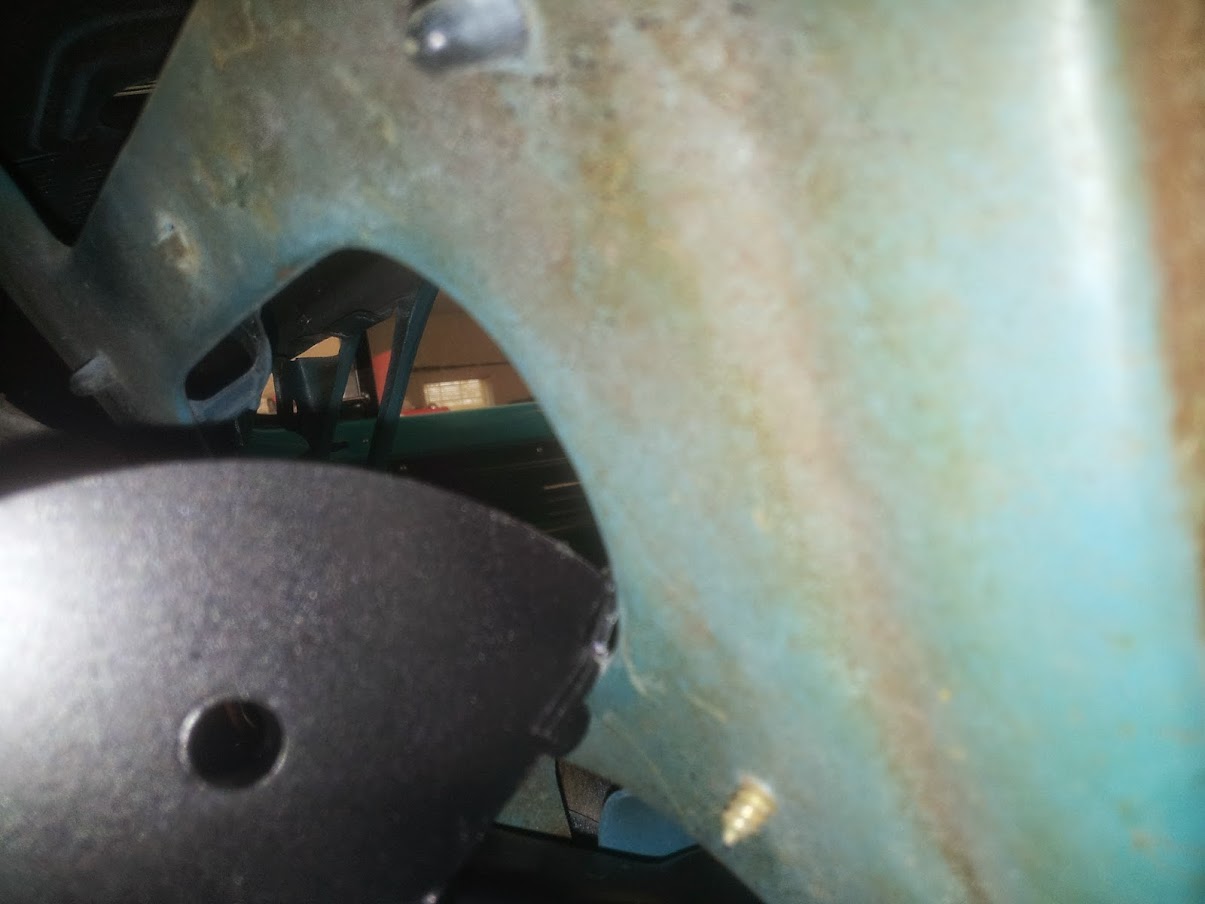
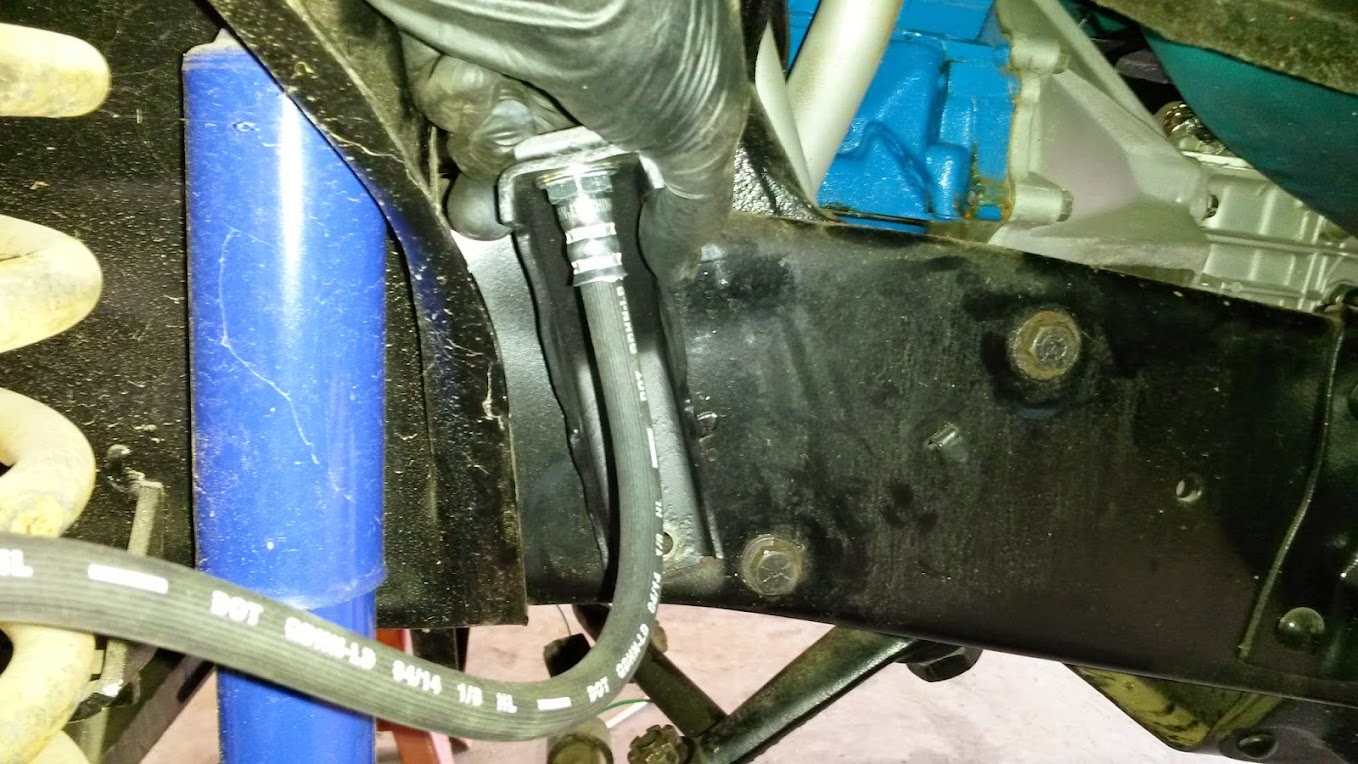
I am still having trouble figuring out how to mount the driver's side brake hose bracket. You can see where the original bracket was.
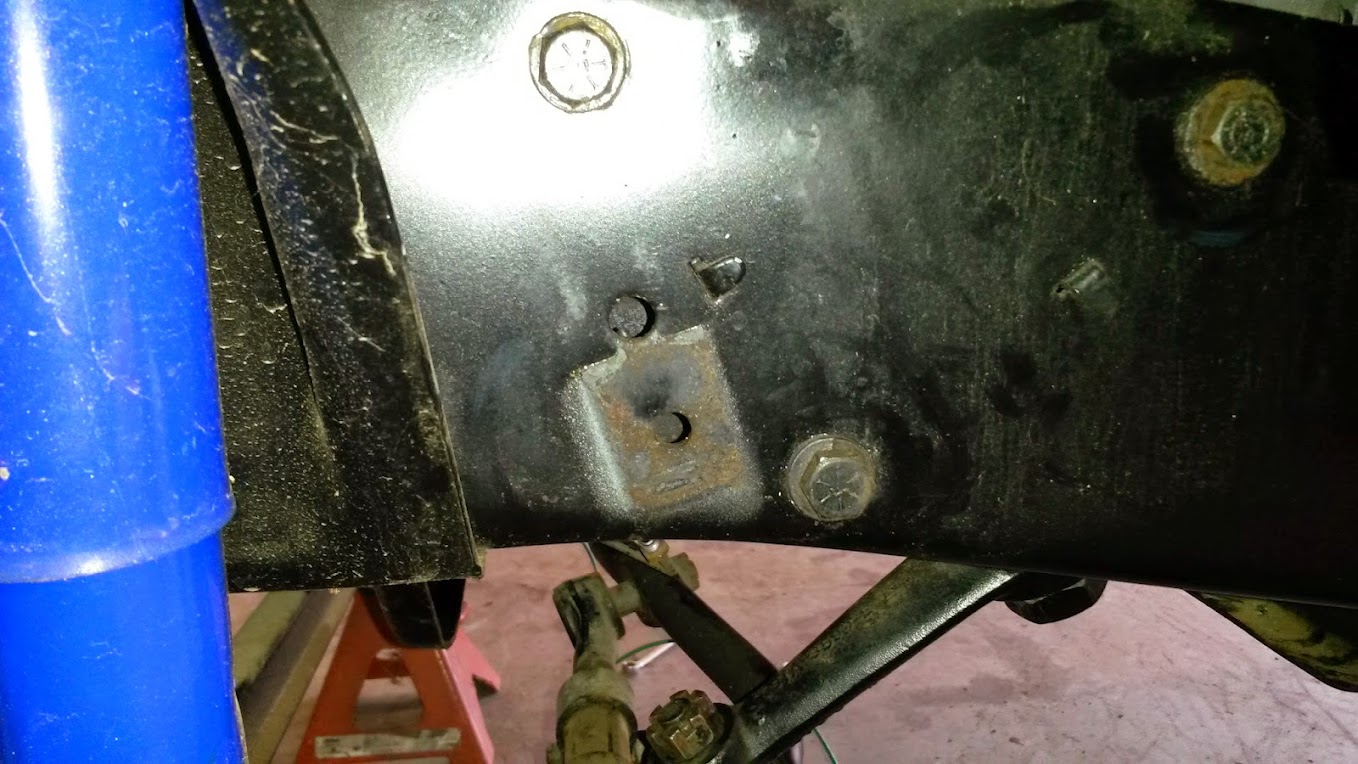
New bracket mocked into place. If I use the existing hole, there is a tab for the sector mounting that is in the way. With the sector installed, I cannot see a good way to mount the bracket. Will I have to remove the sector and then drill two new holes, or am I missing something simple?

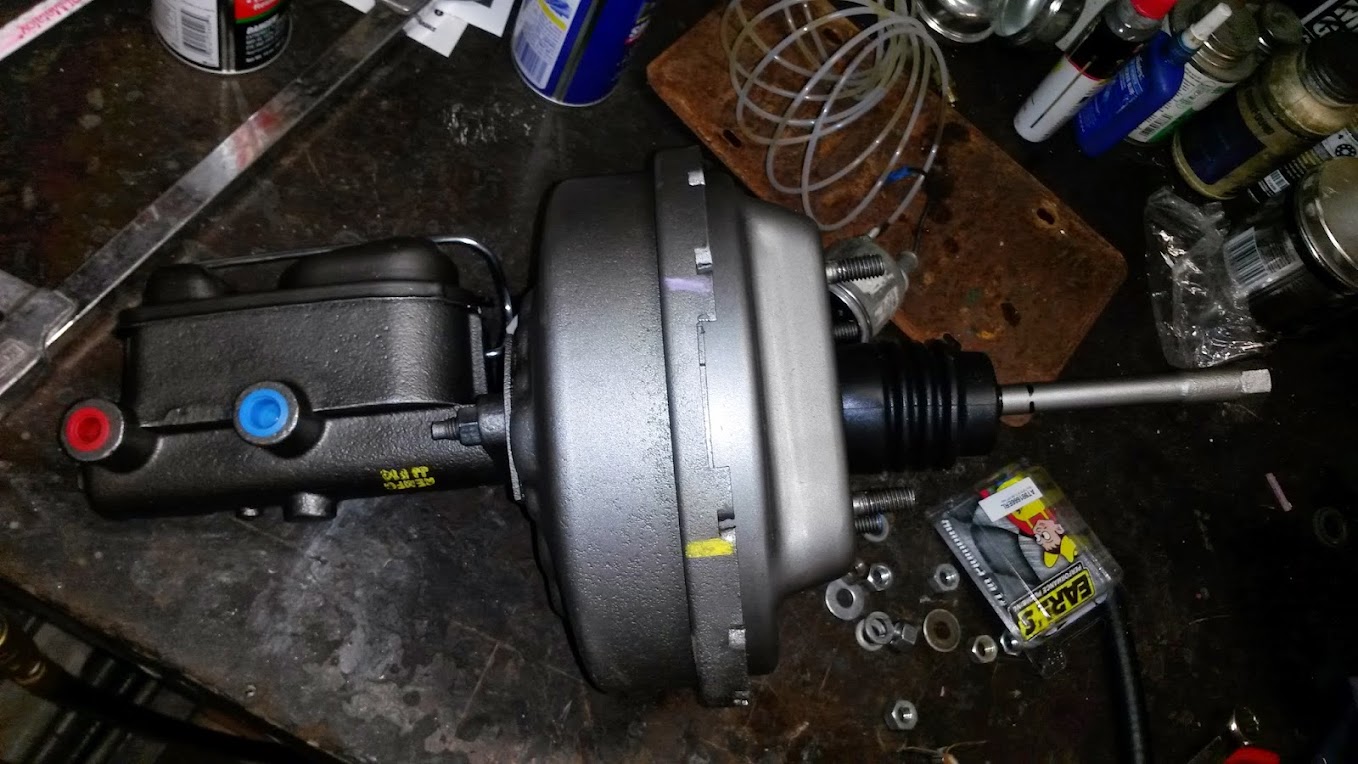
I ordered a new booster and Master cylinder for a 68 F350. It is the 8" booster, but is about an inch thinner than the one I have on another 68. Is the new design just thinner, or is the old one a dual diaphragm and the new one a single?
New booster: It is a little over 4.5" from master mounting surface to the bracket mounting surface.
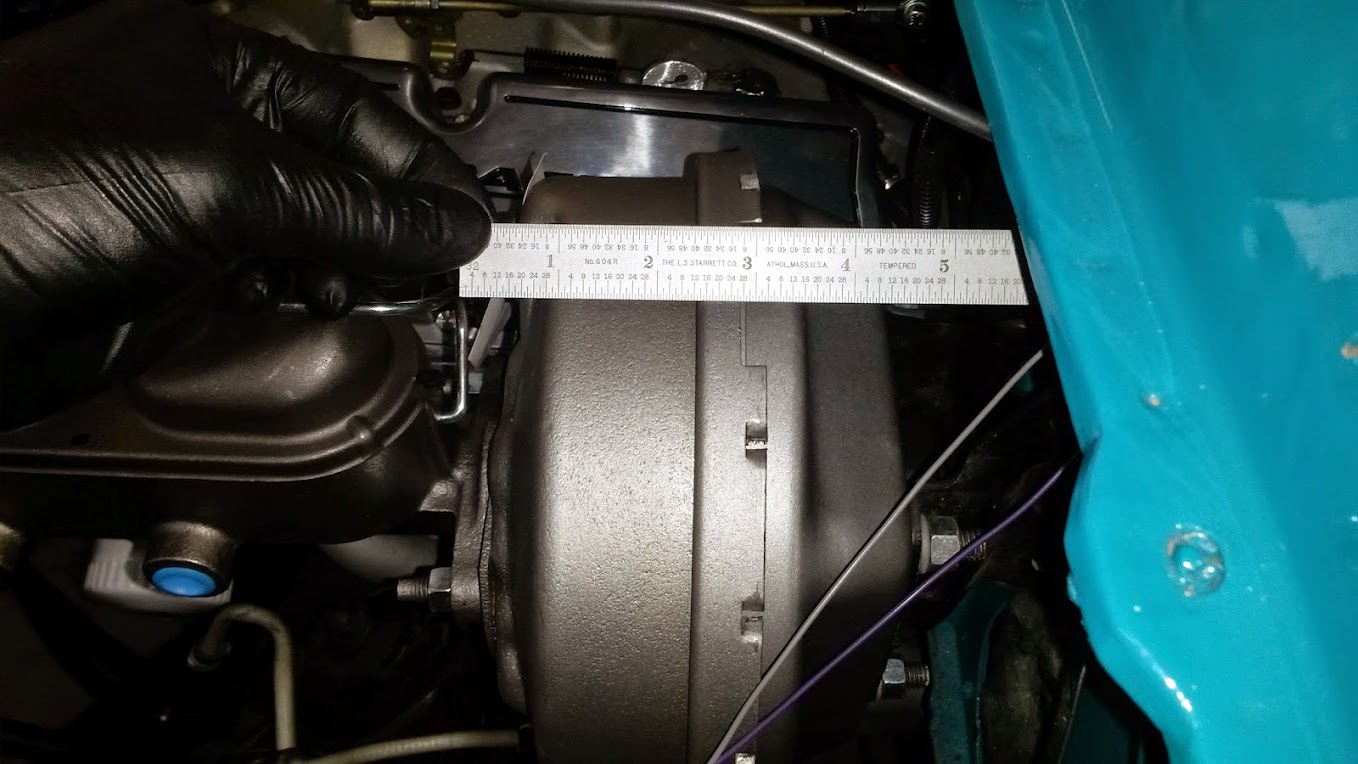
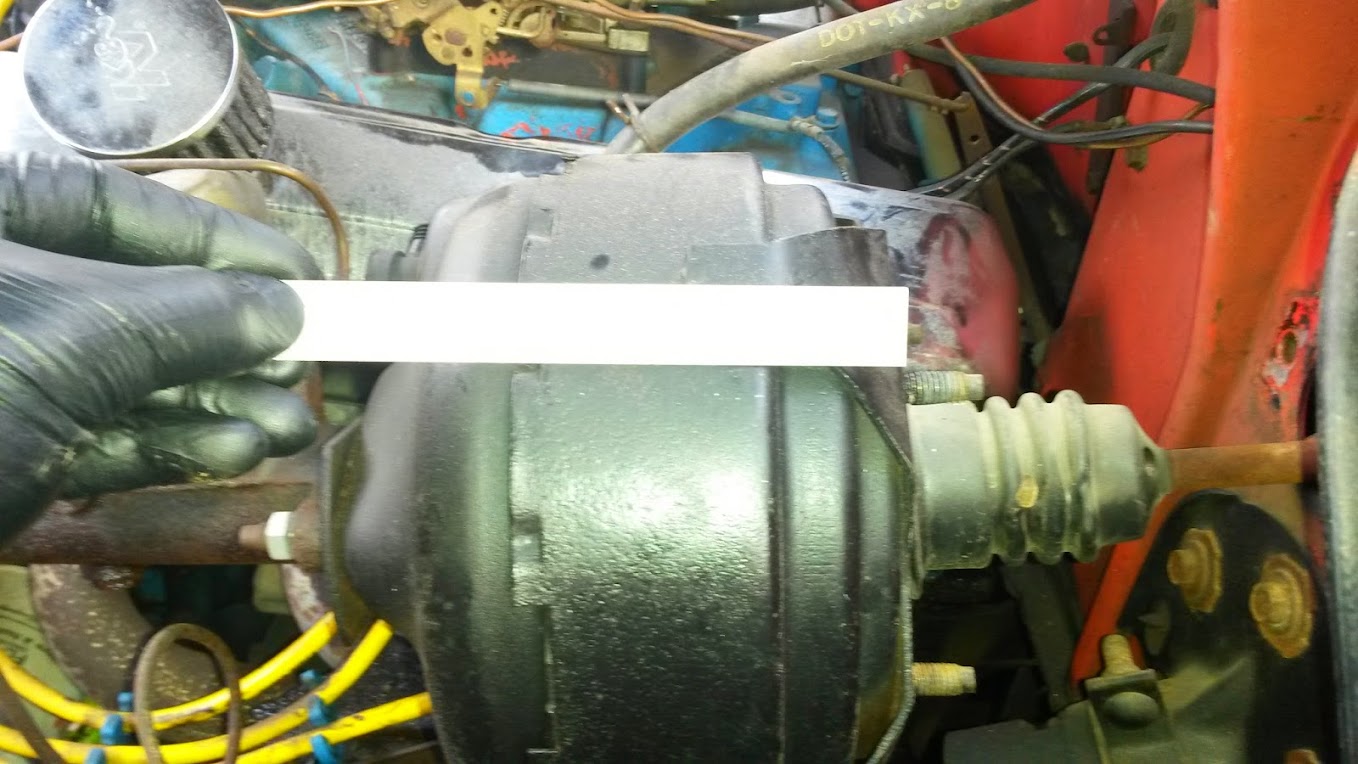
Old booster that I assume is for the 68. I know you cannot read the measurement, but it is a little over 5" from the master mounting surface to the bracket mounting surface.
This is just a picture of the sway bar I installed. It is from LMC.

My remaining obstacles to get it on the road are, fuel tank, finish the brake system (bend all lines, mount prop. valve, make or buy booster brackets), a couple odd loose wires, and seat brackets.
