Hey
So it's been a while since I last posted; I kinda got carried away with school and other things (I know, the usual excuse for not posting, got "busy"... but I've still been working on the truck!)
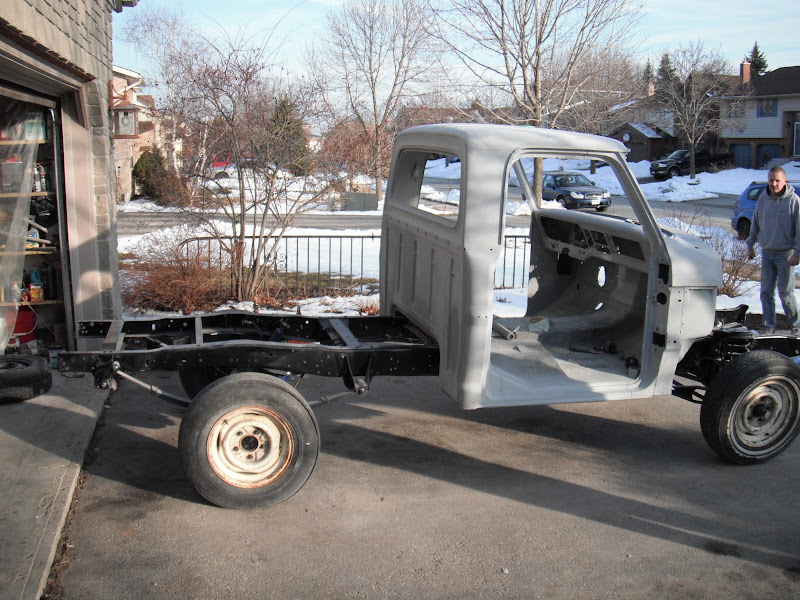
So, when I left off I had just had the box blasted. This is what I was left with:


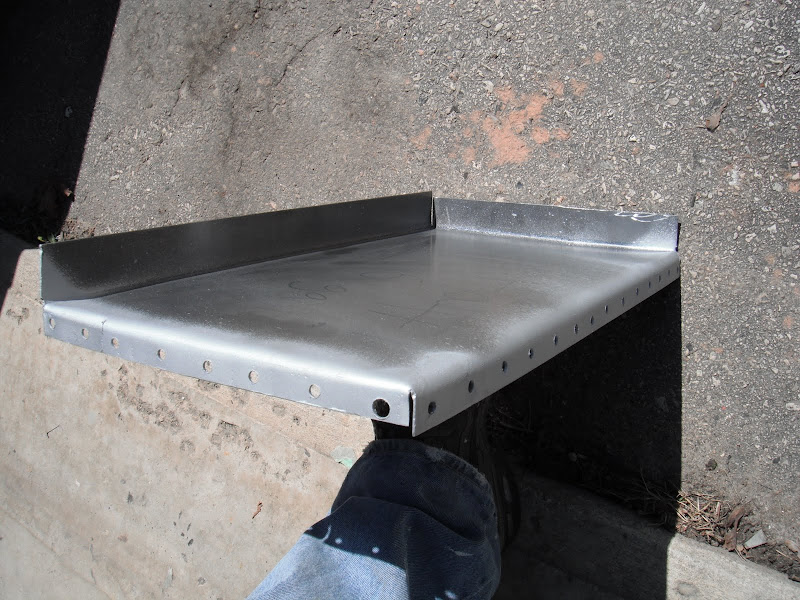
Typical rust spots, and also the drivers side rear corner of the bed was for some reason very much gone... so out came the grinder, and a fresh sheet of 16ga... had a fun time bending that with our little Princess Auto break.
The drivers inner wheel well was also pretty bad

But the metal was really solid just a few inches up, so I just sliced out all the crap and spent a few minutes with a hammer to make these patches , and my dad welded them in (I didn’t grind them yet).


I immediately ordered a nice 18” leather sand bag from Eastwood after making the curved indentation on that long patch, and man is it worth having one of those bags… makes smooth, nice metal shaping much easier!
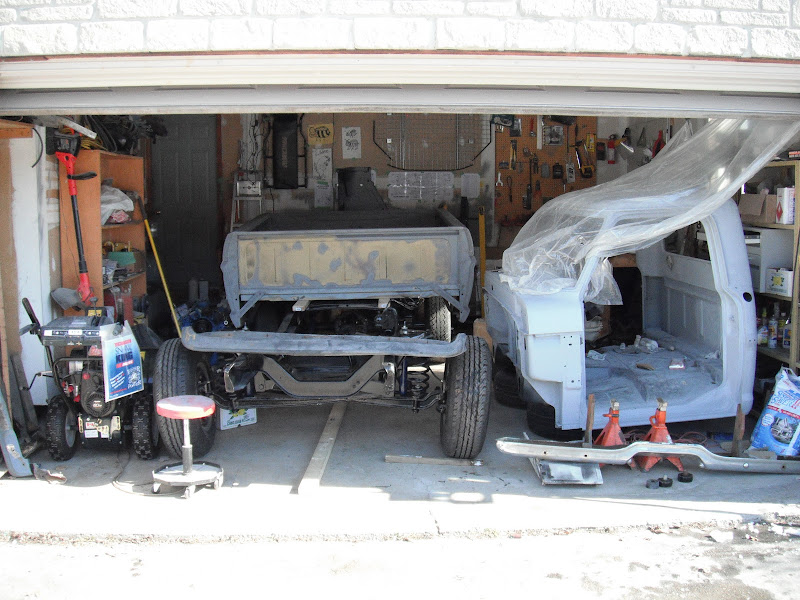
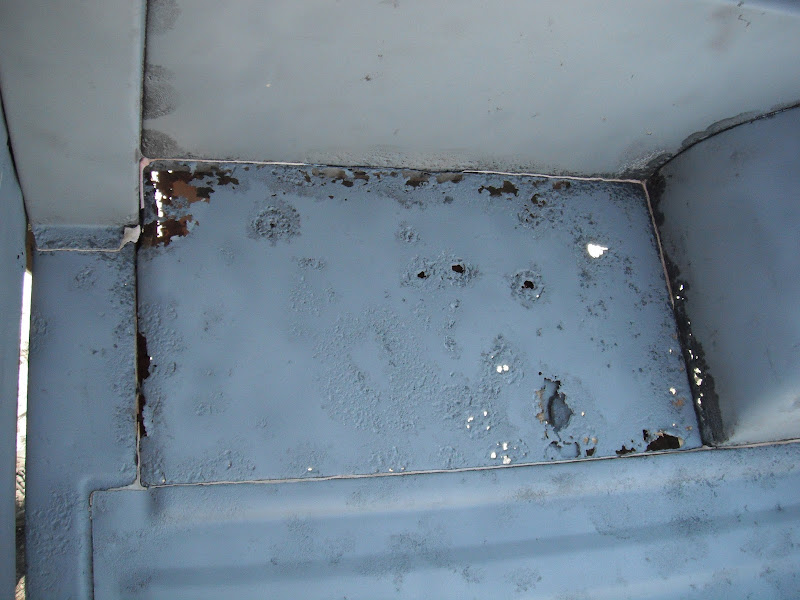
This is really the only picture I have of what the underside of the box was like

I had planned at first just to clean/scrape a bit and then either POR 15 or rocker guard it, but while I was pounding some dents in the floor out I realized the remaining undercoating (covering about 80% of the floor) comes off in chunks when hit, and underneath there was still the nice factory sealed metal. So, a couple hours with an air chisel and I had it cleaned off. Then I took a spot blaster, drill and a wire brush to clean out the pitted spots, primed it and painted it the same blue as my two-tone outside will have. (of course by the time I took this pic I had done some sanding or something, so everything had a nice healthy coat of dust on it, but it looks awesome when I have it wiped off)
I know the blue won’t be very good with stones and such, so I put rocker guard in the wheel wells.

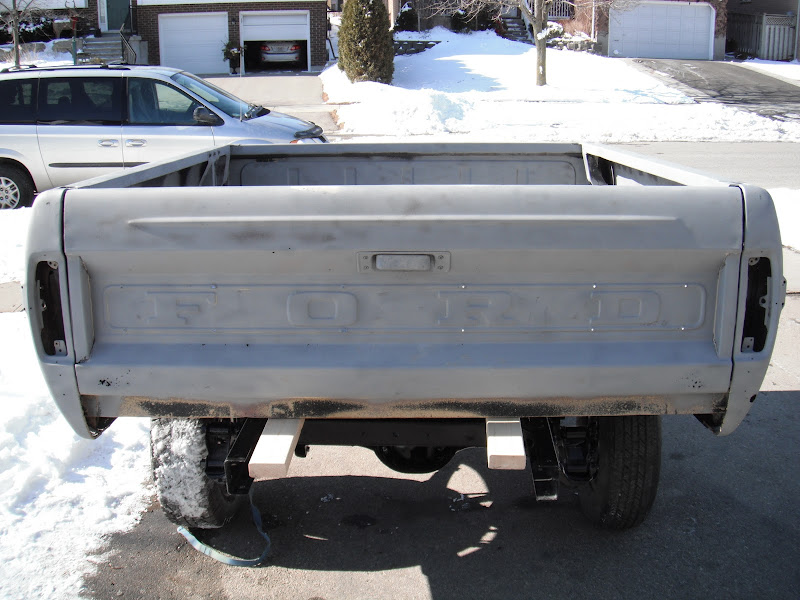
Also ended up patching the floor where the outer supports are tacked on in each corner. The tailgate took a lot of hammering to get the flat part flat, and several patches where it had rusted through. Again, there were the few areas of swiss cheese, and then a couple inches away it was completely solid metal.
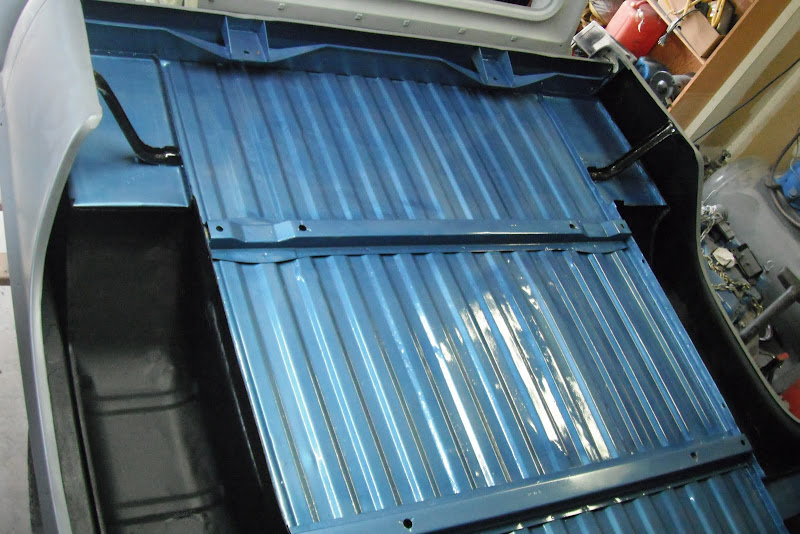
I knew I was gonna be busy for the next little while so I got my dad to lay down a couple coats of epoxy to keep away the rust, you can see my patches on the floor/inner wheel well will need a bit of attention to get them looking right. I plan on getting it Line-x’d or rhino’d, and those coatings start at 1/16” think so I think that should hide the empty pitting and any minor imperfections in the box. I didn’t try too hard because I don’t wanna be afraid to put stuff in it (my dad and have a 56 Chevy, and we made a pine bed with aluminum strips and we are too afraid to put stuff in it!)


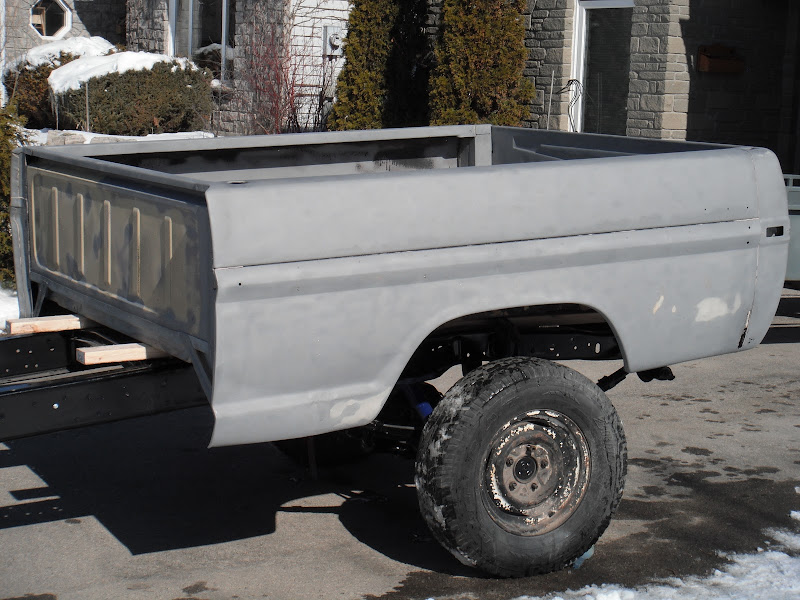
As you can see here, someone was mean to the drivers side of the box, the entire panel in front of the wheel well was completely out of shape (it stuck out about 2 inches compared to the other one, at the wrong angle, with a huge crease, this picture doesn’t capture it all). So my dad and I spent a day bashing, prying and sweating (sweating - in the Canadian winter!) to get it straight. It's not perfect yet, but it's almost there.

After this point I got the truck towed to my brothers house so a) we could get our chevy out, and b) so I could focus on school and not fail because of spending too much time on the truck. But don’t worry, I did lots of blocking of the front end metal, and started experimenting with how to polish up the aluminum (and with this being the ranger, there is a TON of it!)
I’ll post the rest of what I did in a couple days when I need another study break (exams in 2 weeks – fun times)
Brian