Project '71 F-100 Update: 7/24 Wiring Progress w/ Pics!

Post progress reports on your project truck(s)

Moderator: FORDification

User avatar
Caseys71
Blue Oval Guru
Blue Oval Guru
Posts: 1289
Joined: Sat Nov 07, 2009 7:48 pm
Location: Hampstead, North Carolina

Re: Project '71 F-100 Update: 8/16 Rear-Suspension Under Way!

Post by Caseys71 »

:woohoo:, As of today my Rear-suspension is complete, and my rear-brakes are 99% there with the exception of the drums needing to be turned (still need to find a shop that will turn drums, all of the shops I've asked so far look at me like I'm stupid and ask if I mean rotors :roll:) Other than that all I need to do is install the steel brake lines from the axle to the M/C and reconnect the parking-brake. Today I:
-Uninstalled the driver's side backing plate and cleaned it up and coated in in POR-15/Silver-Rustoleum just like I did on the other side
-Re-installed the driver's side backing plate with a new axle-flange gasket and new hardware
-Did the brakes on the driver's side to include new wheel-cylinder and fresh Grade-8 wheel-cylinder bolts/washers, all new hardware, and new shoes like I said I just need to turn the drums now
-Installed new rubber brake hose on the axle
-Installed new Monroe shocks with new Grade-8 hardware
-Poured about 3 qts. of Lucas 80W gear oil in the freshened up axle
-Installed new Grade-8 U-bolts that a local spring shop bent up for me
-Installed leaf-springs that got new Energy Suspension poly-bushings and all new Grade-8 hardware
-Re-connected drive-shaft w/ fresh hardware (would've done U-joint too but we replaced it when we bought the truck)
-And I touched up spots on the rear-frame that I missed w/ the top-coat last time :lol:

I'd say I got quite a bit done today :thup:. Hopefully tomorrow I can start bending new steel-brake lines from the rear axle to the Master Cylinder (weather permitting of course, as it was supposed to rain today/tomorrow/Thursday off and on :doh:) Anyways here are some pictures for you guys! Would've taken more but it was too dark to take pictures of much as the truck was outside not in any light other than the flash-light I was working w/ of course :lol:.
Image
Image
Notice that purty piece of masking tape I used to try and protect the fresh paint :lol:
Image
Image
Image
I finished this side up in record-time probably less than 5-minutes! After doing one side I got a good feel for it. (this is the first time I did rear-drums, I've done front-drums before so the only thing new to me is the parking-brake stuff which is actually a lot simpler than I thought)
Image
That was the last picture I was able to take before it was to dark for my phones camera-flash to work :lol:.

If the weather doesn't hurt my plans you guys will be able to see a bit more progress tomorrow as well! :hd:
Last edited by Caseys71 on Fri Jul 01, 2011 5:50 pm, edited 1 time in total.
Casey
16 years old with a 40 year old truck (well almost)
Image
1971 F-100302, T-18 4 speed, 3:55 rear, & an Edelbrock sticker on the ashtray.
"Don't worry about what you become, just make sure that you're successful at what you do."- Mr. English
"Value what you DO have over that which you don't."- Forrestbump
"Wanting can sometimes be better than having, never stop dreaming... it's what keeps us all going."- Forrestbump
1984 Toyota 4x4: 22-R, 5-speed, 3" suspension lift, 35's and 5:29's
User avatar
69rangerf100
Blue Oval Guru
Blue Oval Guru
Posts: 1381
Joined: Tue Nov 27, 2007 8:14 pm
Location: Dallas, Georgia
Contact:

Re: Project '71 F-100 Update: 8/17 Rear-Suspension Complete!

Post by 69rangerf100 »

lookin good
David

Dream as if you'll live forever, live as if you'll die today - James Dean

Daily Driver - 1998 Honda Accord
Wife's Ride - 2007 Ford Explorer Sport Trac
Project - My Dad's 1969 F100 Ranger 390 w/ 3spd manual coming soon PS, PB, A/C and alot of paint and body work - Miss you Dad
http://s936.photobucket.com/albums/ad208/69rangerf100/
frankensteined_67
New Member
New Member
Posts: 81
Joined: Sun Jun 21, 2009 10:45 pm

Re: Project '71 F-100 Update: 8/17 Rear-Suspension Complete!

Post by frankensteined_67 »

looks good man. its funny i did the same paint scheme on my 9" too.
User avatar
basketcase0302
100% FORDified!
100% FORDified!
Posts: 6805
Joined: Thu Jan 26, 2006 7:11 am
Location: Hawthorne, Florida

Re: Project '71 F-100 Update: 8/17 Rear-Suspension Complete!

Post by basketcase0302 »

Casey,

Looking good young man! That's a lot of work done in a short time. :woohoo:
Is the picture above one of your brake drums you needed turned? If so, it almost looks like it's at the point that no one can legally turn it down any more? I just ran into the same thing and got my new one from NPD last night. You can read the number on the outside of the drum, (this will state the measurement allowed to turn the drum to) and then get a caliper and measure the drum. Autozune or discoont auto might even be able to measure it for you.

Keep up the good work! I too am fighting the rains down here. Image
Jeff
http://www.fordification.com/forum/view ... 22&t=46251
SOLD-71 F-350 dually flatbed, 302 / .030 over V-8 with a "baby"C-6, B & M truckshifter, Dana70/4.11 ratio, intermittent wipers, tilt steering, full LED lighting on the flat bed, and no stereo yet (this way I can hear the rattles to diagnose)! SOLD!
Many Ford bumps / one 76' EB / and several dents through the years.
A lot of "oddball" Ford parts collected from working on them for 34 years now!
2008 Ford Escape 4 x 4
User avatar
FormerMarine1981
Blue Oval Fanatic
Blue Oval Fanatic
Posts: 793
Joined: Sun Jan 21, 2007 10:28 pm
Location: Texas , Austin
Contact:

Re: Project '71 F-100 Update: 8/17 Rear-Suspension Complete!

Post by FormerMarine1981 »

Looks good, very nice progress. Not sure what the price is for new drums but I bet it will be a lot easier to buy new ones than it will be to find a place that turns them. Good luck, keep up the progress. :thup:
What we do in Life, Echoes in Eternity
User avatar
72stepside
Blue Oval Fan
Blue Oval Fan
Posts: 537
Joined: Tue May 09, 2006 10:31 pm
Location: Florida, Milton
Contact:

Re: Project '71 F-100 Update: 8/17 Rear-Suspension Complete!

Post by 72stepside »

Rear drums are $40 each at AutoZone. Might be worth buying new and being done with it (of course I don't know your financial situation so I should just shut up!). :hd:
Chris
72 F100 Stepside w/ 78 300 CID
Hedman Headers
Disc Brakes
Power Steering with 3 STILL on the tree
Comfy Crown Vic Seats

71 F250 PS, PB, AC, Auto, 390
Loooong way to go on this one!

ImageImage
ImageImage
jp2005
Blue Oval Guru
Blue Oval Guru
Posts: 1085
Joined: Fri Jul 02, 2010 1:29 pm
Location: Phoenix AZ

Re: Project '71 F-100 Update: 8/17 Rear-Suspension Complete!

Post by jp2005 »

Casey you have been busy man
Thanks JP! Ms. Cordova is a factory 1969 Ford F100 Ranger with a 390, Front disc brakes, Cordova copper orange, behind the seat box
User avatar
Caseys71
Blue Oval Guru
Blue Oval Guru
Posts: 1289
Joined: Sat Nov 07, 2009 7:48 pm
Location: Hampstead, North Carolina

Re: Project '71 F-100 Update: 8/17 Rear-Suspension Complete!

Post by Caseys71 »

69rangerf100 wrote:lookin good
Thanks man!
frankensteined_67 wrote:looks good man. its funny i did the same paint scheme on my 9" too.
Thank you, :lol: great minds think alike my friend :wink:.
basketcase0302 wrote:Casey,

Looking good young man! That's a lot of work done in a short time. :woohoo:
Is the picture above one of your brake drums you needed turned? If so, it almost looks like it's at the point that no one can legally turn it down any more? I just ran into the same thing and got my new one from NPD last night. You can read the number on the outside of the drum, (this will state the measurement allowed to turn the drum to) and then get a caliper and measure the drum. Autozune or discoont auto might even be able to measure it for you.

Keep up the good work! I too am fighting the rains down here. [ Image ]
Thanks Jeff! Your truck is coming along too. Sure is, I do recall measuring it when I disassembled everything, but I don't recall the max. diameter listed on the drum or how much meat there was on them. You may be right about replacing them, I looked at them and they are around $40 at NAPA and AutoZone so I may just pick new ones up and call it a day! When do we get to see pictures of that shiny new flat-bed mounted on basketcase? :P, Just messing with you, between work and the rain I'm sure you're having a hard time getting too much done on the dually.
FormerMarine1981 wrote:Looks good, very nice progress. Not sure what the price is for new drums but I bet it will be a lot easier to buy new ones than it will be to find a place that turns them. Good luck, keep up the progress. :thup:
Thanks, I'm not sure what I will be doing but I will probably more than likely just be buying new ones, it'll be easier and then I don't have to worry about stripping any rust :lol:.
72stepside wrote:Rear drums are $40 each at AutoZone. Might be worth buying new and being done with it (of course I don't know your financial situation so I should just shut up!). :hd:
You are correct I checked a while ago! I agree you are probably right, and the bump funds are pretty stable right now so it could definitely be in the budget, even if it wasn't your opinion is much appreciated :thup:.
jp2005 wrote:Casey you have been busy man
:lol:, Can't argue with that! It feels great to be working on the bump though 8). How is your truck coming along?

With that said I got up early this morning and washed the truck (then saw a big rain cloud hovering over it like an hour after the fact :doh:), then I drove it around the house for the first time in like 3 months which felt really good! (In more than one way I might add, the fresh rear-suspension really improves the ride a bit). I may or may not get a chance to bend some brake lines today due to the weather but I'm at the very least planning on cleaning all of the junk up off of my seat :lol:. If I make any major progress I will post again tonight.

Thanks for all of the kind words and words of wisdom guys! It is much appreciated :fr:.
Casey
16 years old with a 40 year old truck (well almost)
Image
1971 F-100302, T-18 4 speed, 3:55 rear, & an Edelbrock sticker on the ashtray.
"Don't worry about what you become, just make sure that you're successful at what you do."- Mr. English
"Value what you DO have over that which you don't."- Forrestbump
"Wanting can sometimes be better than having, never stop dreaming... it's what keeps us all going."- Forrestbump
1984 Toyota 4x4: 22-R, 5-speed, 3" suspension lift, 35's and 5:29's
User avatar
Caseys71
Blue Oval Guru
Blue Oval Guru
Posts: 1289
Joined: Sat Nov 07, 2009 7:48 pm
Location: Hampstead, North Carolina

Re: Project '71 F-100 Update: 8/17 Rear-Suspension Complete!

Post by Caseys71 »

Oh yea almost forgot, I may be getting a parts truck as well. It is the black '67 SWB in the pictures:http://winstonsalem.craigslist.org/cto/1876039899.html It looks to be much more solid than my truck, and he only wants $200 for it so we will see. If I get it I may be getting an entire new body for the most part, then I can have all of the cool '67 only items. Only bad part is that he is about 4 hours away :doh:. Will keep you guys posted! And if you want let me know what you think about the parts truck, he says it has only surface rust for the most part, I'd say it is worth it.
Last edited by Caseys71 on Wed Aug 18, 2010 11:33 pm, edited 1 time in total.
Casey
16 years old with a 40 year old truck (well almost)
Image
1971 F-100302, T-18 4 speed, 3:55 rear, & an Edelbrock sticker on the ashtray.
"Don't worry about what you become, just make sure that you're successful at what you do."- Mr. English
"Value what you DO have over that which you don't."- Forrestbump
"Wanting can sometimes be better than having, never stop dreaming... it's what keeps us all going."- Forrestbump
1984 Toyota 4x4: 22-R, 5-speed, 3" suspension lift, 35's and 5:29's
frankensteined_67
New Member
New Member
Posts: 81
Joined: Sun Jun 21, 2009 10:45 pm

Re: Project '71 F-100 Update: 8/17 Rear-Suspension Complete!

Post by frankensteined_67 »

cant get to that truck add. but a 8hr round trip drive sounds like a fun Saturdays drive. by the way there is a lot of 67 only cab stuff. most people dont know about. the biggest thing i think is the heater controls, and the door control layout. and there is some more.
User avatar
Caseys71
Blue Oval Guru
Blue Oval Guru
Posts: 1289
Joined: Sat Nov 07, 2009 7:48 pm
Location: Hampstead, North Carolina

Re: Project '71 F-100 Update: 8/17 Rear-Suspension Complete!

Post by Caseys71 »

frankensteined_67 wrote:cant get to that truck add. but a 8hr round trip drive sounds like a fun Saturdays drive. by the way there is a lot of 67 only cab stuff. most people dont know about. the biggest thing i think is the heater controls, and the door control layout. and there is some more.
:doh:, I messed up the URL thanks for mentioning that! Yea, if we decide to get it we will probably make a Saturday out of the drive :thup:. I'm aware of the '67 only things, but thanks for looking out for me man! I know I will probably be using the bed/tailgate off of that truck as I'm told it is much more solid than mine,and at the very least I will also be using the cab, and probably the hood as well. Not sure what I want to do about using the doors yet, I really like the '67 only door mechanisms but not sure it would be a good idea to swap driver's doors due to the door tag :hmm:.

On another note I didn't get much of anything done today, after the first reply of the day it started to down-pour and has been down-pouring for hours. It didn't stop until a few hours ago :doh:. But I did clean out the cab and park the truck :thup:. Not anything worth taking a picture of just yet though, but I will keep you guys updated!
Casey
16 years old with a 40 year old truck (well almost)
Image
1971 F-100302, T-18 4 speed, 3:55 rear, & an Edelbrock sticker on the ashtray.
"Don't worry about what you become, just make sure that you're successful at what you do."- Mr. English
"Value what you DO have over that which you don't."- Forrestbump
"Wanting can sometimes be better than having, never stop dreaming... it's what keeps us all going."- Forrestbump
1984 Toyota 4x4: 22-R, 5-speed, 3" suspension lift, 35's and 5:29's
User avatar
Caseys71
Blue Oval Guru
Blue Oval Guru
Posts: 1289
Joined: Sat Nov 07, 2009 7:48 pm
Location: Hampstead, North Carolina

!

Post by Caseys71 »

:D, Well I ended up getting the '67 Parts truck I had mentioned before! It is VERY solid compared to my truck, and for the most part is rusted in places where my truck is solid so I shouldn't have any problems making one solid truck out of the two 8). I am very pleased with how solid the floors are on this truck however t does need some attention at the kick panels (Solid in my '71) The rear/front parts of the rocker panel (Again solid on my '71 for the most part) And there is one small hole in the cowl that will need new metal (Solid on the '71). The Passenger's side Inner Fender is in way better shape than mine although it isn't perfect, but I will probably be using it since it looks better, the hood is WAY more solid than mine. However the lower doors aren't perfect (Small rust holes that I intend to patch but the biggest hole in the bottom of the door so far is about the size of a dime, much better than my lower doors!) Also the fenders are toast toward the rear of the wheel but mine are good so I will be using them. Then there is one good sized hole rusted out of the outer skin of the tail-gate (Again it will get patched w/ metal from mine but other than that it is pretty straight except for one dent where-as mine has too many dents to count) Also it has rust in the front drivers corner of the bed right at the 90 degree seam where the front panel and quarter panel meet which is pretty rough but again my truck is solid there and the floor is perfect on this bed aside from some rust on the lower part of the fender well. Basically I'm VERY pleased with the parts truck with the exception of the fact that it has a '67 cab but '68-72 doors, and it also has a '68-72 hood but that's not a big deal even though I was hoping for the '67 doors. This truck also has a 4bbl intake I might just use, my guess is it is off of a Mustang or a Fair-lane with a 289 based on the casting number (C5OE-9435-C). I've also been thinking about using the 3-speed in the '67 as I am really fond of the 3-on-the-tree set-ups and the fact that nobody else at my school could drive it is another plus :lol:. Anyone have any comments as to the street-ability of a 3 speed vs. the T-18 I've got in the '71 currently? I've probably gotten more to say but I owe you guys some pictures:
Image
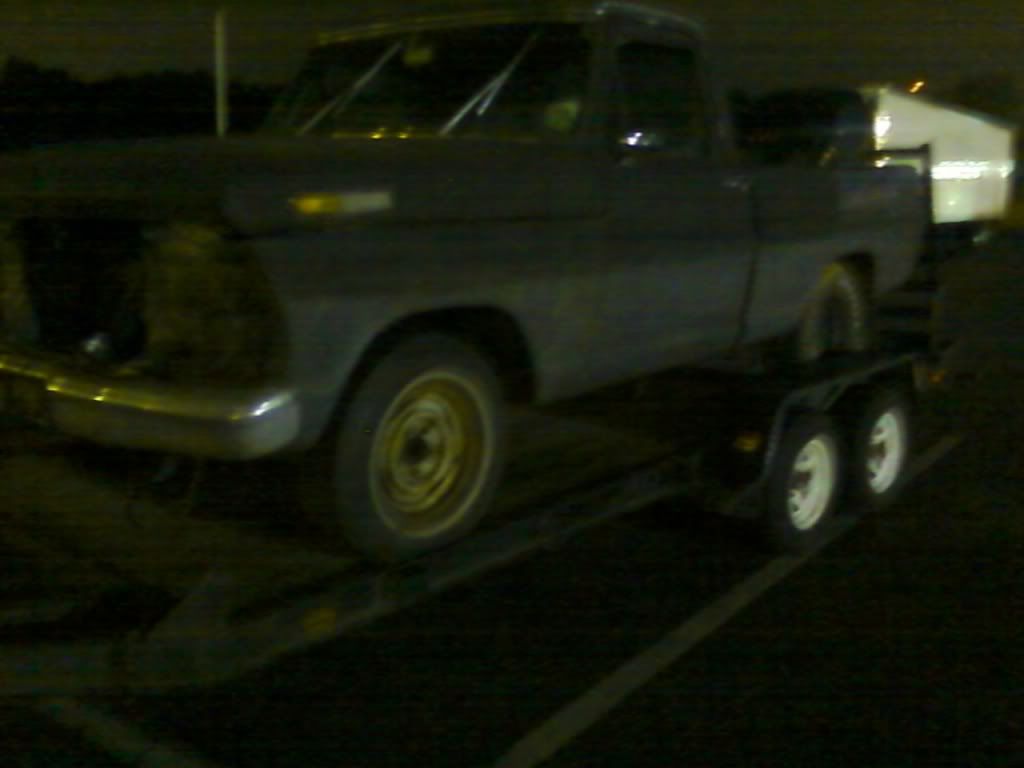
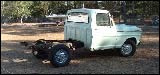
Here's a picture of the truck loaded up on the trailer at about 5AM Sunday. We ended up going up to Winston Salem to get it later on Saturday (3PMish) and by the time we got there and changed the tire, pushed the truck on the trailer, talked w/ the owner for a while and all of that good stuff it was already 9:30, so we decided to stay in a motel rather than drive 4-5 hours back home at night w/ the truck loaded and get some much needed rest.
Image
Here's a picture of all of the junk that was in the cab of the truck AFTER the P.O. cleaned it out a bit :eek:.
Image
Here's a picture of some of the stuff laying in the bed again AFTER the P.O. cleaned it out :lol:. I ended up with a bunch of trash, a spare tire, a mid '80s GM bench seat, a mid '70s-80sish Chevy van Grille, a '75 SBC Air Filter housing, 2 Oregon 16" Chain-saw chains NIB, Some Chrysler V8 Valve Cover Gaskets NIB, A few inline-fuel filter replacement filter elements, some carburetor cleaner, some sand-paper and a whole lot of other crap :lol:.
Image
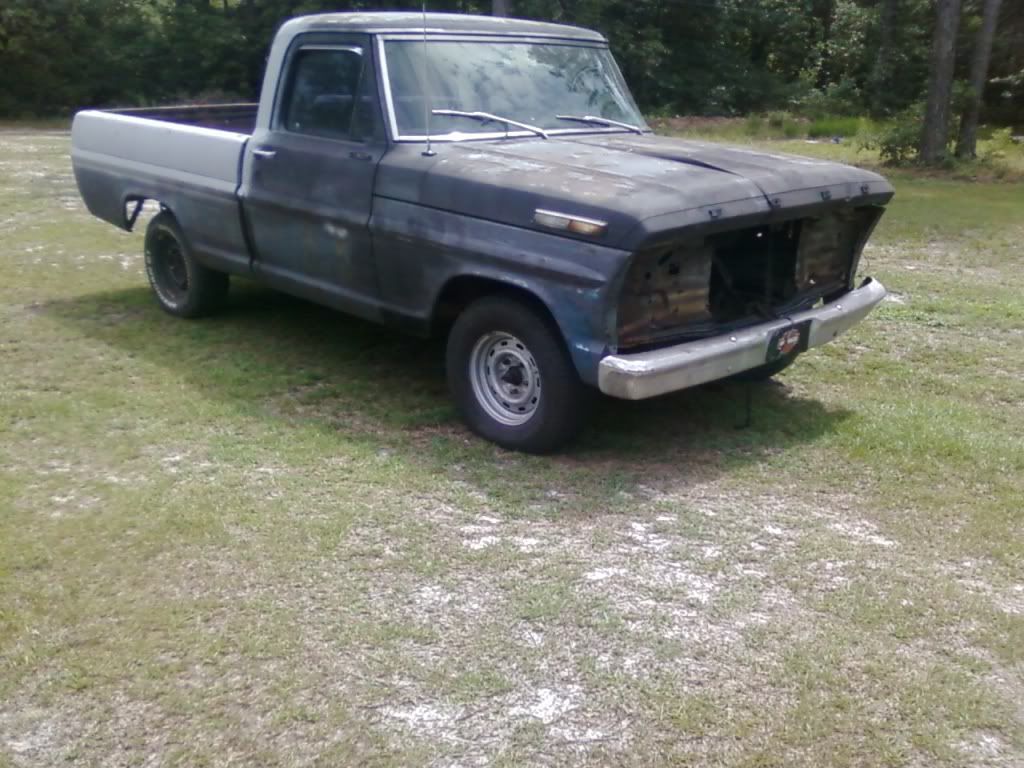
This is what the truck looked like after we pushed it off the trailer.
Image
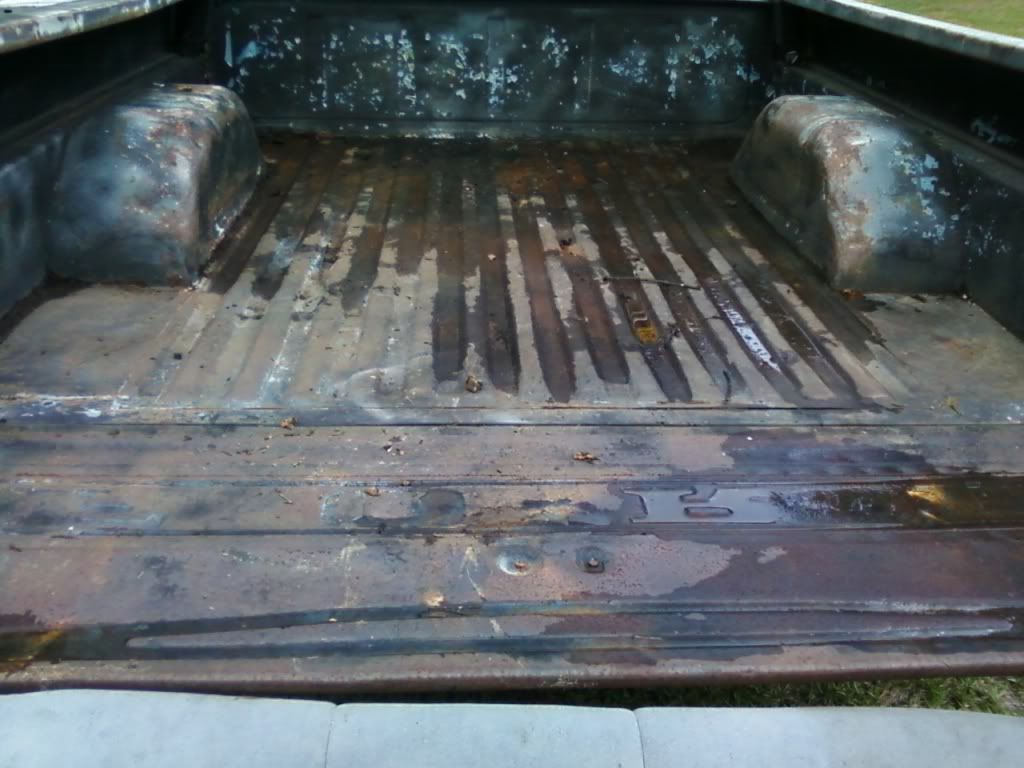
Then I cleaned out the bed, only thing left is some tar-like gunk on the front driver's side part of the floor.
Image
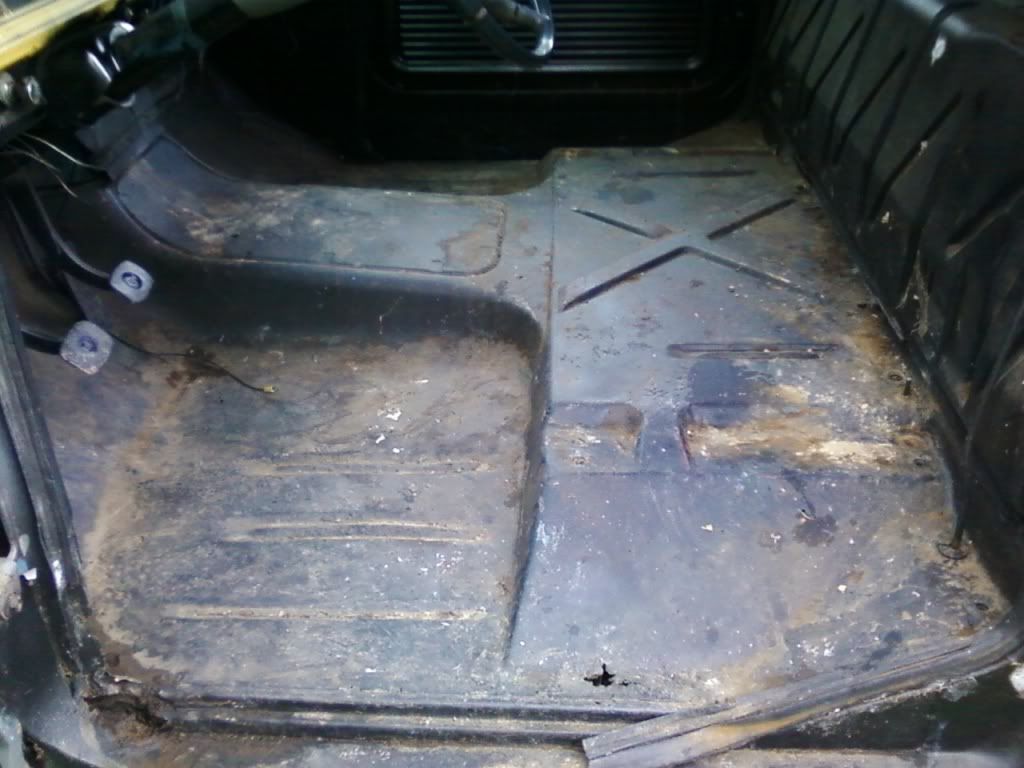
The cab after I cleaned it out.
Image
The lower part of the passenger's side of the hood, in WAY better shape than mine!
Image
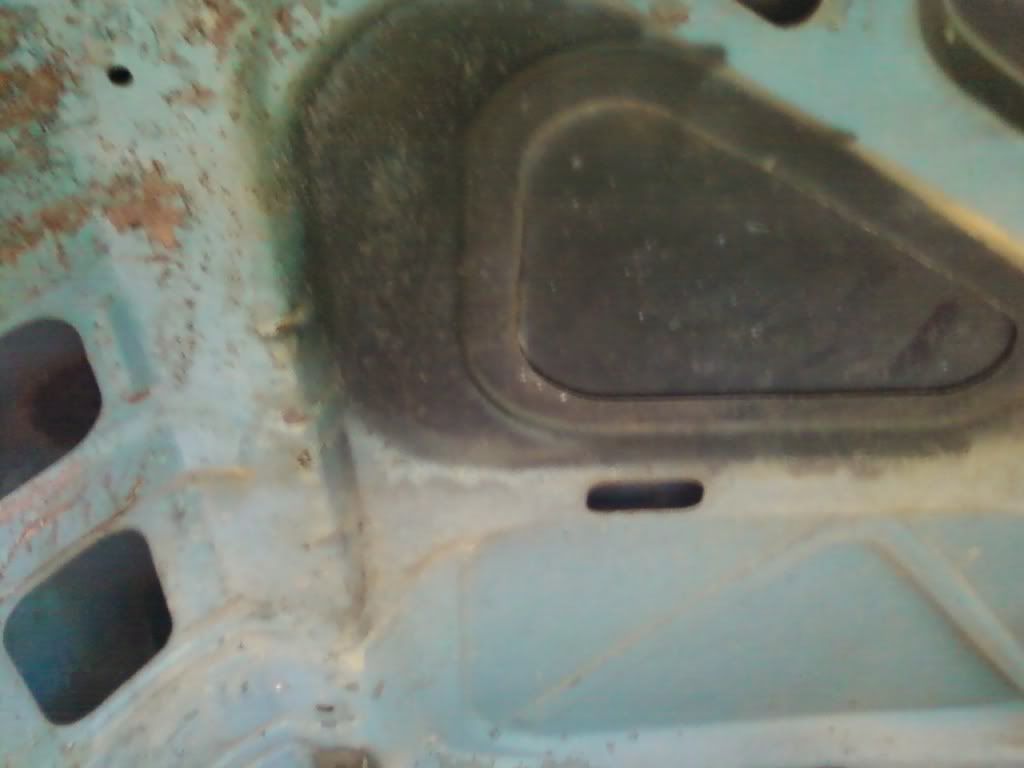
Nearly rust free battery tray compared to mine that is.
Image
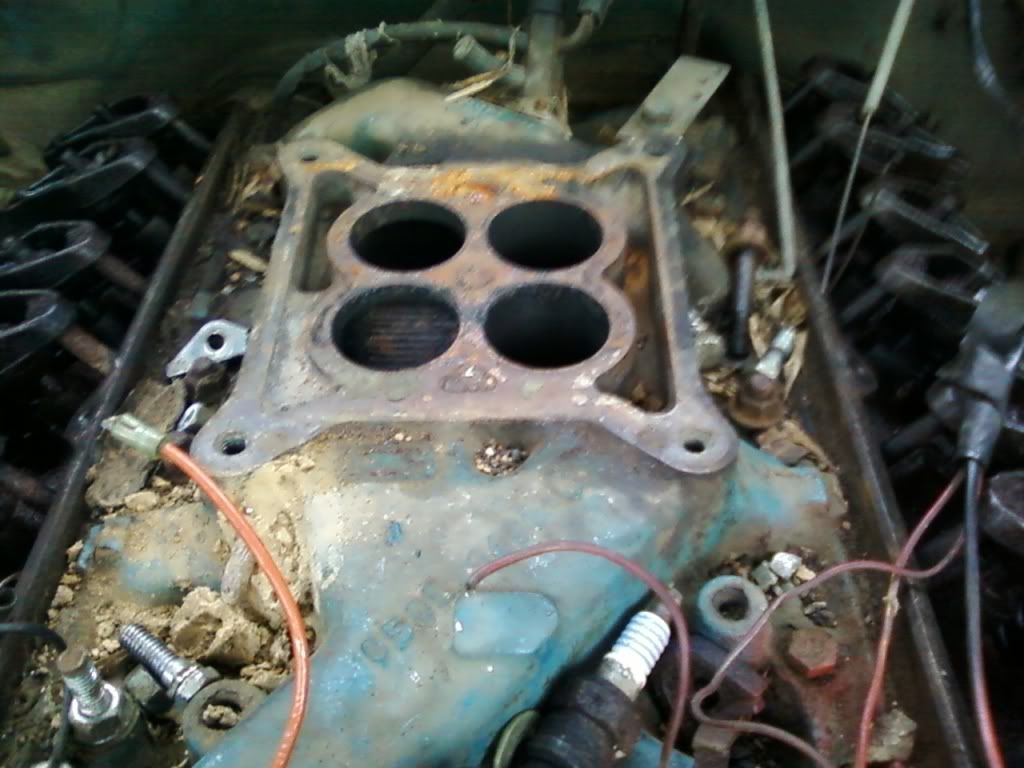
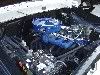
4bbl intake I might end up putting on my 302 8).
Image
The absolute worst part of the bed, but the good news is that my '71 is solid there so I can patch it pretty easily.
Image
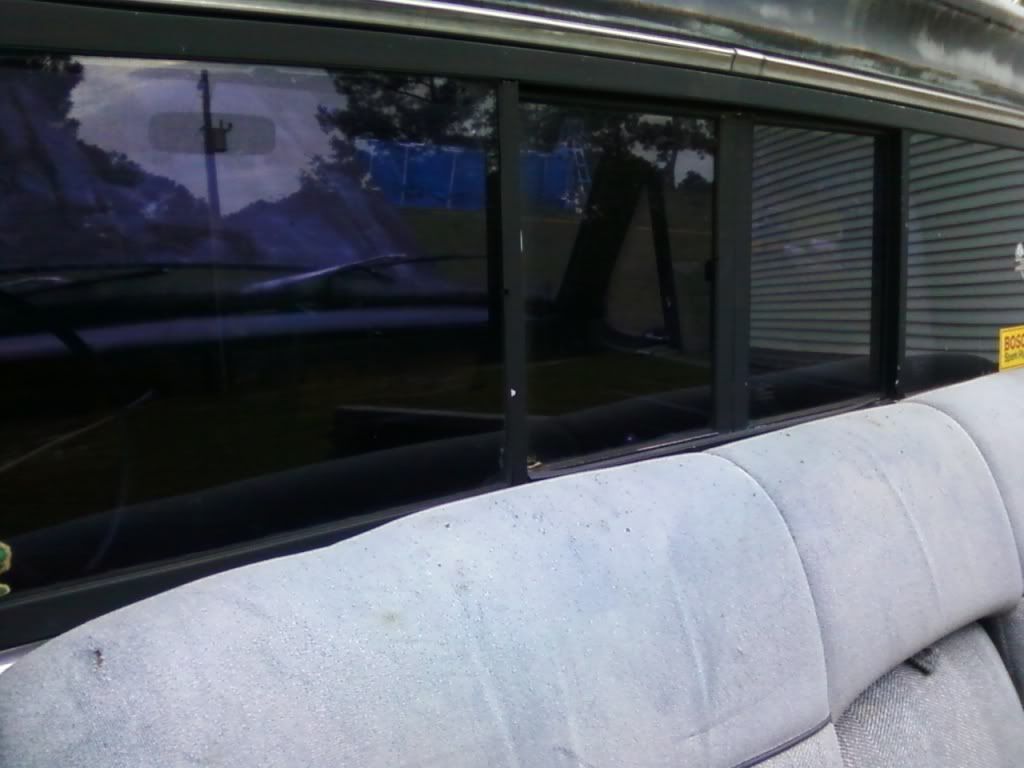
The rear slider window, it is missing the lock on it and it looks like it was tinted by someone that didn't know what a straight edge was for when cutting film :doh:, so I peeled it off almost immediately after cleaning the cab out.
Image
Image
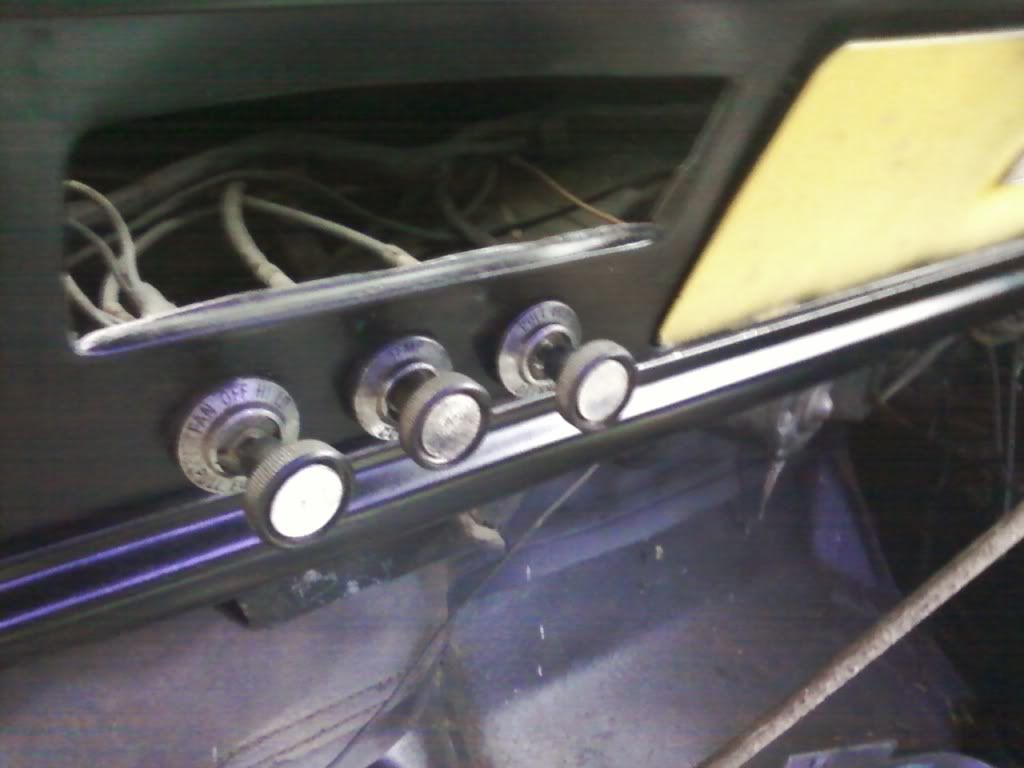
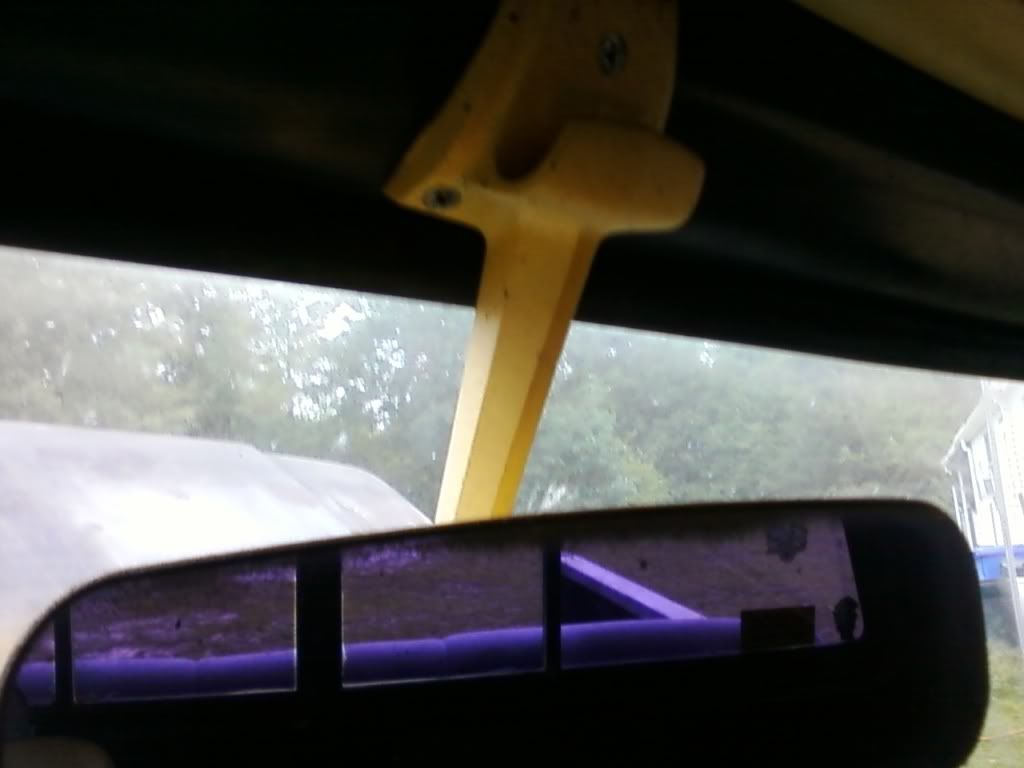
'67 Heater Controls and Rear-View Mirror, still wish it had '67 doors though :cry:.
Image
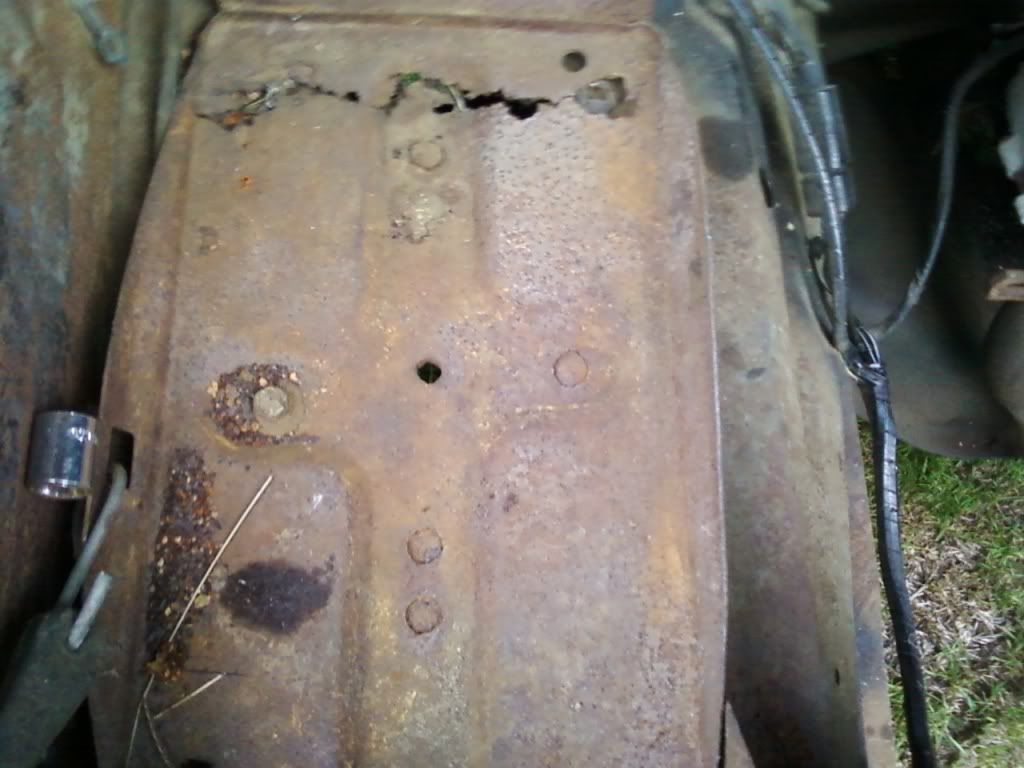
The worst part of rust in the cab floor, after crawling under it I noticed that the P.O. coated the floor in bed-liner and after peeling parts of it back it revealed rust-free metal :D. Only other rust in the cab is in the kick-panels and front/back rocker panel as stated above and I can patch those places with metal from the '71.

I probably won't be making much more progress as the parts truck drained my wallet, and school is starting back on Wednesday which is also my 15th birthday :woohoo:, Yay school :roll: :lol:. So I won't be making as much money since I can't put in as many hours that and I'm going to have to find a different job that will allow me to work more flexible hours during the school year. But I will be working on the bump as much as time/money allows and will try and make sure you guys get an update every once in a while. With that said my new game plan is:
-Pull the '67 bed and coat the bottom of it after knocking off all of the rust, and patch anything I need too on it and the tail-gate. Also I get to sand out the bondo the P.O. decided to put in the trim holes :doh:, and weld them shut.
-Then I will patch the tail-gate and then put the '67 bed on the '71 frame.
-Then I will pull the '71 cab and Strip-POR-15 the frame there and finish running brake lines to the M/C and install the '67 cab after patching anything needed.
-Next I will pull the front clip on the '71 again to strip the frame and POR-15 it, then I will patch what is needed on the fenders from the '71 and the hood on the '67 and re-install it also doing the front suspension and brakes as well as brake lines and fuel-lines.
-After the body is back on I will align the body panels and start finishing up the body-work on the truck, and I will probably remove the Ranger drip-rail trim and windshield/rear window trim. Also I will be using my West Coast Jrs. on the '67 passenger's door and the '67 driver's door skin (or should I say '68-72 doors) and my glass and vent windows due to the over-spray on these windows :o.

Stay tuned!
Last edited by Caseys71 on Fri Jul 01, 2011 6:05 pm, edited 1 time in total.
Casey
16 years old with a 40 year old truck (well almost)
Image
1971 F-100302, T-18 4 speed, 3:55 rear, & an Edelbrock sticker on the ashtray.
"Don't worry about what you become, just make sure that you're successful at what you do."- Mr. English
"Value what you DO have over that which you don't."- Forrestbump
"Wanting can sometimes be better than having, never stop dreaming... it's what keeps us all going."- Forrestbump
1984 Toyota 4x4: 22-R, 5-speed, 3" suspension lift, 35's and 5:29's
User avatar
FormerMarine1981
Blue Oval Fanatic
Blue Oval Fanatic
Posts: 793
Joined: Sun Jan 21, 2007 10:28 pm
Location: Texas , Austin
Contact:

Re: Project '71 F-100 Update: 8/23 New '67 Parts Truck!

Post by FormerMarine1981 »

Razor Blade will make short work of that over spray and save you a lot of work if you don't Have to take them out. Just my :2cents:
What we do in Life, Echoes in Eternity
hazelnut
100% FORDified!
100% FORDified!
Posts: 1928
Joined: Fri Oct 23, 2009 1:06 am
Location: Williamsburg,Virginia

Re: Project '71 F-100 Update: 8/23 New '67 Parts Truck!

Post by hazelnut »

You can use the 67 doors if you want and swap the ID tag, Ive seen the factory rivets for sale before within the last year. Ive got to buy some riviots myself because im going to swap doors. Just checked out your post and dont know if youve done anything with the paint on the rear, but just a thought is to put a red pin stripe between the black and silver, I think that would stick out and get the rear noticed. Might want to paint a pin stripe though because vinyl stripe might peel off.
User avatar
Caseys71
Blue Oval Guru
Blue Oval Guru
Posts: 1289
Joined: Sat Nov 07, 2009 7:48 pm
Location: Hampstead, North Carolina

Re: Project '71 F-100 Update: 8/23 New '67 Parts Truck!

Post by Caseys71 »

FormerMarine1981 wrote:Razor Blade will make short work of that over spray and save you a lot of work if you don't Have to take them out. Just my :2cents:
Good point! I plan on pulling the front and rear windows anyways to remove the ranger window molding and for body work so I'm not sure whether I am going to pull them or not yet but I think I will probably have to because I believe the over-spray goes down farther than I could get to with a razor blade :doh:. Thanks for the input.
hazelnut wrote:You can use the 67 doors if you want and swap the ID tag, Ive seen the factory rivets for sale before within the last year. Ive got to buy some riviots myself because im going to swap doors. Just checked out your post and dont know if youve done anything with the paint on the rear, but just a thought is to put a red pin stripe between the black and silver, I think that would stick out and get the rear noticed. Might want to paint a pin stripe though because vinyl stripe might peel off.
I plan on using the doors since they are more solid than mine, too bad they aren't '67 doors though :cry:. The truck is a '67 by the bed and the cab but it has '68-up doors and a '68-up hood or at the very least hood emblems :o. Any idea where to get the rivets? A auto-body store perhaps? Maybe Ebay? That is a great idea on the pin-stripe! It would definitely break up the two colors a lot better. I might just try my hand at pin-striping.... as you said the vinyl would probably peel off and I've always wanted to try pin-striping :maybe:.

Wish I had an update but about all I've got to say is I turned 15 today :woohoo:, so I will finally be signing up for driver's ed soon and hopefully get my permit here before next year. Depends on how long the list is for driver's ed :doh:. Other than that I'm waiting on getting my shielding gas re-filled and getting a new liner for my welder so I can start doing some sheet-metal work :D. Also I will be looking for a part-time job I can get during school so I can get the money to keep working on the truck during the school year, when I find a job progress should be picking up again :pray:.
Casey
16 years old with a 40 year old truck (well almost)
Image
1971 F-100302, T-18 4 speed, 3:55 rear, & an Edelbrock sticker on the ashtray.
"Don't worry about what you become, just make sure that you're successful at what you do."- Mr. English
"Value what you DO have over that which you don't."- Forrestbump
"Wanting can sometimes be better than having, never stop dreaming... it's what keeps us all going."- Forrestbump
1984 Toyota 4x4: 22-R, 5-speed, 3" suspension lift, 35's and 5:29's
Post Reply