Project '71 F-100 Update: 7/24 Wiring Progress w/ Pics!
Moderator: FORDification
-
bb429power
- Blue Oval Fan

- Posts: 585
- Joined: Sun Dec 13, 2009 5:44 pm
- Location: Plymouth Michigan
- Contact:
Re: Project '71 F-100
Sounds good. Might want to keep the stock heads and do a home port job with bigger valve like what I'm doing. I'm not doing too much, just smoothing the ports and everything else out for better flow.
Justin
http://www.fordification.com/forum/view ... 22&t=47482
http://s976.photobucket.com/home/bb429power/allalbums go to both of the albums.
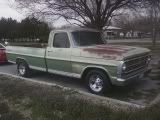
1967 Ford F100 longbed with a 466 500+hp/600+ft-lbs (mine)
1969 Mercury Cougar xr7 with a 351w (dads, I helped alot)
1970 Ford Maverick with a 302 (became our drag car)
1986 f150 5.0 (my DD)
"Many can argue, but it takes a real man to apologize."-Me
http://www.fordification.com/forum/view ... 22&t=47482
http://s976.photobucket.com/home/bb429power/allalbums go to both of the albums.
1967 Ford F100 longbed with a 466 500+hp/600+ft-lbs (mine)
1969 Mercury Cougar xr7 with a 351w (dads, I helped alot)
1970 Ford Maverick with a 302 (became our drag car)
1986 f150 5.0 (my DD)
"Many can argue, but it takes a real man to apologize."-Me
-
Caseys71

- Blue Oval Guru

- Posts: 1289
- Joined: Sat Nov 07, 2009 7:48 pm
- Location: Hampstead, North Carolina
Re: Project '71 F-100
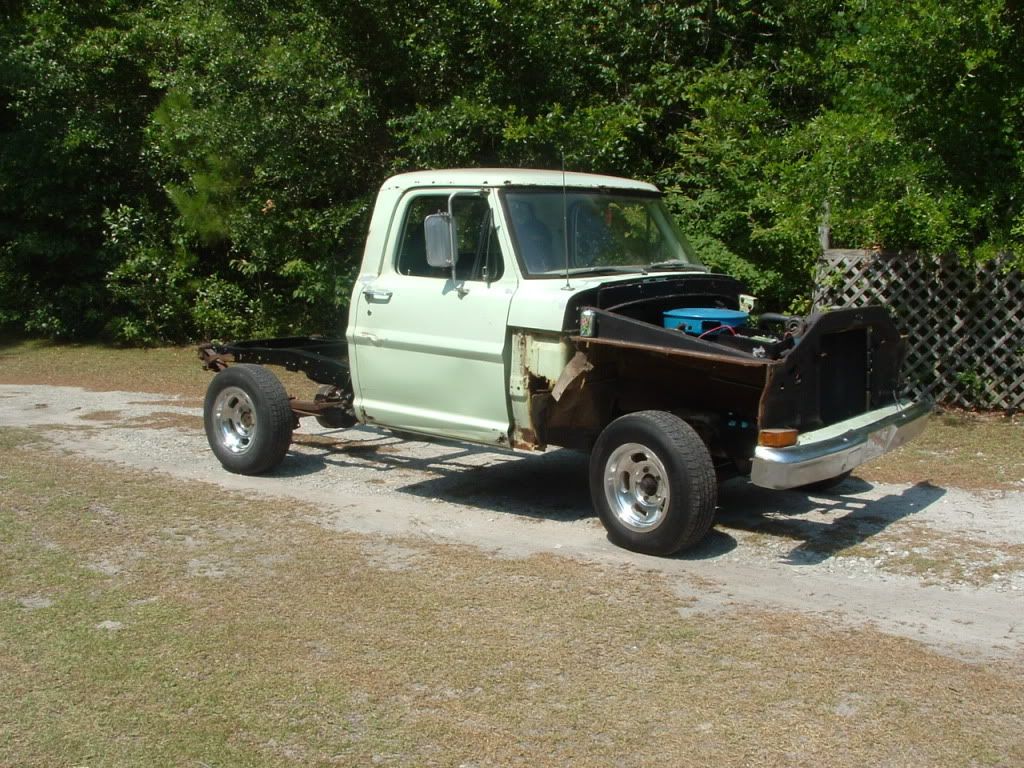
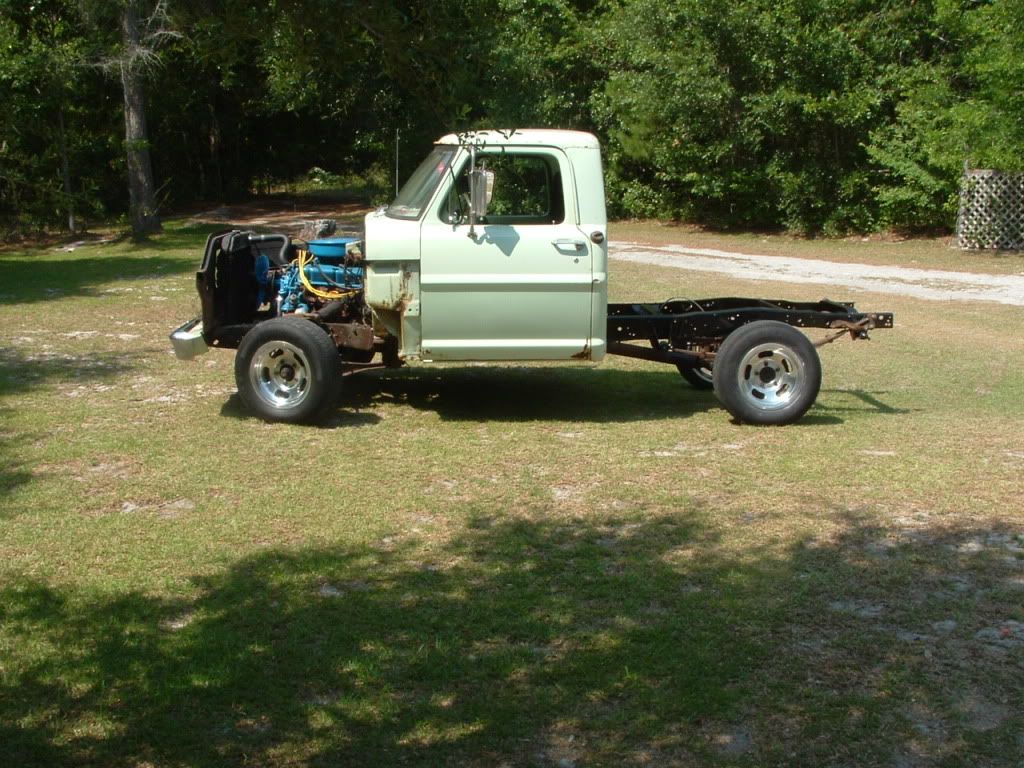
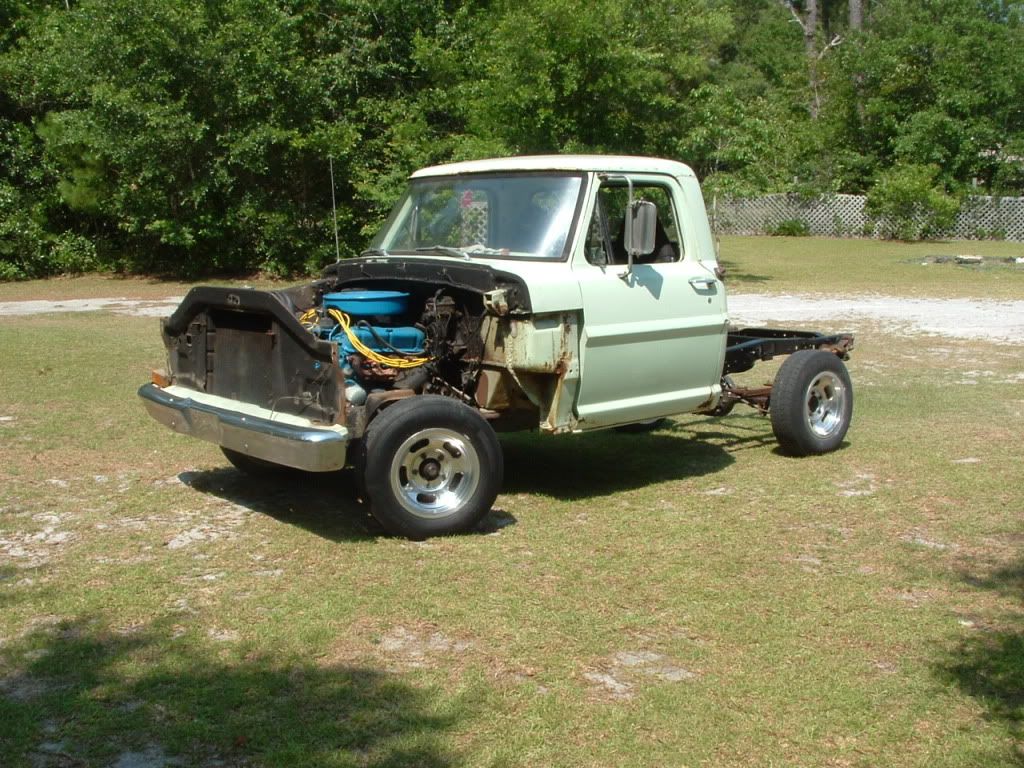
Sorry it's been so while since I've gotten a chance to update this thread. I'd like to say I had the entire chassis restored but that's not the case YET. Lately I've been stripping the rust off of my frame and have had it stripped for a while but either the weather isn't willing to cooperate with my painting, or I've got something else I've got to do that day, and it will take at least an entire day to paint my frame with 2 coats of POR-15 and 2 coats of paint. I'm hoping that I'll finally get to paint the rear portion of my frame this weekend if the rain holds off  , and I don't have anything holding me back from doing so. From there the game-plan is to go through the rear brakes, replace the rear shocks, disassemble and paint the spring packs and install new bushings and probably a few more things on the rear section of the frame I need to do that I'm forgetting. Then I will probably be flipping the cab over and replacing the floor-pans and other sheet-metal as needed. I did manage to pick up a bench seat out of a '92 (If I remember correctly) F-150 and install it and let me tell you it is a major improvment, however I need to alter the mounting in some way to get the seat to go back a bit because as it sits when it's engaged as far back on the seat-tracks as you can go it seems like your feet are way to close to the pedals
  . Anyways I did get some pictures and here they are:
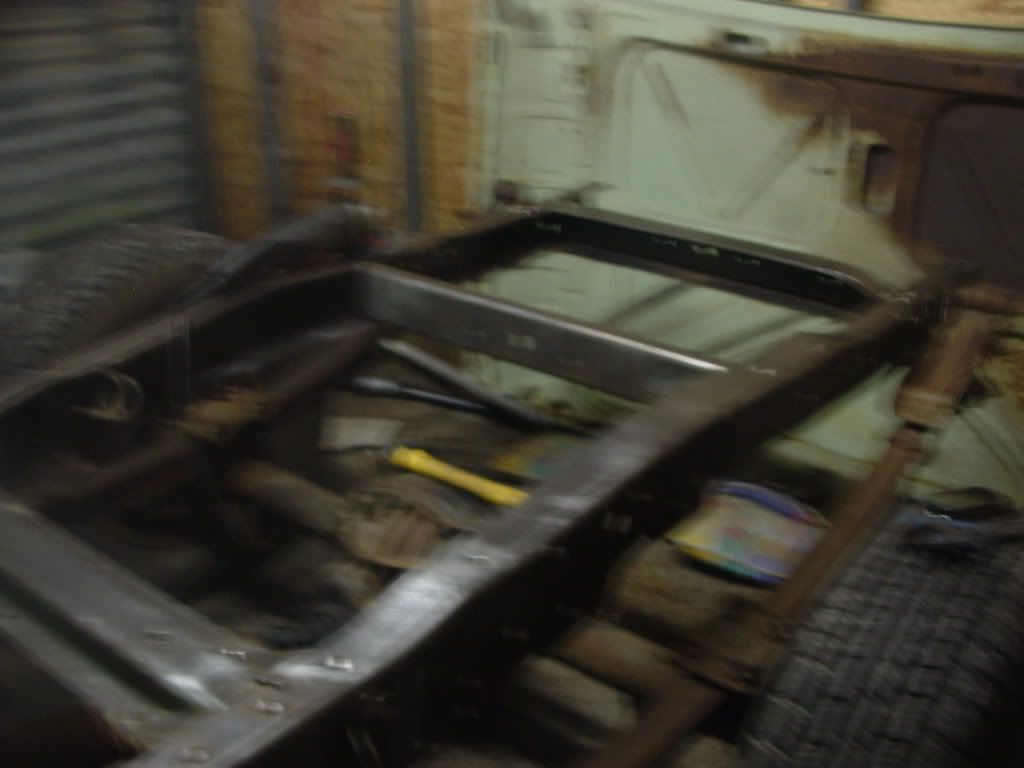
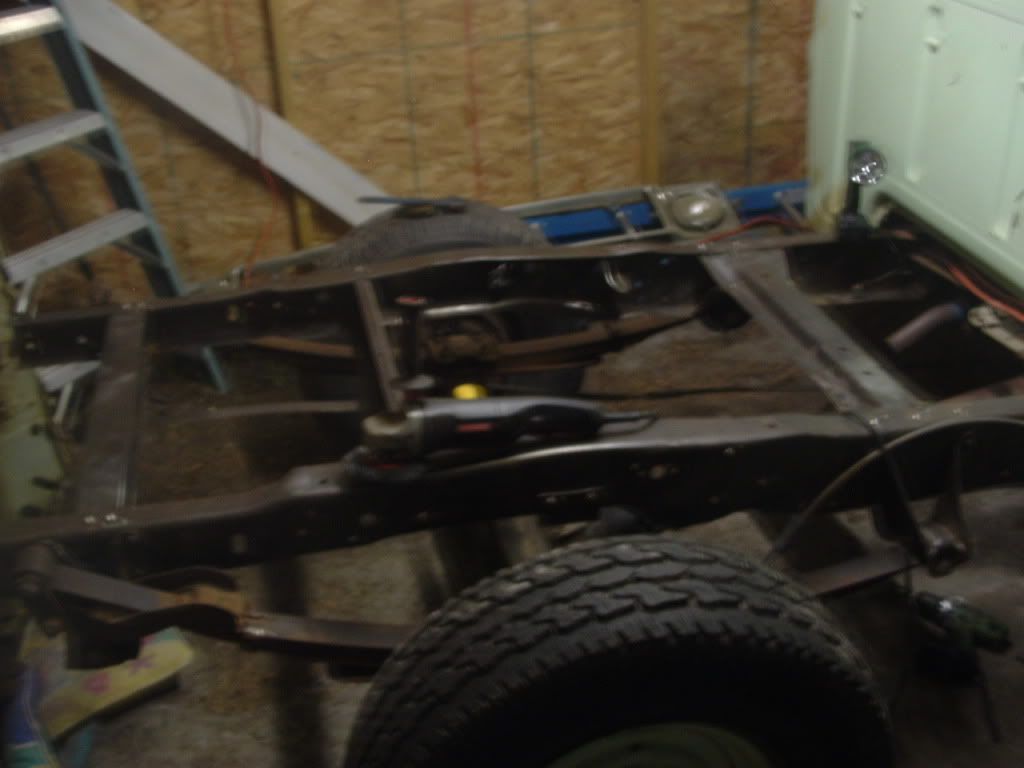
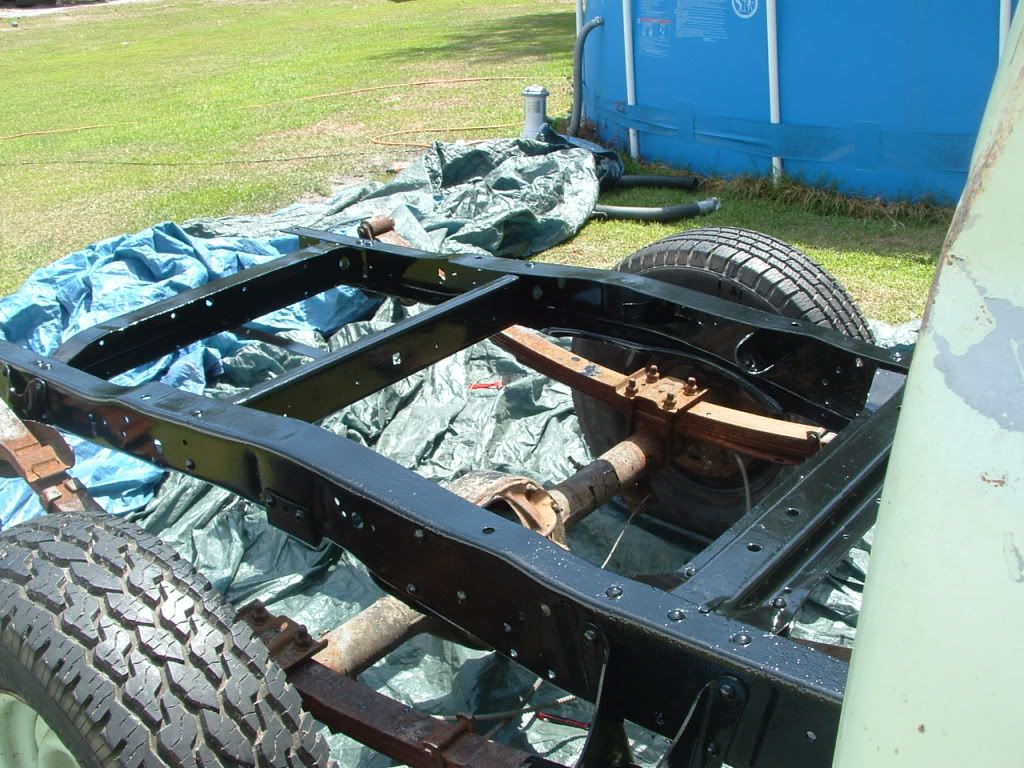
This is a picture of the frame that I took just before I went in at around 9-10 PM sorry about the blurry picture I think I was about ready to fall asleep with the camera in my hand .
.
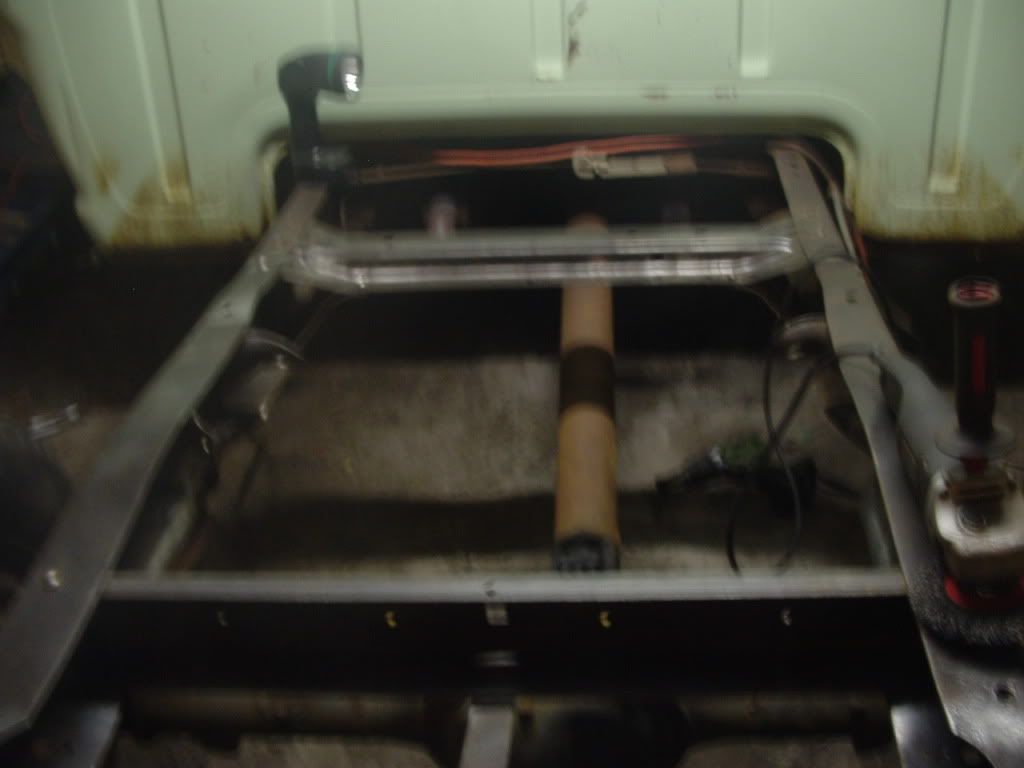
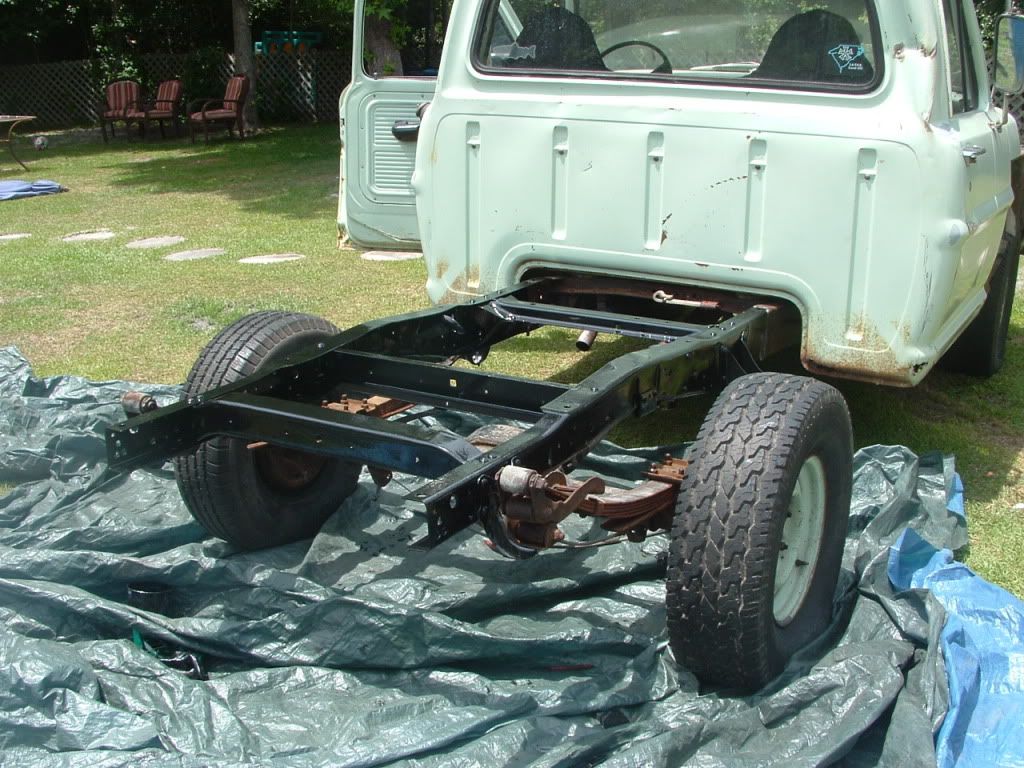
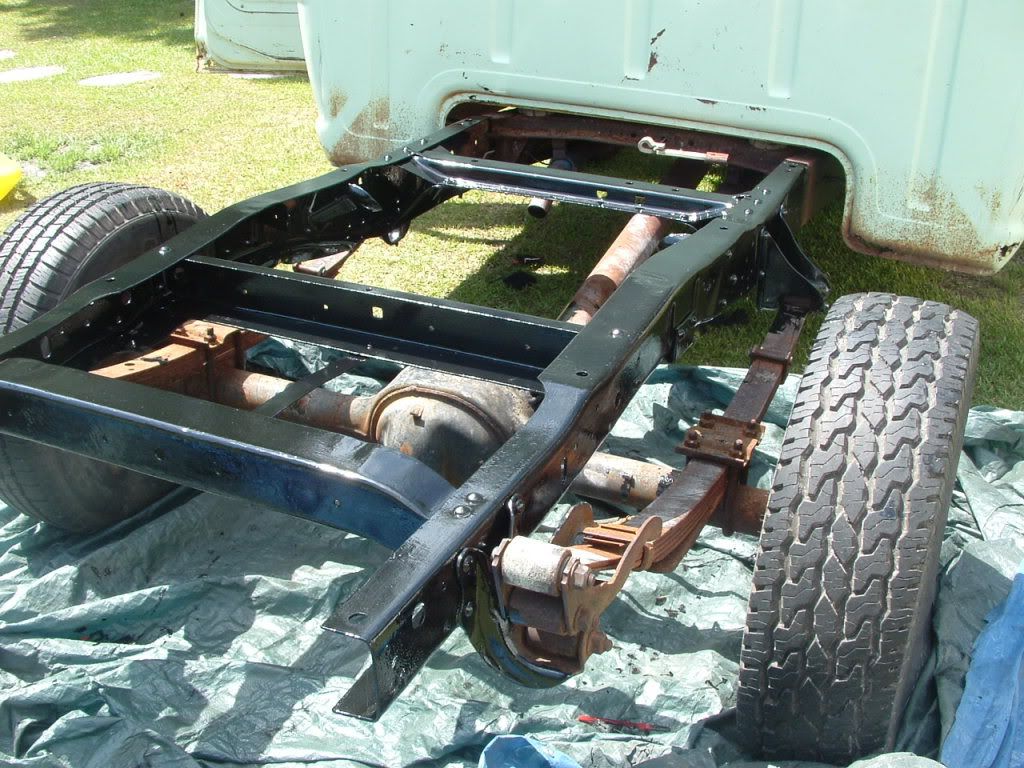
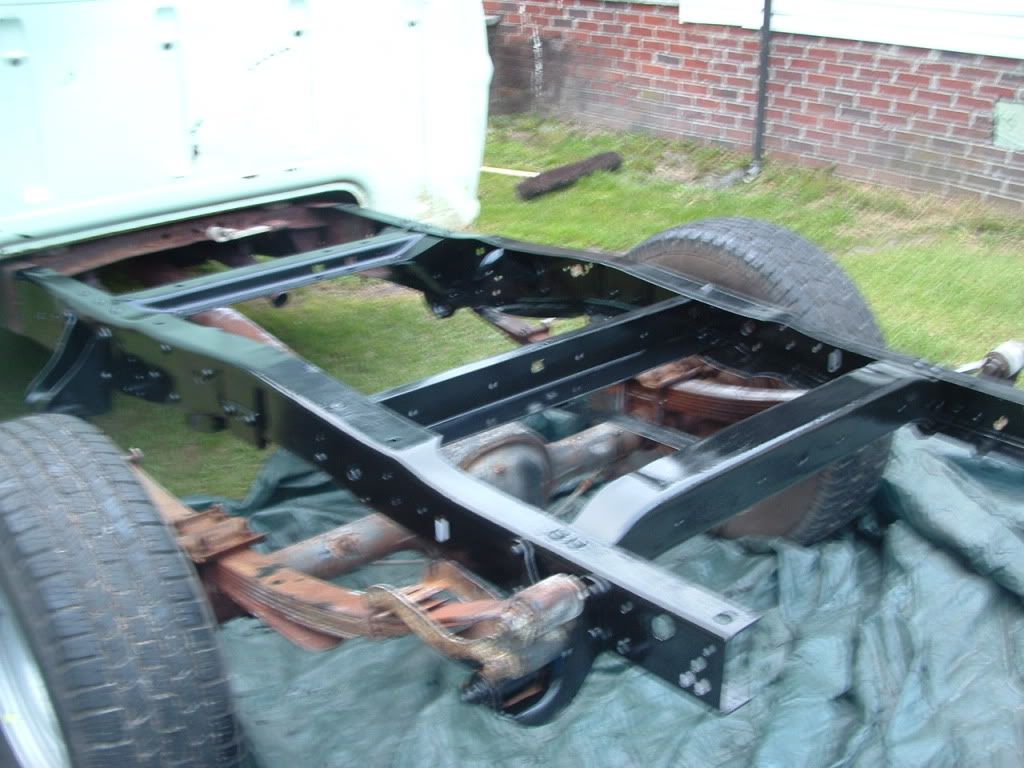
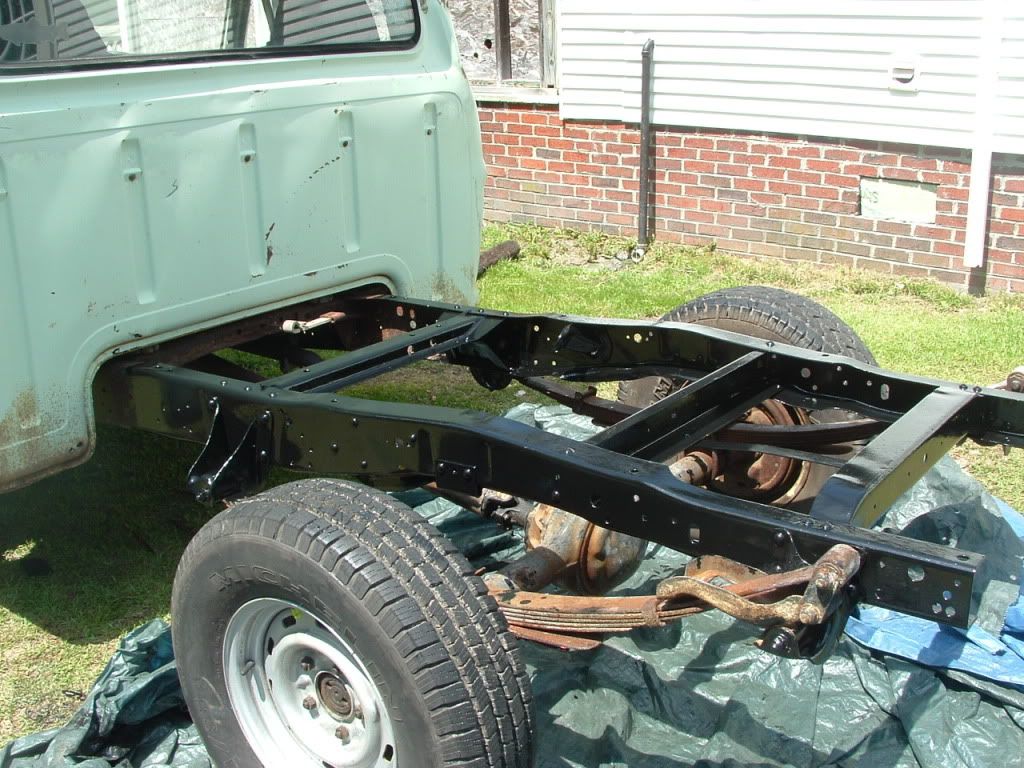
Here's another picture of the frame from the rear of the truck.
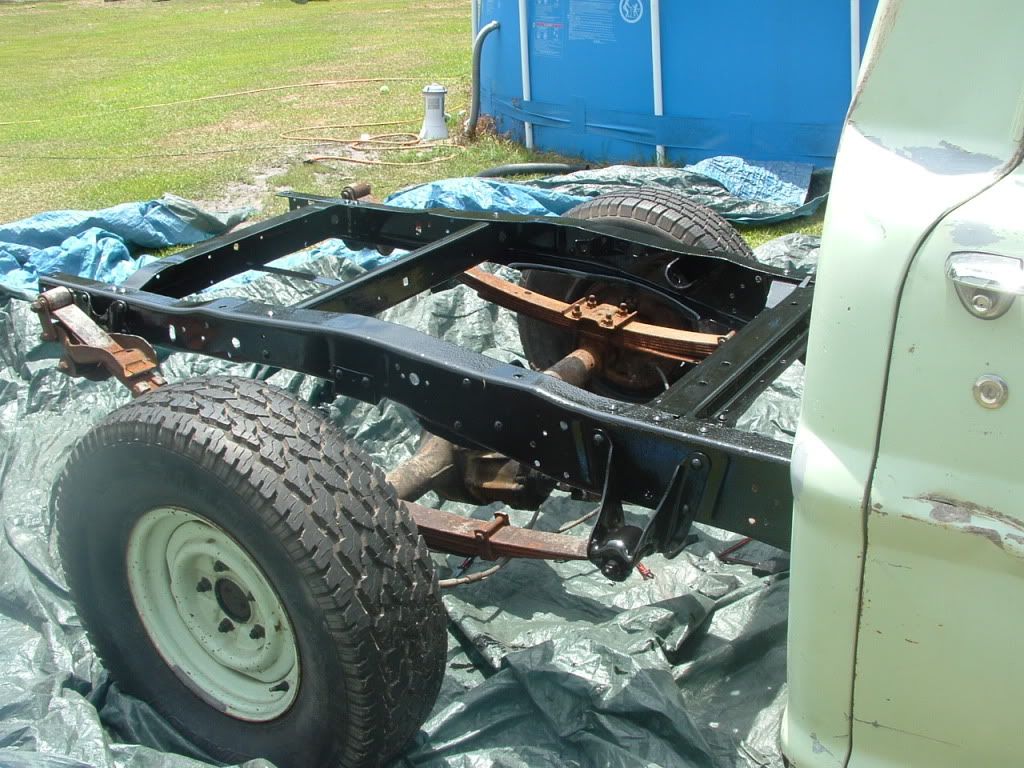
Yet another picture of the frame.

Here's a picture with my new bench seat installed !
!
This is a picture of the frame that I took just before I went in at around 9-10 PM sorry about the blurry picture I think I was about ready to fall asleep with the camera in my hand
Here's another picture of the frame from the rear of the truck.
Yet another picture of the frame.
Here's a picture with my new bench seat installed
Last edited by Caseys71 on Fri Jul 01, 2011 5:06 pm, edited 1 time in total.
Casey
16 years old with a 40 year old truck (well almost)
1971 F-100302, T-18 4 speed, 3:55 rear, & an Edelbrock sticker on the ashtray.
"Don't worry about what you become, just make sure that you're successful at what you do."- Mr. English
"Value what you DO have over that which you don't."- Forrestbump
"Wanting can sometimes be better than having, never stop dreaming... it's what keeps us all going."- Forrestbump
1984 Toyota 4x4: 22-R, 5-speed, 3" suspension lift, 35's and 5:29's
-
bb429power
- Blue Oval Fan
- Posts: 585
- Joined: Sun Dec 13, 2009 5:44 pm
- Location: Plymouth Michigan
- Contact:
Re: Project '71 F-100 Update: 5/19
You might just have to re drill the cab for the seat bracket to set it back then use a bolt with a nut on the other side. Hope it all turns out good and doesn't give you any trouble.
EDIT- it might have trouble with the gas tank because the seat isn't opened up in the back like the original. I got a smaller steering wheel because I knew how hard it was to get in and out of it with that 17" one. But with manual steering, the big wheel is supposed to help.
Justin
http://www.fordification.com/forum/view ... 22&t=47482
http://s976.photobucket.com/home/bb429power/allalbums go to both of the albums.
1967 Ford F100 longbed with a 466 500+hp/600+ft-lbs (mine)
1969 Mercury Cougar xr7 with a 351w (dads, I helped alot)
1970 Ford Maverick with a 302 (became our drag car)
1986 f150 5.0 (my DD)
"Many can argue, but it takes a real man to apologize."-Me
-
Caseys71
- Blue Oval Guru
- Posts: 1289
- Joined: Sat Nov 07, 2009 7:48 pm
- Location: Hampstead, North Carolina
Re: Project '71 F-100 Update: 5/19
The plan is to redo the rear part of the frame including:
-Coat the rear half of chassis in POR-15
-Redo the brakes in the rear
-Install new shocks
-Refurbish the leaf springs
-Install new leaf-spring bushings
-Strip and POR-15 the axle (I will probably spool it and change the gears once I build my engine)
-Start bending or at least order brake lines or maybe by a pre-bended set
Then I will flip the cab over and:
-Install floor-pans
-Patch all other holes in cab
-Strip and POR-15 cab bottom and floor boards
-Strip and POR-15 the rest of the chassis
Then I will probably flip the cab back over and with the front clip still removed:
-Strip and POR-15 the I-beams
-Install new king-pins and all new bushings up front
-Install new shocks up front
-Rebuild brakes up front and finish routing the brake lines
As for the seat I love the head-rests and how comfortable it is compared to my old seat however I'd much rather have a stock or at least a stock-looking seat. I'll probably have to do the chassis work on Sunday now because we were expecting rain and I've got other work that's got to get done now, which is fine by me that just means more money in the bump-fund . As far as making it fit right I will either drill new mounting holes or modify the way the seat mounts to the bracket in some way, but like you said the gas tank will become an issue at some point but I think I can move it back at least 2-3" before the rear of the seat touches the gas-tank but haven't really looked to closely into it yet.
-Coat the rear half of chassis in POR-15
-Redo the brakes in the rear
-Install new shocks
-Refurbish the leaf springs
-Install new leaf-spring bushings
-Strip and POR-15 the axle (I will probably spool it and change the gears once I build my engine)
-Start bending or at least order brake lines or maybe by a pre-bended set
Then I will flip the cab over and:
-Install floor-pans
-Patch all other holes in cab
-Strip and POR-15 cab bottom and floor boards
-Strip and POR-15 the rest of the chassis
Then I will probably flip the cab back over and with the front clip still removed:
-Strip and POR-15 the I-beams
-Install new king-pins and all new bushings up front
-Install new shocks up front
-Rebuild brakes up front and finish routing the brake lines
As for the seat I love the head-rests and how comfortable it is compared to my old seat however I'd much rather have a stock or at least a stock-looking seat. I'll probably have to do the chassis work on Sunday now because we were expecting rain and I've got other work that's got to get done now, which is fine by me that just means more money in the bump-fund
Casey
16 years old with a 40 year old truck (well almost)
1971 F-100302, T-18 4 speed, 3:55 rear, & an Edelbrock sticker on the ashtray.
"Don't worry about what you become, just make sure that you're successful at what you do."- Mr. English
"Value what you DO have over that which you don't."- Forrestbump
"Wanting can sometimes be better than having, never stop dreaming... it's what keeps us all going."- Forrestbump
1984 Toyota 4x4: 22-R, 5-speed, 3" suspension lift, 35's and 5:29's
16 years old with a 40 year old truck (well almost)
1971 F-100302, T-18 4 speed, 3:55 rear, & an Edelbrock sticker on the ashtray.
"Don't worry about what you become, just make sure that you're successful at what you do."- Mr. English
"Value what you DO have over that which you don't."- Forrestbump
"Wanting can sometimes be better than having, never stop dreaming... it's what keeps us all going."- Forrestbump
1984 Toyota 4x4: 22-R, 5-speed, 3" suspension lift, 35's and 5:29's
-
Caseys71
- Blue Oval Guru
- Posts: 1289
- Joined: Sat Nov 07, 2009 7:48 pm
- Location: Hampstead, North Carolina
Re: Project '71 F-100 Update: 5/19
Well I had a great weekend, went to a cookout on Saturday and Church and had a nice outdoor sermon/cookout for the marines at our church . Then I woke up this morning and decided it was time to do some work . This morning I sprayed metal ready over the metal I had already stripped down to clean metal, and washed it off just like the bottle said to, and let my truck sit in the sun and dry while we had breakfast. Then I went ahead and applied some POR-15 followed by a coat of Rustoleum on the rear section of my frame. I'd say everything went great, I made sure to wear some protective gloves and a respirator as well as long sleeves  , only problem is that long sleeves and hot days don't go together and I had to be sure to wipe my sweat as soon as it started to roll down my head so it didn't get in the paint . Hopefully next weekend I can start doing the rear brakes and maybe get started on the rear suspension
  . Enough talk though here's some pictures:
This is a picture of the POR-15 after I applied it, still a little wet but it seemed like it was drying up just as fast as I could lay it down.
Here's another picture of the frame wet with POR-15 but from a different angle.
This is a photo of the frame just after I got done applying a coat of Rustoleum.
Once again here's a different angle of the wet coat of Rustoleum.
After the Rustoleum was done drying. Man it sure was glossy, purty ain't it?
And another angle of the dry Rustoleum.
Not to bad for a hard day's work if you ask me!
This is a picture of the POR-15 after I applied it, still a little wet but it seemed like it was drying up just as fast as I could lay it down
Here's another picture of the frame wet with POR-15 but from a different angle.
This is a photo of the frame just after I got done applying a coat of Rustoleum
Once again here's a different angle of the wet coat of Rustoleum.
After the Rustoleum was done drying. Man it sure was glossy, purty ain't it?
And another angle of the dry Rustoleum
Not to bad for a hard day's work if you ask me
Last edited by Caseys71 on Fri Jul 01, 2011 5:12 pm, edited 1 time in total.
Casey
16 years old with a 40 year old truck (well almost)
1971 F-100302, T-18 4 speed, 3:55 rear, & an Edelbrock sticker on the ashtray.
"Don't worry about what you become, just make sure that you're successful at what you do."- Mr. English
"Value what you DO have over that which you don't."- Forrestbump
"Wanting can sometimes be better than having, never stop dreaming... it's what keeps us all going."- Forrestbump
1984 Toyota 4x4: 22-R, 5-speed, 3" suspension lift, 35's and 5:29's
16 years old with a 40 year old truck (well almost)
1971 F-100302, T-18 4 speed, 3:55 rear, & an Edelbrock sticker on the ashtray.
"Don't worry about what you become, just make sure that you're successful at what you do."- Mr. English
"Value what you DO have over that which you don't."- Forrestbump
"Wanting can sometimes be better than having, never stop dreaming... it's what keeps us all going."- Forrestbump
1984 Toyota 4x4: 22-R, 5-speed, 3" suspension lift, 35's and 5:29's
-
basketcase0302

- 100% FORDified!

- Posts: 6805
- Joined: Thu Jan 26, 2006 7:11 am
- Location: Hawthorne, Florida
Re: Project '71 F-100 Update: 5/31-Rear Chassis coated in POR-15
Casey,
Looking good! I see you've had to prep it the hard way like me!
What did the seat come out of?
Looking good! I see you've had to prep it the hard way like me!
What did the seat come out of?
Jeff
http://www.fordification.com/forum/view ... 22&t=46251
SOLD-71 F-350 dually flatbed, 302 / .030 over V-8 with a "baby"C-6, B & M truckshifter, Dana70/4.11 ratio, intermittent wipers, tilt steering, full LED lighting on the flat bed, and no stereo yet (this way I can hear the rattles to diagnose)! SOLD!
Many Ford bumps / one 76' EB / and several dents through the years.
A lot of "oddball" Ford parts collected from working on them for 34 years now!
2008 Ford Escape 4 x 4
-
Caseys71
- Blue Oval Guru
- Posts: 1289
- Joined: Sat Nov 07, 2009 7:48 pm
- Location: Hampstead, North Carolina
Re: Project '71 F-100 Update: 5/31-Rear Chassis coated in POR-15
Thanks for the compliment! BC#16 is coming along nicely too glad that you guys finally have the 302 back alivebasketcase0302 wrote:Casey,
Looking good! I see you've had to prep it the hard way like me!
What did the seat come out of?
On another note I sure pray that it stops raining here before the weekend so I can get some more work done
Casey
16 years old with a 40 year old truck (well almost)
1971 F-100302, T-18 4 speed, 3:55 rear, & an Edelbrock sticker on the ashtray.
"Don't worry about what you become, just make sure that you're successful at what you do."- Mr. English
"Value what you DO have over that which you don't."- Forrestbump
"Wanting can sometimes be better than having, never stop dreaming... it's what keeps us all going."- Forrestbump
1984 Toyota 4x4: 22-R, 5-speed, 3" suspension lift, 35's and 5:29's
16 years old with a 40 year old truck (well almost)
1971 F-100302, T-18 4 speed, 3:55 rear, & an Edelbrock sticker on the ashtray.
"Don't worry about what you become, just make sure that you're successful at what you do."- Mr. English
"Value what you DO have over that which you don't."- Forrestbump
"Wanting can sometimes be better than having, never stop dreaming... it's what keeps us all going."- Forrestbump
1984 Toyota 4x4: 22-R, 5-speed, 3" suspension lift, 35's and 5:29's
-
2fowle
- New Member

- Posts: 8
- Joined: Sat Jan 09, 2010 4:30 pm
Re: Project '71 F-100 Update: 5/31-Rear Chassis coated in POR-15
Hi Casey,
From Washington about 100 miles North on US 17, you're looking good. Long sleeves in the swamp humidity shows True Grit.
2fowle
From Washington about 100 miles North on US 17, you're looking good. Long sleeves in the swamp humidity shows True Grit.
2fowle
-
Caseys71
- Blue Oval Guru
- Posts: 1289
- Joined: Sat Nov 07, 2009 7:48 pm
- Location: Hampstead, North Carolina
Re: Project '71 F-100 Update: 5/31-Rear Chassis coated in POR-15
2fowle wrote:Hi Casey,
From Washington about 100 miles North on US 17, you're looking good. Long sleeves in the swamp humidity shows True Grit.
2fowle
-Pull the rear-axle and leaf-springs out from under my truck
-Disassemble the spring packs, strip them down to bare metal and POR-15 them
-Install new Leaf-spring bushings
-Strip axle housing down to bare metal and POR-15
-Go through the rear-brakes (Shoes, hardware, turn the drums)
-And reassemble everything I still need to order my leaf-spring bushings from AutoZone though
Casey
16 years old with a 40 year old truck (well almost)
1971 F-100302, T-18 4 speed, 3:55 rear, & an Edelbrock sticker on the ashtray.
"Don't worry about what you become, just make sure that you're successful at what you do."- Mr. English
"Value what you DO have over that which you don't."- Forrestbump
"Wanting can sometimes be better than having, never stop dreaming... it's what keeps us all going."- Forrestbump
1984 Toyota 4x4: 22-R, 5-speed, 3" suspension lift, 35's and 5:29's
16 years old with a 40 year old truck (well almost)
1971 F-100302, T-18 4 speed, 3:55 rear, & an Edelbrock sticker on the ashtray.
"Don't worry about what you become, just make sure that you're successful at what you do."- Mr. English
"Value what you DO have over that which you don't."- Forrestbump
"Wanting can sometimes be better than having, never stop dreaming... it's what keeps us all going."- Forrestbump
1984 Toyota 4x4: 22-R, 5-speed, 3" suspension lift, 35's and 5:29's
-
Caseys71
- Blue Oval Guru
- Posts: 1289
- Joined: Sat Nov 07, 2009 7:48 pm
- Location: Hampstead, North Carolina
Re: Project '71 F-100 Update: 7/24 Misc. Work Done
-Coated the axle in POR-15
-Pulled leaf springs again and disassembled them
-Bought a shop press from harbor-freight and started to press out the leaf spring bushings
-Ordered the rear leaf-spring bushings and a whole other mess of suspension parts including shocks, rear wheel cylinders, all new gaskets for the rear end, 4 qts. of gear oil for the rear, a set of brake shoes for all 4 corners, the hardware kit for the rear brakes, and a bunch of other things I've probably forgotten
-Also I picked up a set of slotted mag wheels off a buddy in the Marines for $75 and polished them, they are currently on the truck and look awesome if I may say so myself, I will get some pics for you guys later as I think I have some pics of them on my computer already
-Also I got a new set of U-bolts bent at a spring shop in Richlands, and got all new hardware for the leaf springs, and will be getting the little studs that hold the spring packs together and locate the springs on the axle (Not sure of the proper name but I found them at our local Ace when I picked up the hardware for the leaf-springs but I didn't know what size they were at the time so I decided to hold off on them until the next trip)
-Probably a bit more misc. stuff I did and just don't remember, hopefully I can either get the camera working again, or pick up a memory card for my phone so I can upload some pics that way, and I'm not 100% sure yet but I will probably be working another 40 hour week this week coming up so I probably won't get much done then either
Casey
16 years old with a 40 year old truck (well almost)
1971 F-100302, T-18 4 speed, 3:55 rear, & an Edelbrock sticker on the ashtray.
"Don't worry about what you become, just make sure that you're successful at what you do."- Mr. English
"Value what you DO have over that which you don't."- Forrestbump
"Wanting can sometimes be better than having, never stop dreaming... it's what keeps us all going."- Forrestbump
1984 Toyota 4x4: 22-R, 5-speed, 3" suspension lift, 35's and 5:29's
16 years old with a 40 year old truck (well almost)
1971 F-100302, T-18 4 speed, 3:55 rear, & an Edelbrock sticker on the ashtray.
"Don't worry about what you become, just make sure that you're successful at what you do."- Mr. English
"Value what you DO have over that which you don't."- Forrestbump
"Wanting can sometimes be better than having, never stop dreaming... it's what keeps us all going."- Forrestbump
1984 Toyota 4x4: 22-R, 5-speed, 3" suspension lift, 35's and 5:29's
-
1970FordTK

- 100% FORDified!
- Posts: 2831
- Joined: Tue Mar 13, 2007 9:37 pm
- Location: North Carolina
Re: Project '71 F-100 Update: 7/24 Misc. Work Done
We have all been there Casey, just remember that if you are putting stuff on/back to the truck you are over half way there. With the heat we have been getting the last few weeks/months it not easy to be motovatied to go work on the bump after spending all week outside making the money to spend on the bump. These projects are like eating an elephant, you can only do one bite at the time but remember you will finish the elephant off at some point if you just keep working on it. As for not posting pictures, with the addicts here on that including myself we will just have to wait till you get it figured out. Till then stay safe outside, cause its just dang hot. 
-
quantumleap

- Blue Oval Fan
- Posts: 671
- Joined: Wed Mar 17, 2010 8:31 pm
- Location: Encino,Los Angeles, California
Re: Project '71 F-100 Update: 7/24 Misc. Work Done
lets see those pics of the mag wheels...im lookin to get some like TOMOROW and would love to see another fine example of how they look on our bumps.
Daniel--67' reg cab black shortbed/fe/4spd/ford 9
-
Caseys71
- Blue Oval Guru
- Posts: 1289
- Joined: Sat Nov 07, 2009 7:48 pm
- Location: Hampstead, North Carolina
Re: Project '71 F-100 Update: 7/24 Misc. Work Done
Well after church on Sunday I managed to press out the remaining bushings . Monday and yesterday I played carpenter and built a deck ( A mighty fine deck if you ask me  .) so I haven't gotten much done this week but hopefully I can get right back into things by the weekend when I don't have to work .
 . Should be getting a memory card for my phone or taking mom camera shopping this weekend so you guys should be able to get some pics soon. Will do on the staying safe in the heat, don't think I've ever made such a big deal to stay hydrated until we started getting this big wave of heat.
I really like the way the rims look on the bump! Hopefully I can pick up some center-caps and acorns for them when I get a chance, it's amazing what 4 hours with some never-dull can do for an old set of wheels.
Thanks for the encouragement! Its a good feeling to be putting on fresh parts for sure, hopefully it will cool down some soon this heat is crazy1970FordTK wrote:We have all been there Casey, just remember that if you are putting stuff on/back to the truck you are over half way there. With the heat we have been getting the last few weeks/months it not easy to be motovatied to go work on the bump after spending all week outside making the money to spend on the bump. These projects are like eating an elephant, you can only do one bite at the time but remember you will finish the elephant off at some point if you just keep working on it. As for not posting pictures, with the addicts here on that including myself we will just have to wait till you get it figured out. Till then stay safe outside, cause its just dang hot.
Sure thing! It totally slipped my mind to post the pics to this thread!quantumleap wrote:lets see those pics of the mag wheels...im lookin to get some like TOMOROW and would love to see another fine example of how they look on our bumps.
I really like the way the rims look on the bump! Hopefully I can pick up some center-caps and acorns for them when I get a chance, it's amazing what 4 hours with some never-dull can do for an old set of wheels
Casey
16 years old with a 40 year old truck (well almost)
1971 F-100302, T-18 4 speed, 3:55 rear, & an Edelbrock sticker on the ashtray.
"Don't worry about what you become, just make sure that you're successful at what you do."- Mr. English
"Value what you DO have over that which you don't."- Forrestbump
"Wanting can sometimes be better than having, never stop dreaming... it's what keeps us all going."- Forrestbump
1984 Toyota 4x4: 22-R, 5-speed, 3" suspension lift, 35's and 5:29's
16 years old with a 40 year old truck (well almost)
1971 F-100302, T-18 4 speed, 3:55 rear, & an Edelbrock sticker on the ashtray.
"Don't worry about what you become, just make sure that you're successful at what you do."- Mr. English
"Value what you DO have over that which you don't."- Forrestbump
"Wanting can sometimes be better than having, never stop dreaming... it's what keeps us all going."- Forrestbump
1984 Toyota 4x4: 22-R, 5-speed, 3" suspension lift, 35's and 5:29's
-
quantumleap
- Blue Oval Fan
- Posts: 671
- Joined: Wed Mar 17, 2010 8:31 pm
- Location: Encino,Los Angeles, California
Re: Project '71 F-100 Update:7/28 Leaf-Spring Bushings Out &Pics
those rims are so sweet bro...hopefully the ones im supposed to look at are that clean..what tire size you runnin and rim width?
Daniel--67' reg cab black shortbed/fe/4spd/ford 9
-
brandon.k
- Blue Oval Guru
- Posts: 1080
- Joined: Sat Jul 04, 2009 9:13 am
- Location: Texas, Iowa Park
Re: Project '71 F-100 Update:7/28 Leaf-Spring Bushings Out &Pics
Looking good Casey . Makes me want to tear mine down and get started on it.